Assigning a number to a Campaign ID
Understand how to assign a number to a Campaign ID in Webex Connect
Assigning Brand ID and Campaign ID to 10DLC Number
- Navigate to Assets > Numbers > Get Numbers.
- Select Phone Number from the list.
- (Optional) In the Buy - Phone Number page, do the following to find a number:
- In the Country drop-down menu, select United States.
- In the Number Type drop-down menu, select Landline.
- In the Features drop-down menu, select SMS.
- Enter a value to search by Area Code or Location, and click Find Numbers to search for a number.
- In the Numbers page, click Actions and select Request 10DLC to select the Brand and Campaign ID to assign to the number.
If you do not have a US landline (10DLC) number, you can order one by following steps (1-4) in the procedure above. If you require more information about phone numbers and the types of phone numbers, refer to Buy Phone Number section. Cisco Webex Contact Centercustomers/partners are required to follow step 3 above to ensure that 10DLC functions as expected.
The Brand ID and Campaign ID you include while adding a US landline number with SMS feature, will now display on the Webex Connect platform when you hover over 10DLC associated with the number on the Number listing page.
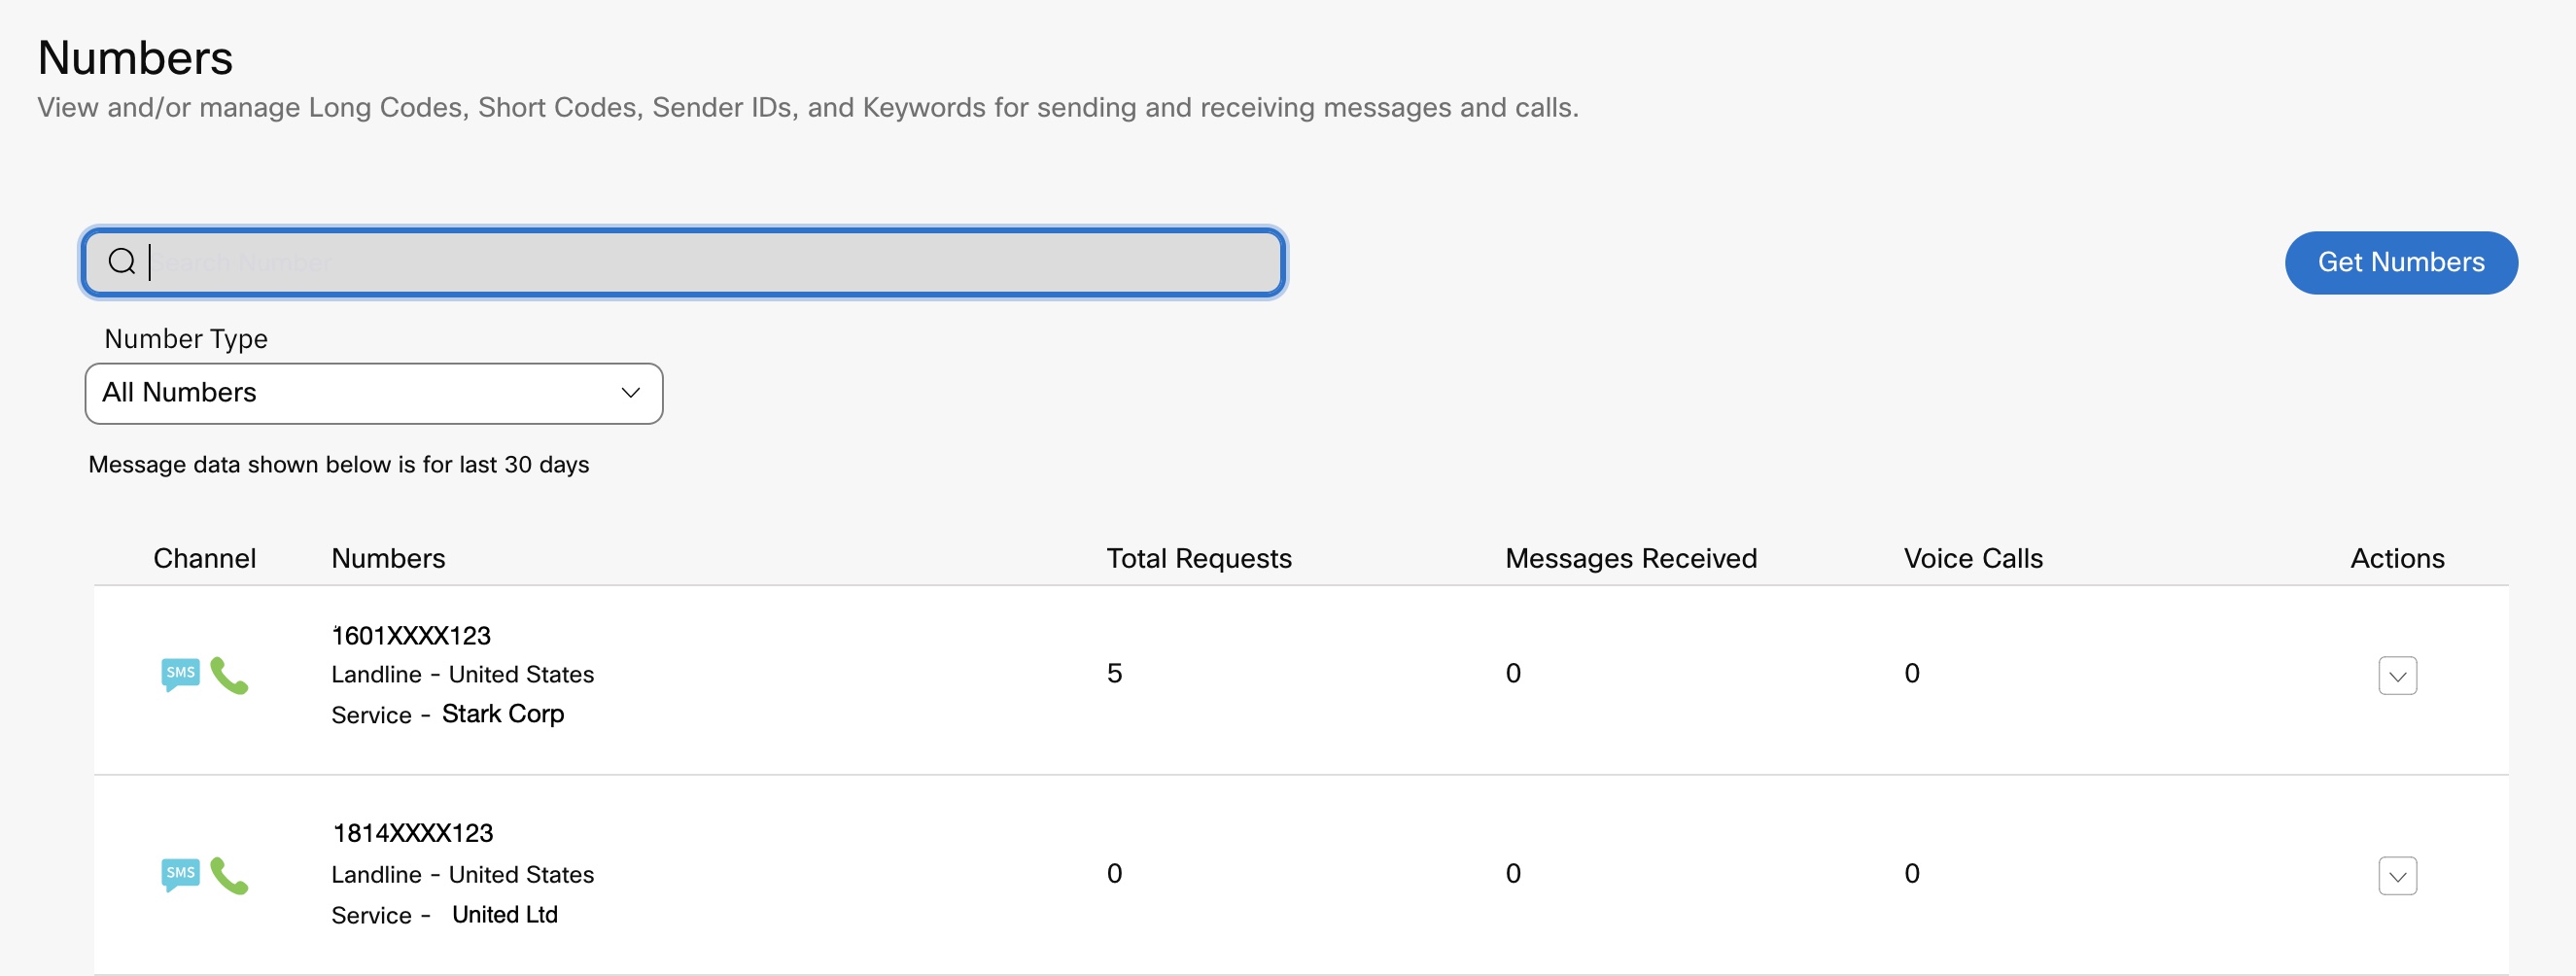
Screenshot displaying the List of Numbers.
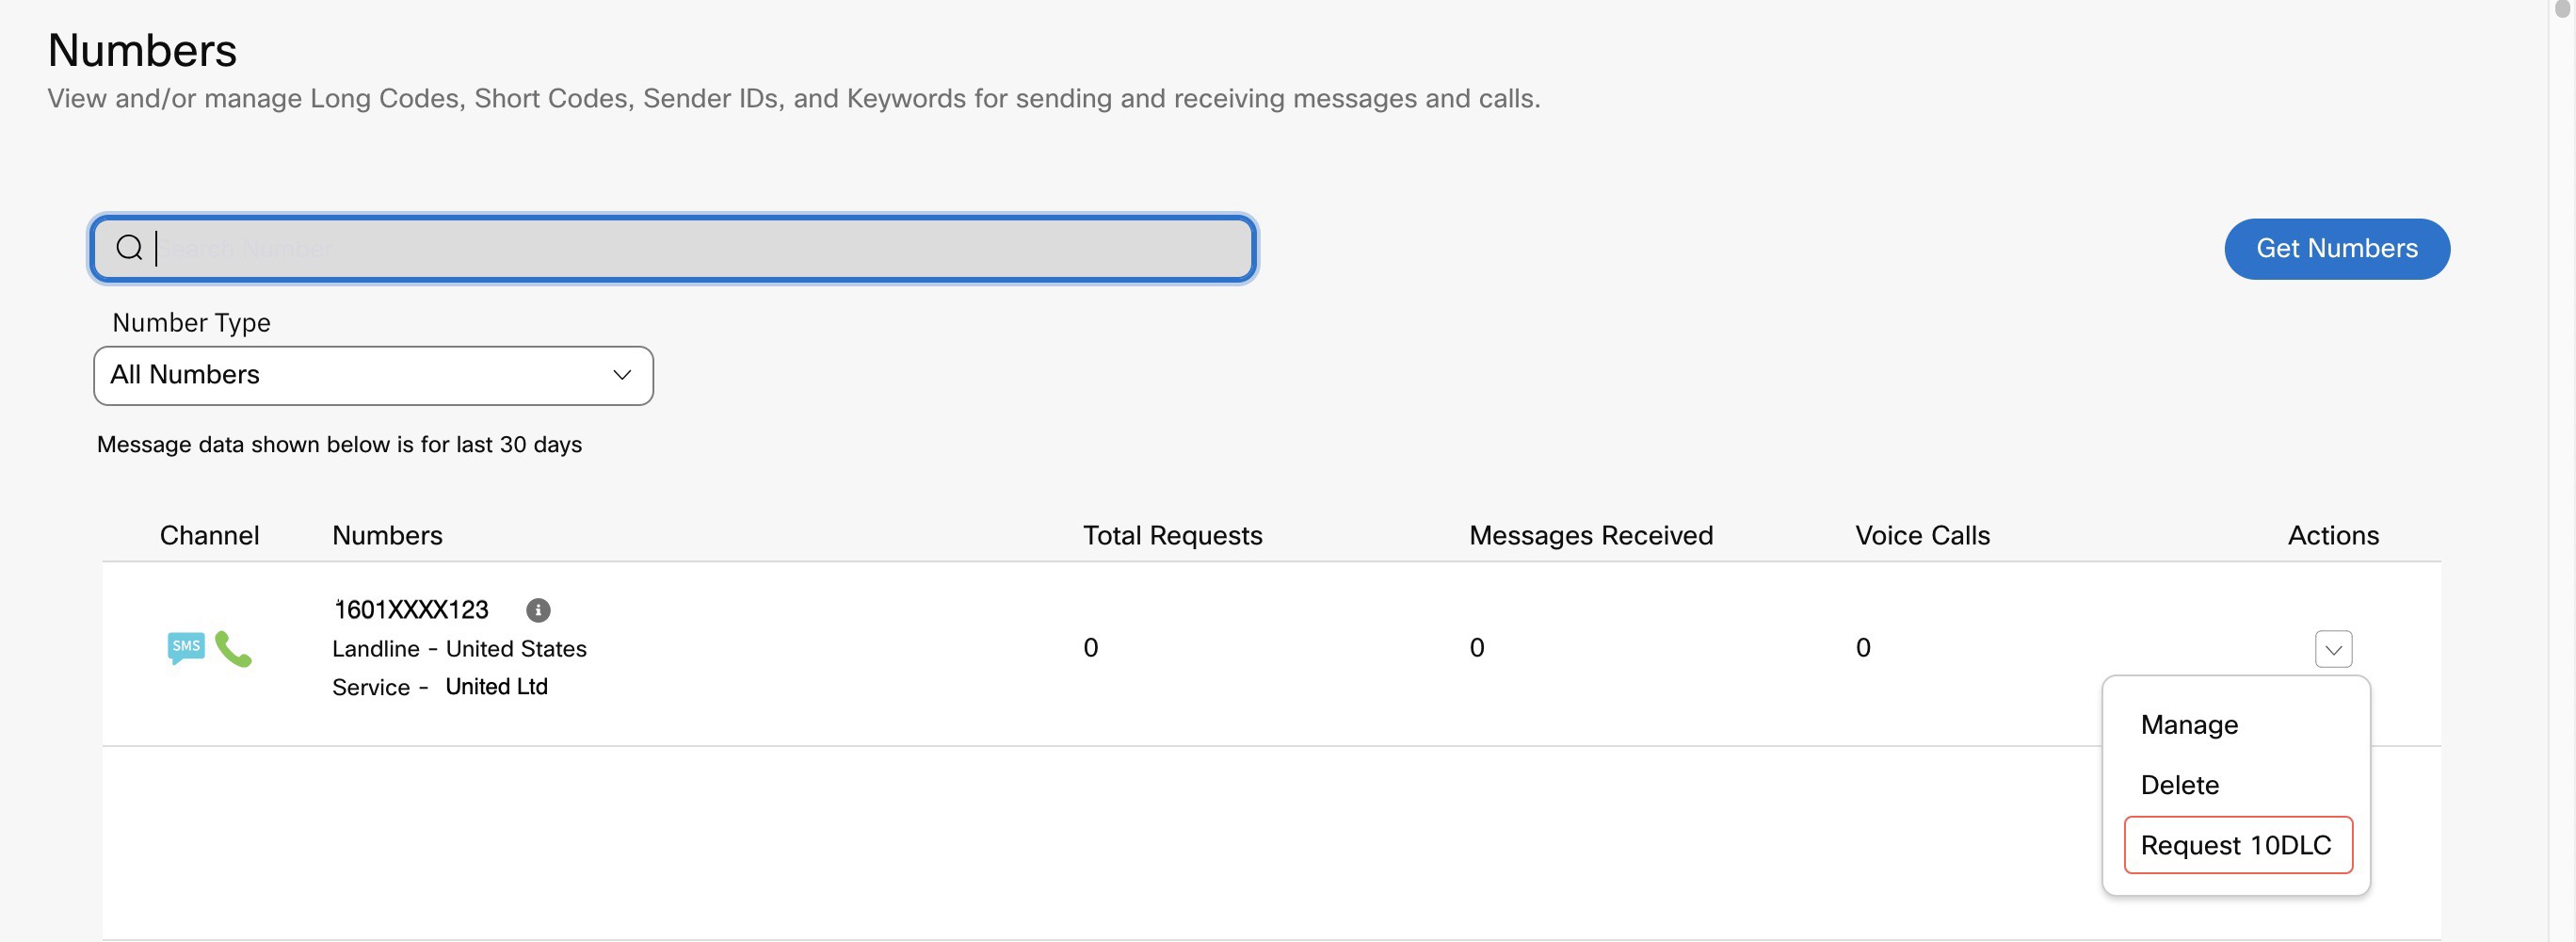
Request 10DLC Number
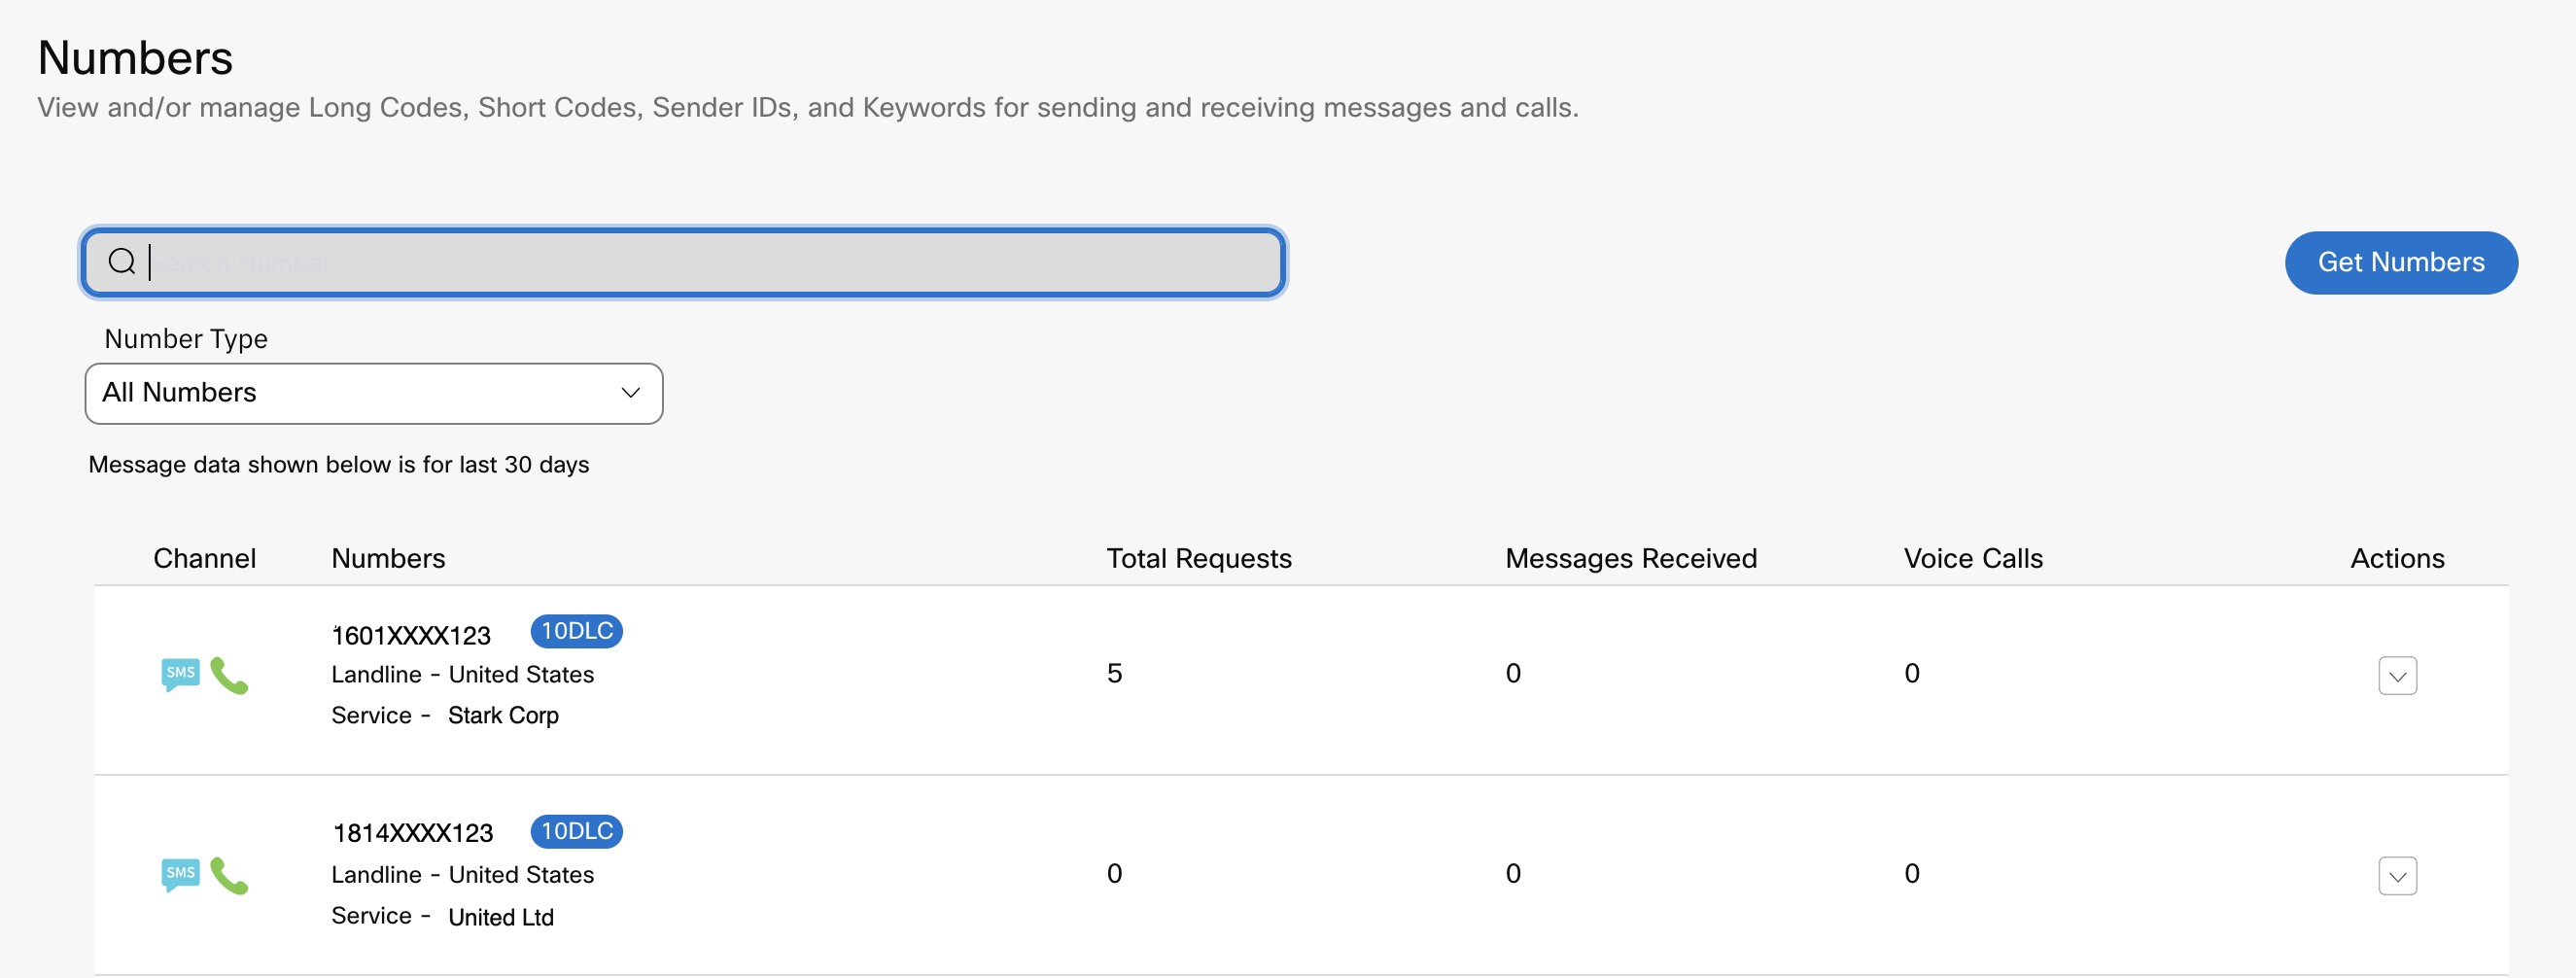
10DLC-enabled Number
Removing a 10DLC number from Campaign ID
To remove 10DLC number:
- Go to Assets > Numbers.
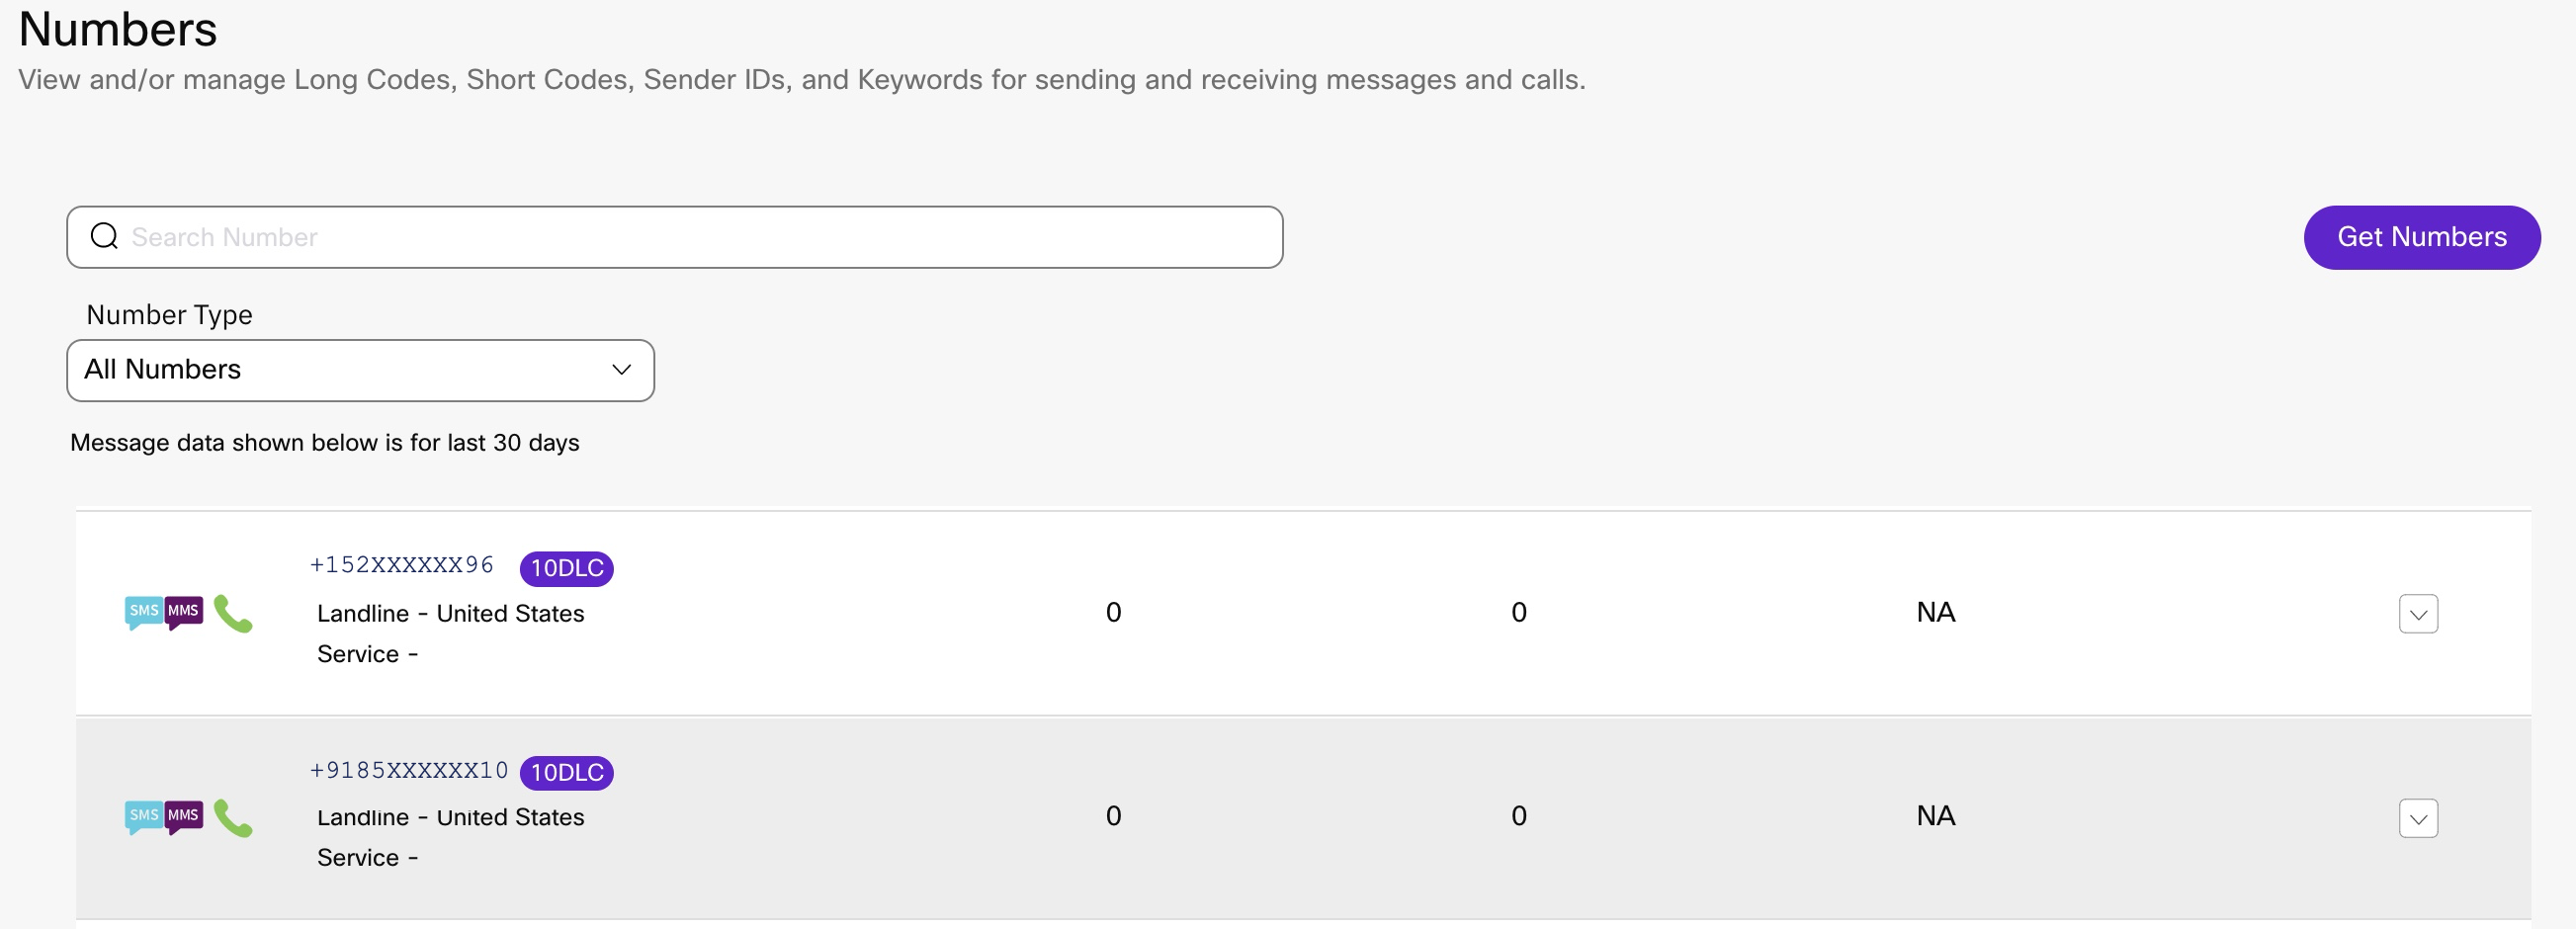
Screenshot displaying the List of Numbers.
- Select the required number and click Manage under Actions.
Manage Phone Number page appears.

Screenshot displaying to Select the Manage Button.
- Click Remove 10DLC Assignment to release the number.
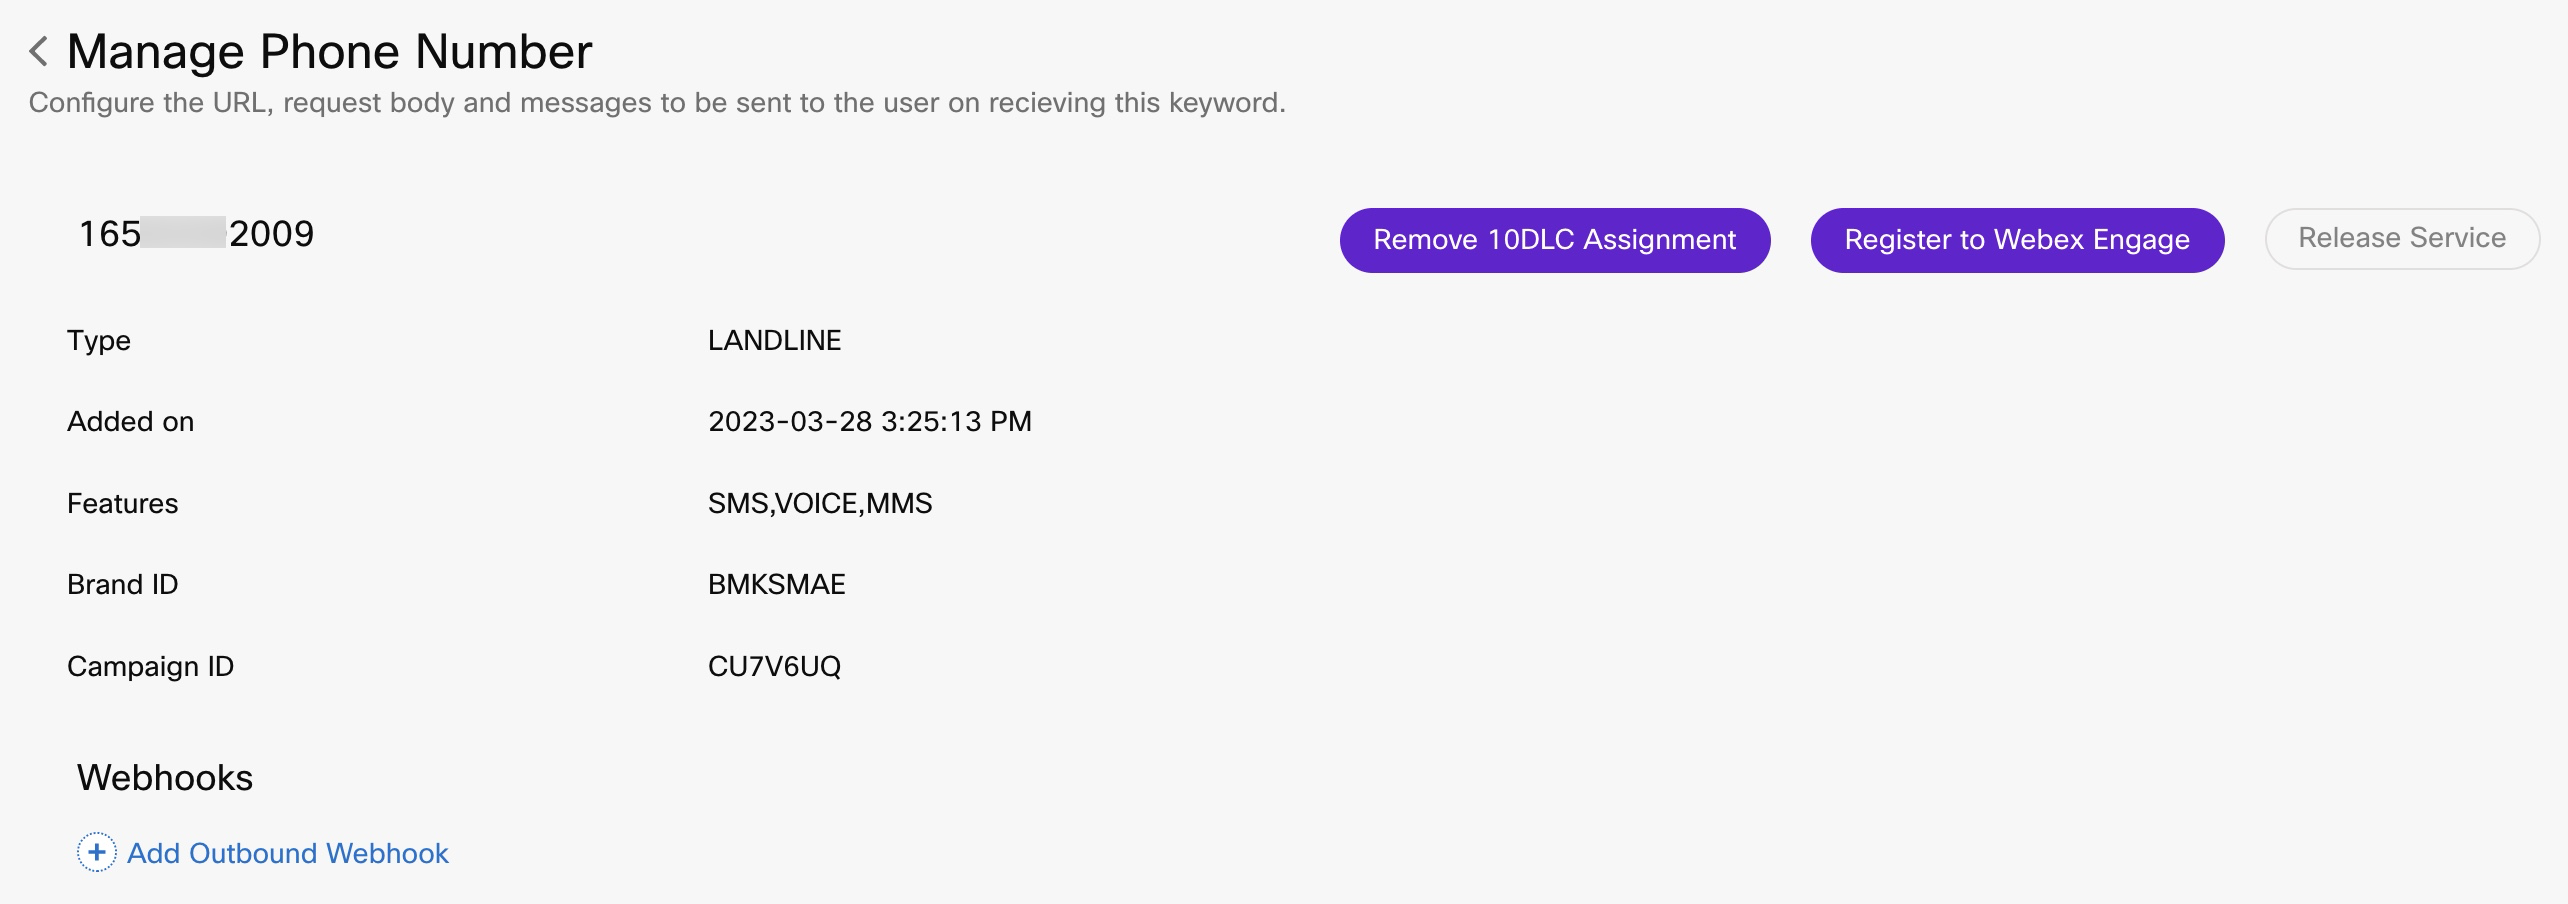
Screenshot Displaying to Select the Remove 10DLC Assignment.
A warning appears: 10DLC Assignment is successfully removed. Once the number is de-provisioned, the "Remove 10DLC Assignment" is not displayed.
Introduction of Number Status
Currently, when a number is assigned to 10 DLC, user only sees the blue “10DLC“ label if the number is successfully assigned. From now on, multiple statuses regarding the assignment are displayed such as - Success, Pending, Failed.
This feature is applicable only for US Landline numbers.
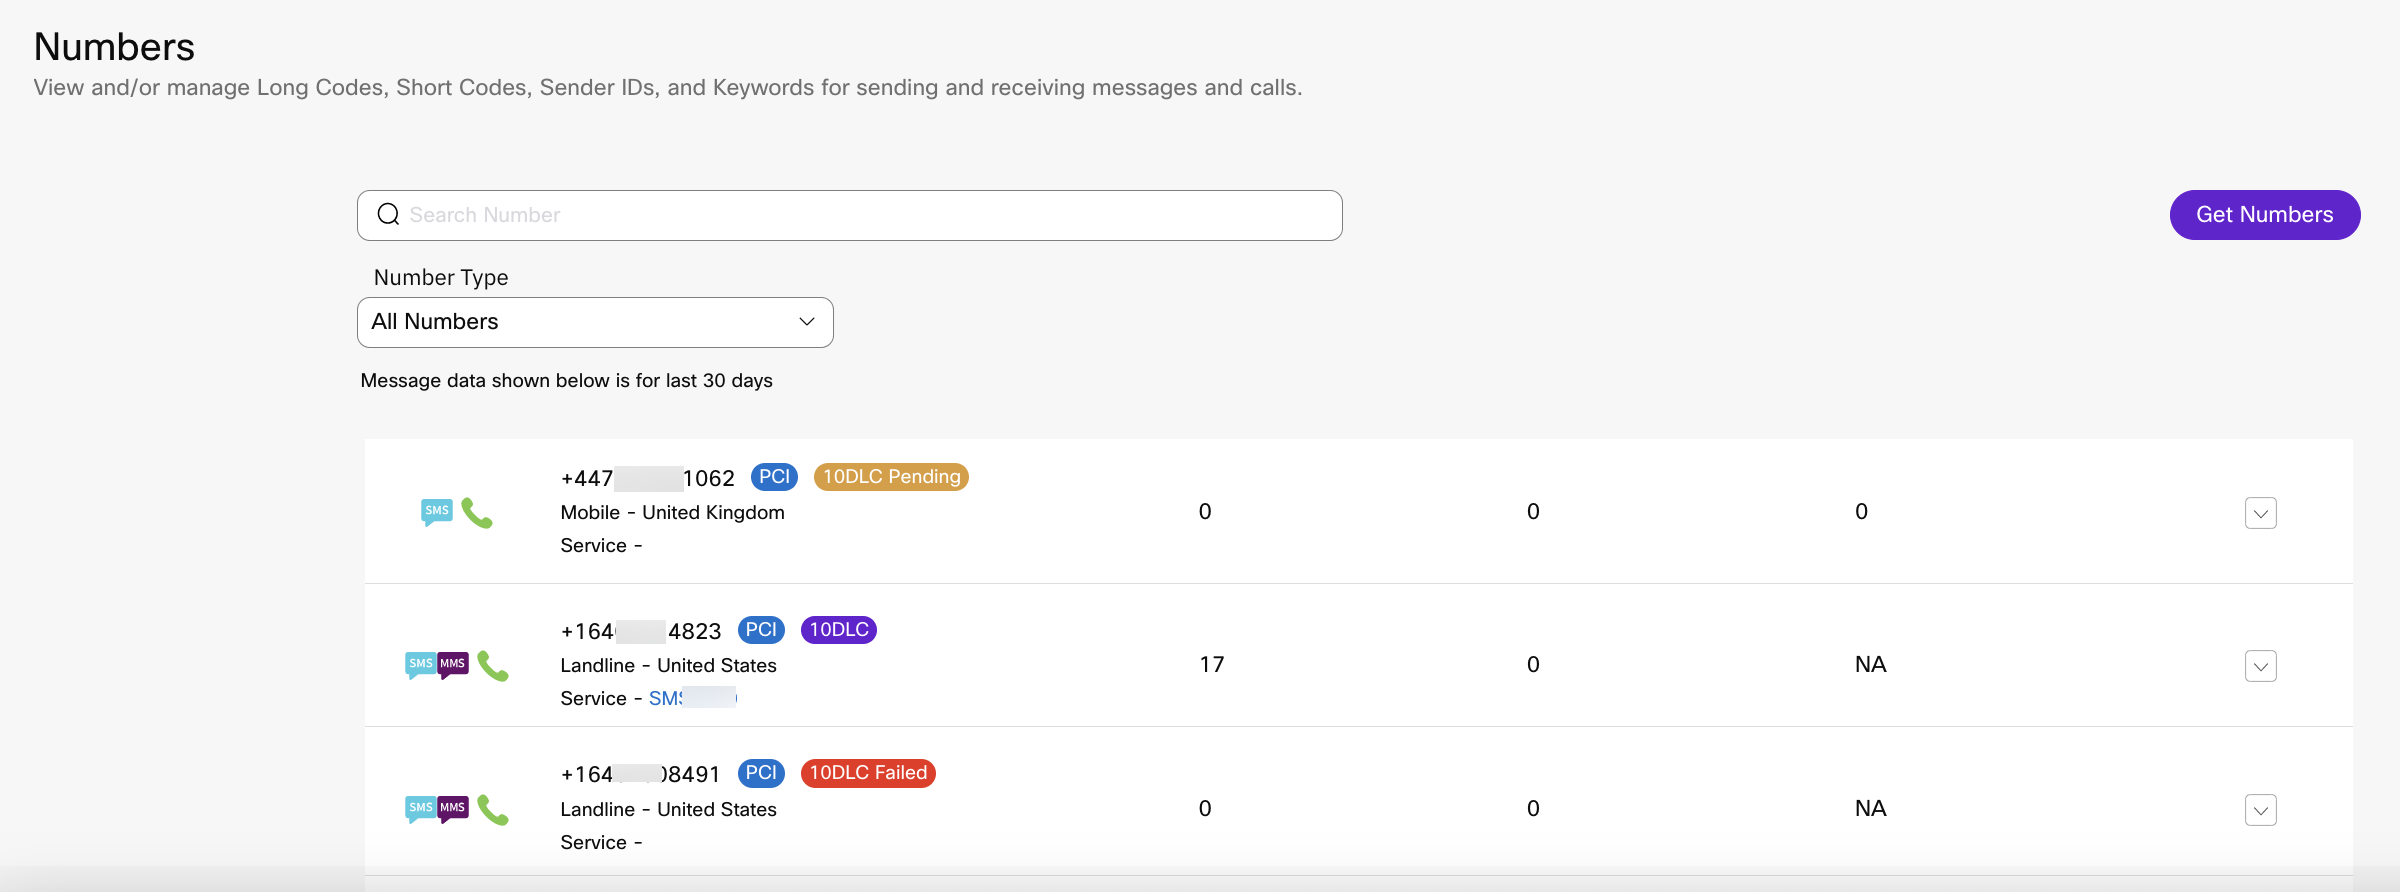
Screenshot displaying the Number Status.
Updated 9 months ago
