Creating a Service in Webex Connect
A service is a named workspace that allows you to create and manage communication flows, APIs, integrations and configuration settings for a specific communication use case. Below are the steps to create a service.
Add New Service
- Once you login into Webex Connect, you will land on the Services Dashboard. Click on the CREATE NEW SERVICE button on the top right corner of the page to create a new service.

Services Dashboard in Webex Connect showing where to click to create a new service.
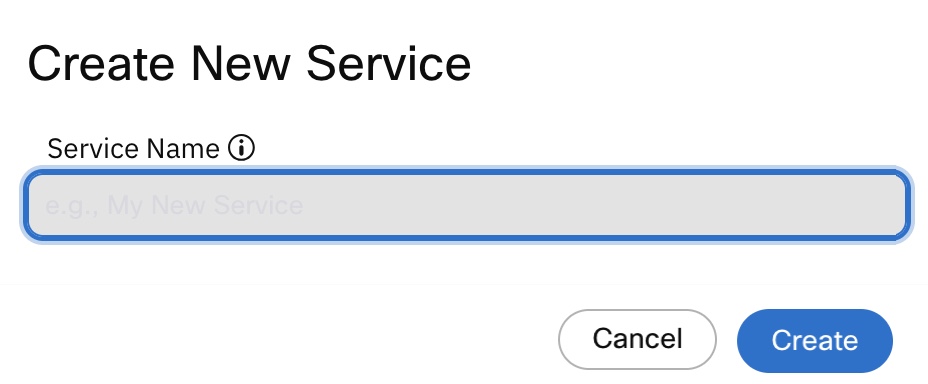
- Assign a name to the service. Click on CREATE to finish creating the service.

Interface for naming and finalizing the creation of a new service by clicking 'CREATE'.
- This takes you to the Service Dashboard of the newly created service where you buy numbers, configure apps (i.e. OTT channels), send messages using the Messaging API or create customer interaction flows.
Here are a few tutorials that you can explore next:
Updated 9 months ago
