Teammates
Invite your teammates and manage their permissions. Only owners and full access users are able to invite teammates
Teammates section enables operations such as inviting a user to Webex Connect, deleting the user role of an existing user, deleting a user and more.
Here's a brief description of various user roles available in Webex Connect.
Roles
| Role | Permissions |
|---|---|
| Owner | Has access to everything on the platform including Owner only features that include: - Scheduling Export Logs - Monitoring Section (User Audit Trail) - Adding Groups and Teams - Configuring SSO settings - Updating Tenant Settings - Regenerating Profile Key - Decrypt AccessPlease note that the user transitioning from Full Access, Limited Access, Read-only Access, or Restricted Access to the Owner role within the tenant will not automatically possess default access to decrypt logs. Additionally, it's important to note that certain features mentioned above may not be accessible or enabled by default for all tenants.Please note that some of the above features may not be available/enabled by default for all tenants. |
| Full Access | Has access to most features excluding the ones that only Tenant Owners have access to. Full access users are able to add or remove users but cannot add users in tenant Owner role. |
| Limited Access | Cannot add or remove users. Cannot delete services, numbers or apps |
| Read-only Access | Read-only access to all pages on the platform |
| Restricted Access | Have access to specific app-tray applications on Webex Connect |
Note
If you have the Owner role, you can add multiple owners and also change the existing roles.
A user with the Owner role is allowed to invite or upgrade an existing user to the Owner role. However, once an existing user has been provided with the Owner role, it cannot be changed to any other user role. A user with Owner role cannot edit user role of another user with the Owner role. Please reach out to the support team for assistance on changing roles.
The Owner role can be assigned only to 'Client' i.e., overall tenant-level users who have access to all Groups and Teams.
Data Decryption Access
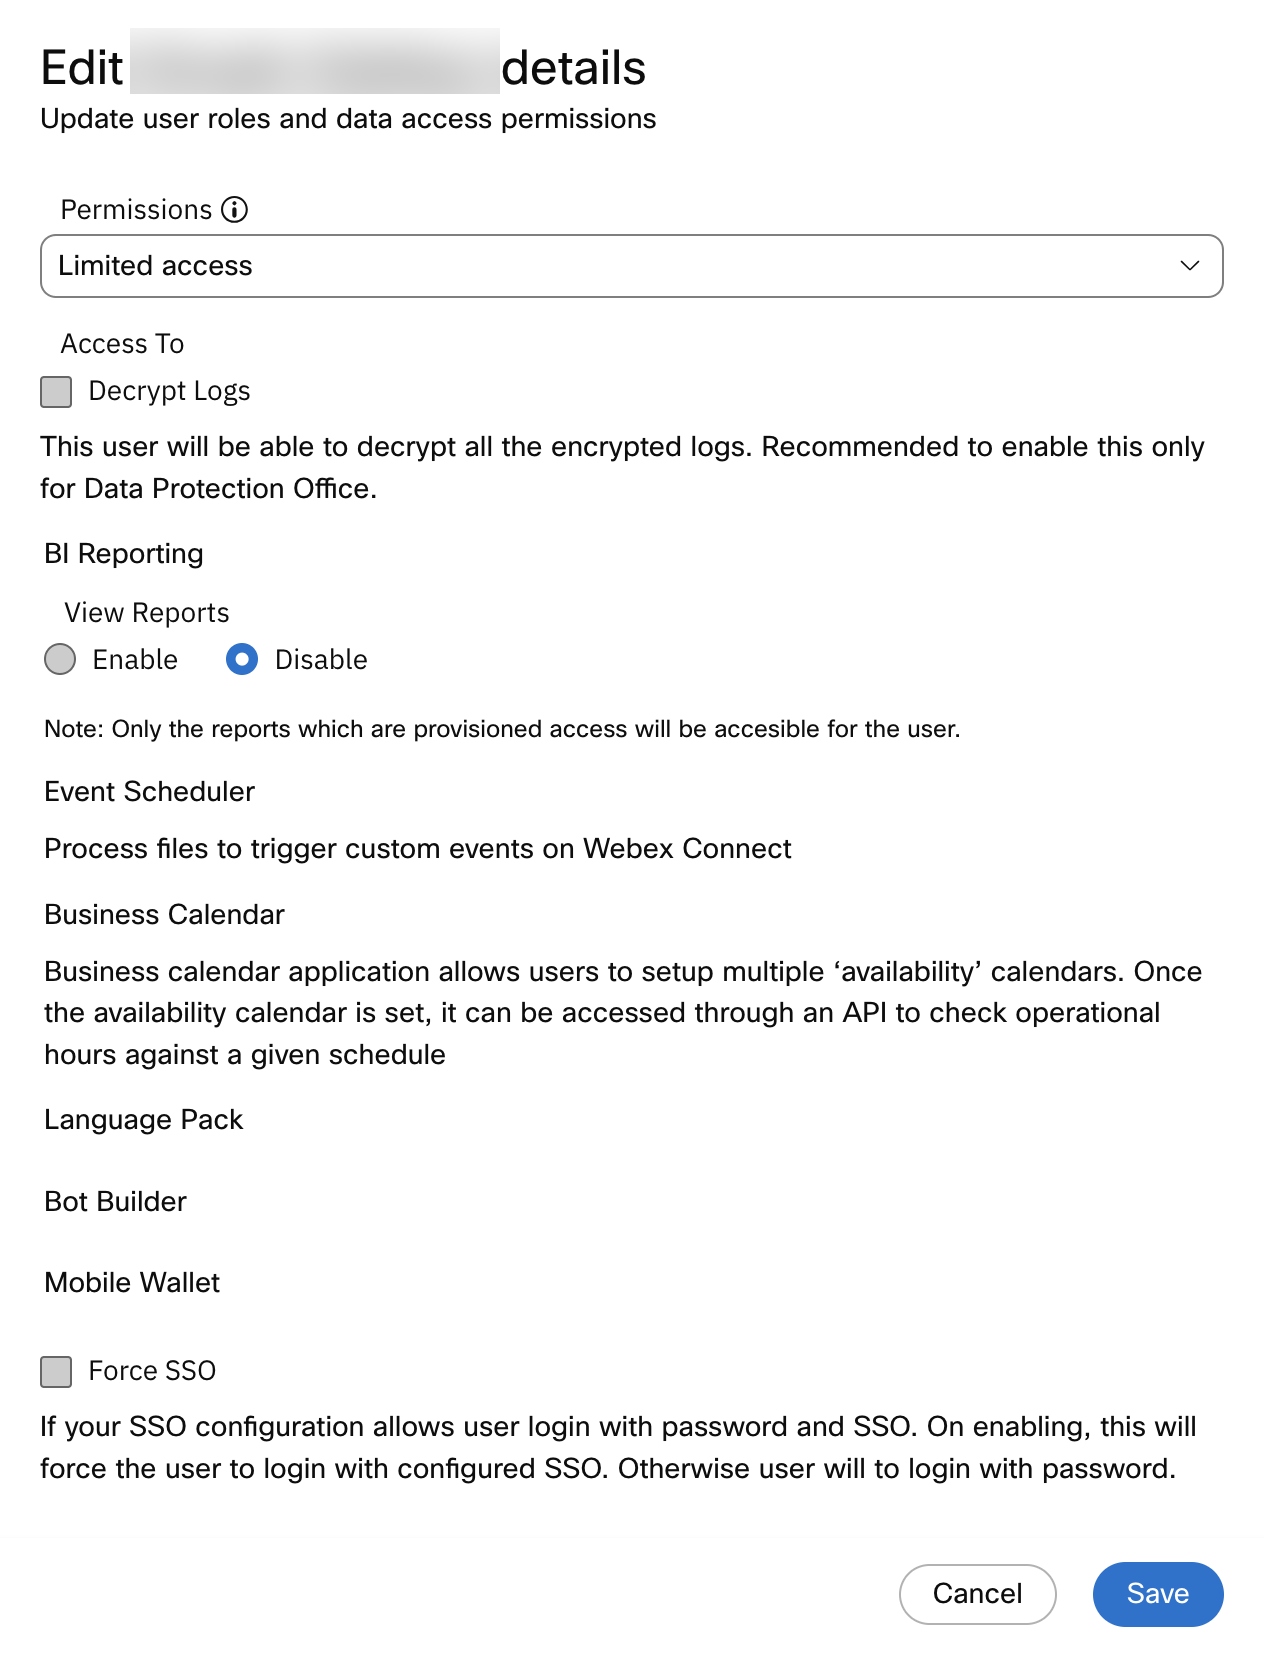
Editing a user role to add "Decrypt logs" allows the user to decrypt all the encrypted logs on the platform. Recommended to enable this only for Data Protection Officer or for debugging purposes.
It is important to note tenant owners have default access to 'Decrypt logs'. However, a user transitioning from other roles to the Owner role will not have default access to Decrypt logs. Such transitions requires manual enabling "Decrypt logs" access for the user transitioned as Owner.
Temporary Disposable Email
If any temporary disposable email is added to the allowed domains list for your tenant, the system will still not allow a user to be invited.
Refer to the Email Domains section in Tenant Settings for more information.
Inviting a User to Webex Connect
Follow the below steps to invite a user to your Webex Connect tenant:
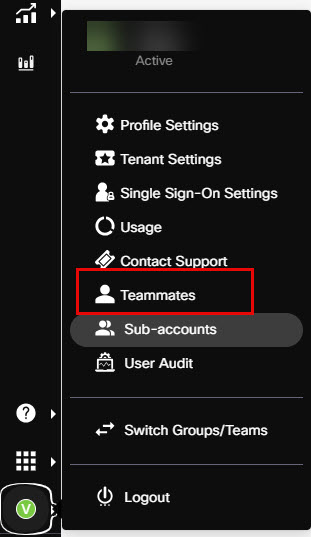
- Navigate to Settings > Teammates.

Settings Menu
The Teammates page is displayed.

Inviting a user using Teammates
- Enter the email address of the user you want to invite in the Email ID field.
Restricted Use of Temporary Disposable Emails
Please note that the temporary disposable emails will be restricted for user invitation on Webex Connect. The new users and existing users are recommended to discontinue using temporary disposable emails, such as 'mialinator', 'maildrop' and the likes.
Please reach out to the Support Team using the details mentioned in the ‘Contact Support’ section within your Webex Connect account for more information.
- Select the required role you want to assign (Owner, Full access, Limited access, Read-only access, or Restricted access) from the Role dropdown. For more information about the roles, click Roles Guide.
- Click Invite User.
The New teammate invited message appears. An email is sent to the invited user.
Email Invitation Received by Users
When you are invited to use Webex Connect, you will receive an invitation email based on the the login option enabled for your tenant. The following sections describe the different types of invitations you can potentially receive based on the settings enabled for your account.
Note
Invited users are required to complete their user account creation within 7 days of receiving invitation. If a user does not sign-up within the 7 days of receiving the invitation, the link expires and they no longer show up as invited on the Teammates screen. A fresh invitation will need to be sent again in such cases. A reminder will be sent on the 4th day after receiving invitation.
Webex Single Sign-On (SSO) is used to login to your account
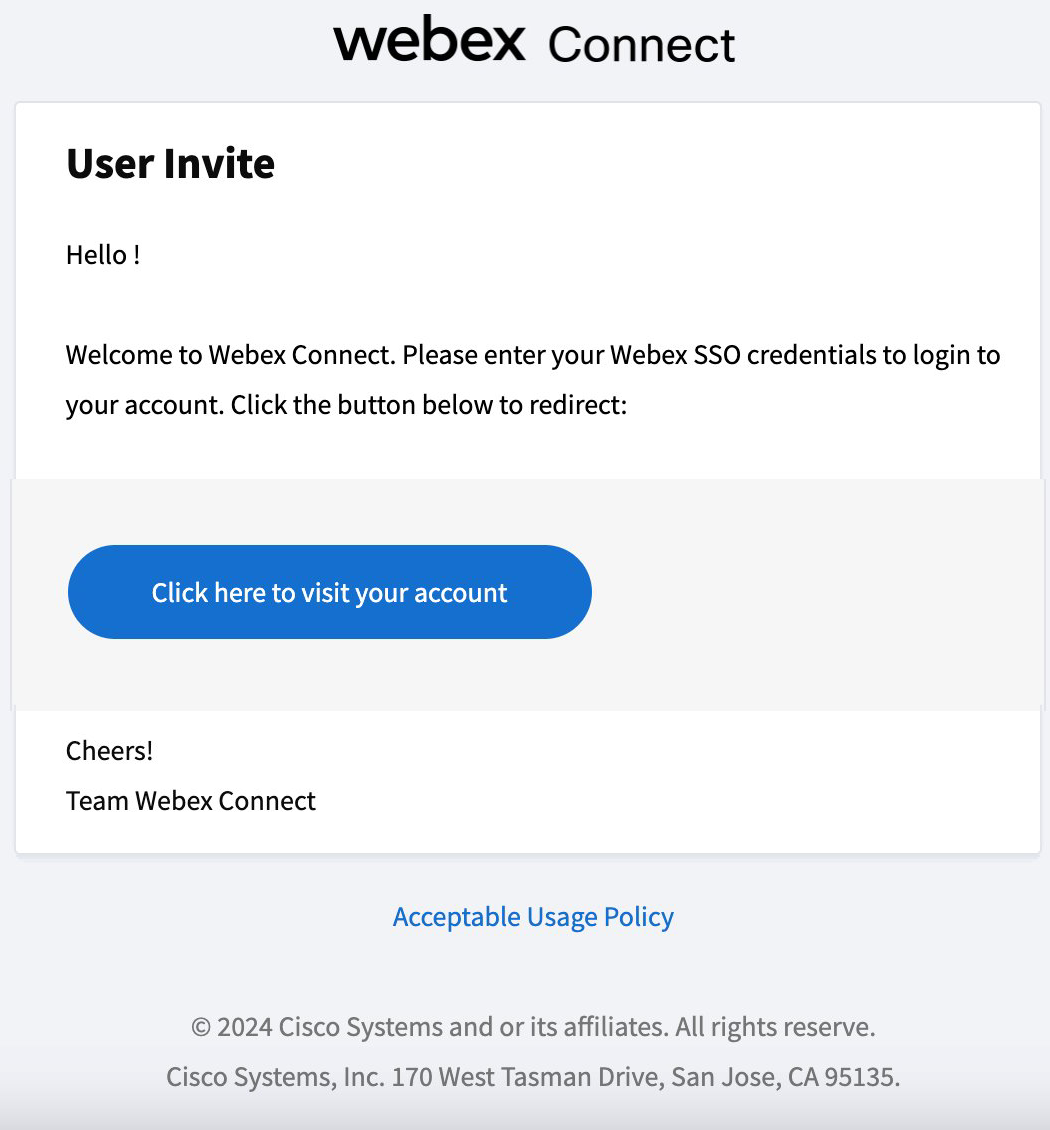
If Webex SSO-based login is enabled for your user tenant, you will receive a welcome email which redirects you to the login page of Webex Connect. You must select the login using Webex SSO option.

Screenshot of email notification about Webex SSO-based login
When Username-Password/Client SSO is used to login to your account
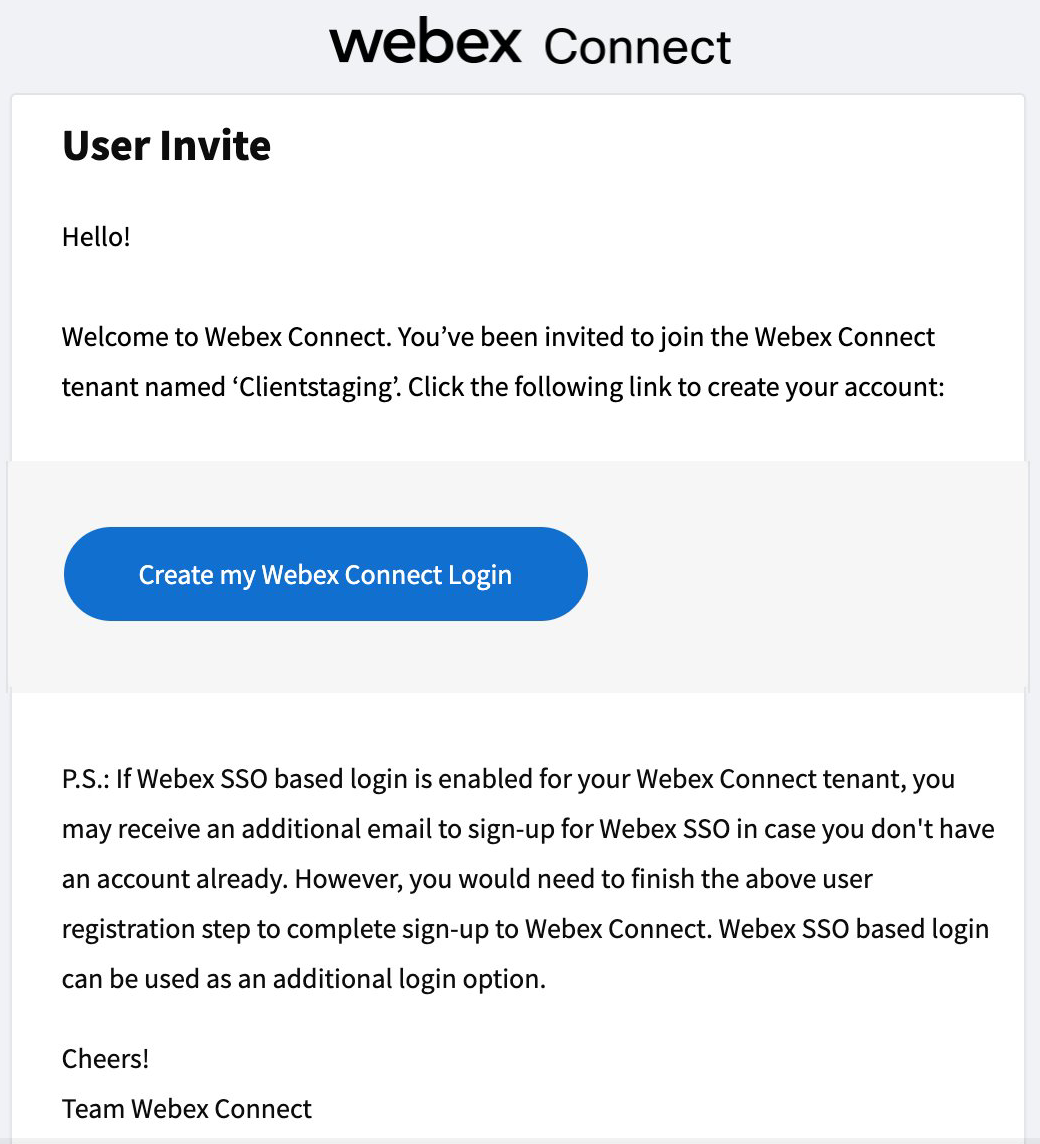
When Username-Password/Client SSO is enabled for your tenant, you will receive an email prompting you to create credentials (username and password) for Webex Connect. You can login to Webex Connect using those credentials.

Screenshot of email notification about Username-Password/Client SSO based login
When both, Webex SSO and Username-Password/Client SSO options can be used to login to your account
If both, Webex SSO and Username-Password/ClientSSO based login are enabled for your tenant , you will receive two emails:
- A Welcome email redirecting you to login using Webex SSO.
- An email prompting you to create credentials (username and password) for Webex Connect.
Note
If your tenant is Webex SSO-enabled, but the user is not added to Control Hub, the user will receive an email to activate their Webex account.
Based on the login option enabled for your tenant, refer to Accessing Webex Connect to see how the login page looks for you.
Access Management for App Tray applications
Webex Connect AI Agent User Access Management
Owners or Full Access users can assign and or update user roles for accessing the Webex Connect AI Agent application. The roles can be either of them or a combination of the two:
- Curation Console - It is a central place to monitor all the issues with the AI Agent's behavior and resolve them instantly to improve accuracy.
- One-click testing - It is used to automate quality testing for the AI Agent, every time the AI Agent is trained to see if the changes made impact accuracy in any way.

Screenshot of Access Management for App Tray applications
Note
Please note that Event Scheduler access levels are based on the overall user role that a user has on the Webex Connect platform. There are no application-specific user roles defined for Event Scheduler.
Updated 5 months ago
