
Azure SSO
Configuration of SSO on the Azure site.
Configure an Azure AD Identity Provider
Configure Microsoft Azure Active Directory (AD) as an identity provider to let users log in to your Connect tenant using their Azure AD credentials.
Follow the below steps to configure Azure AD as an identity provider.
- Set up an Azure AD application.
- Setup your an Azure AD SSO on Webex Connect.
- Test the connection.
Configure SSO on Azure
To Configure SSO on Azure, follow the procedure below:
- Log in to your Azure portal I.e., Microsoft Azure
- Click Azure Active Directory under Azure services.
- On the left pane, click Enterprise applications under Manage.
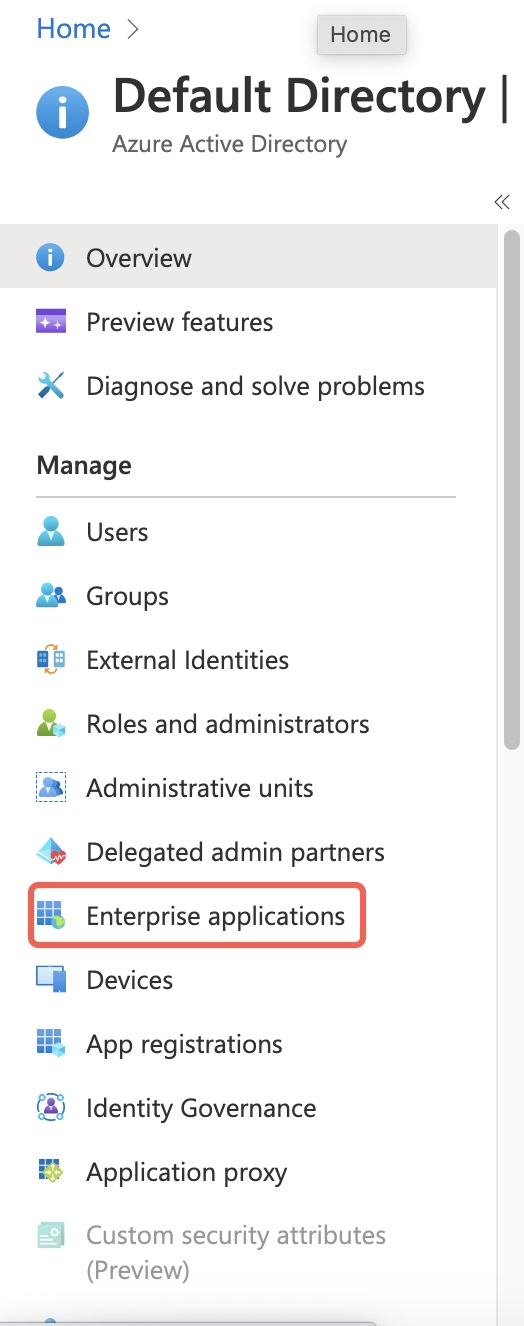
Screenshot of selecting the Enterprise applications
- Click + New application.

Screenshot instructing to click + New application
- Click + Create your own application.

Screenshot instructing to create your own application
- Do the following in the Create your own application section:
- Enter a valid name for your application.
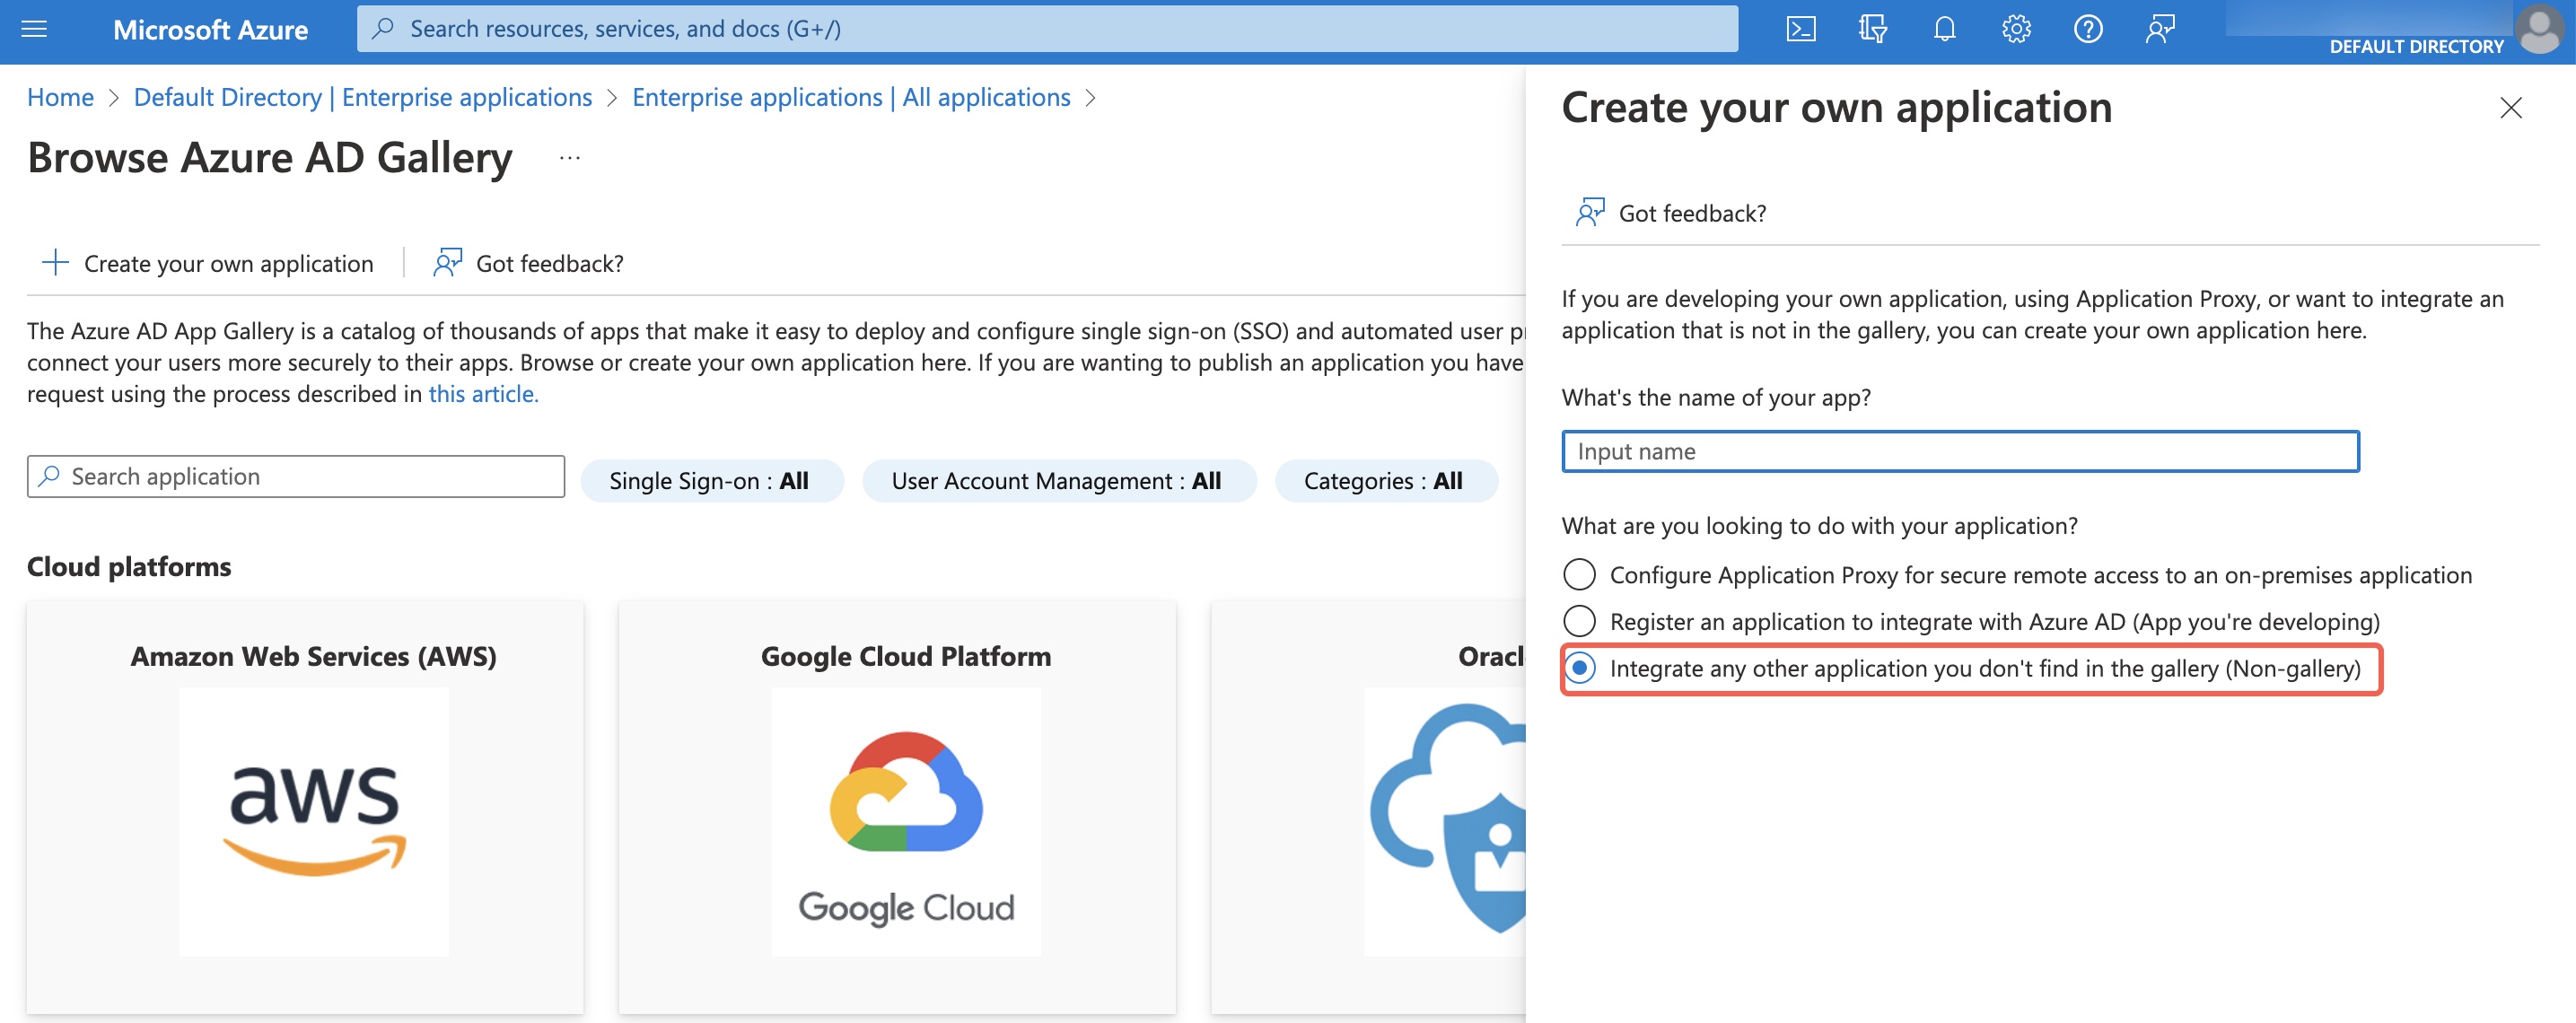
Screenshot instructing to enter the name for your app
- Select Integrate any other application you don’t find in the gallery (Non-gallery) under What are you looking to do with your application?
- Click Create.
The Overview page is displayed.
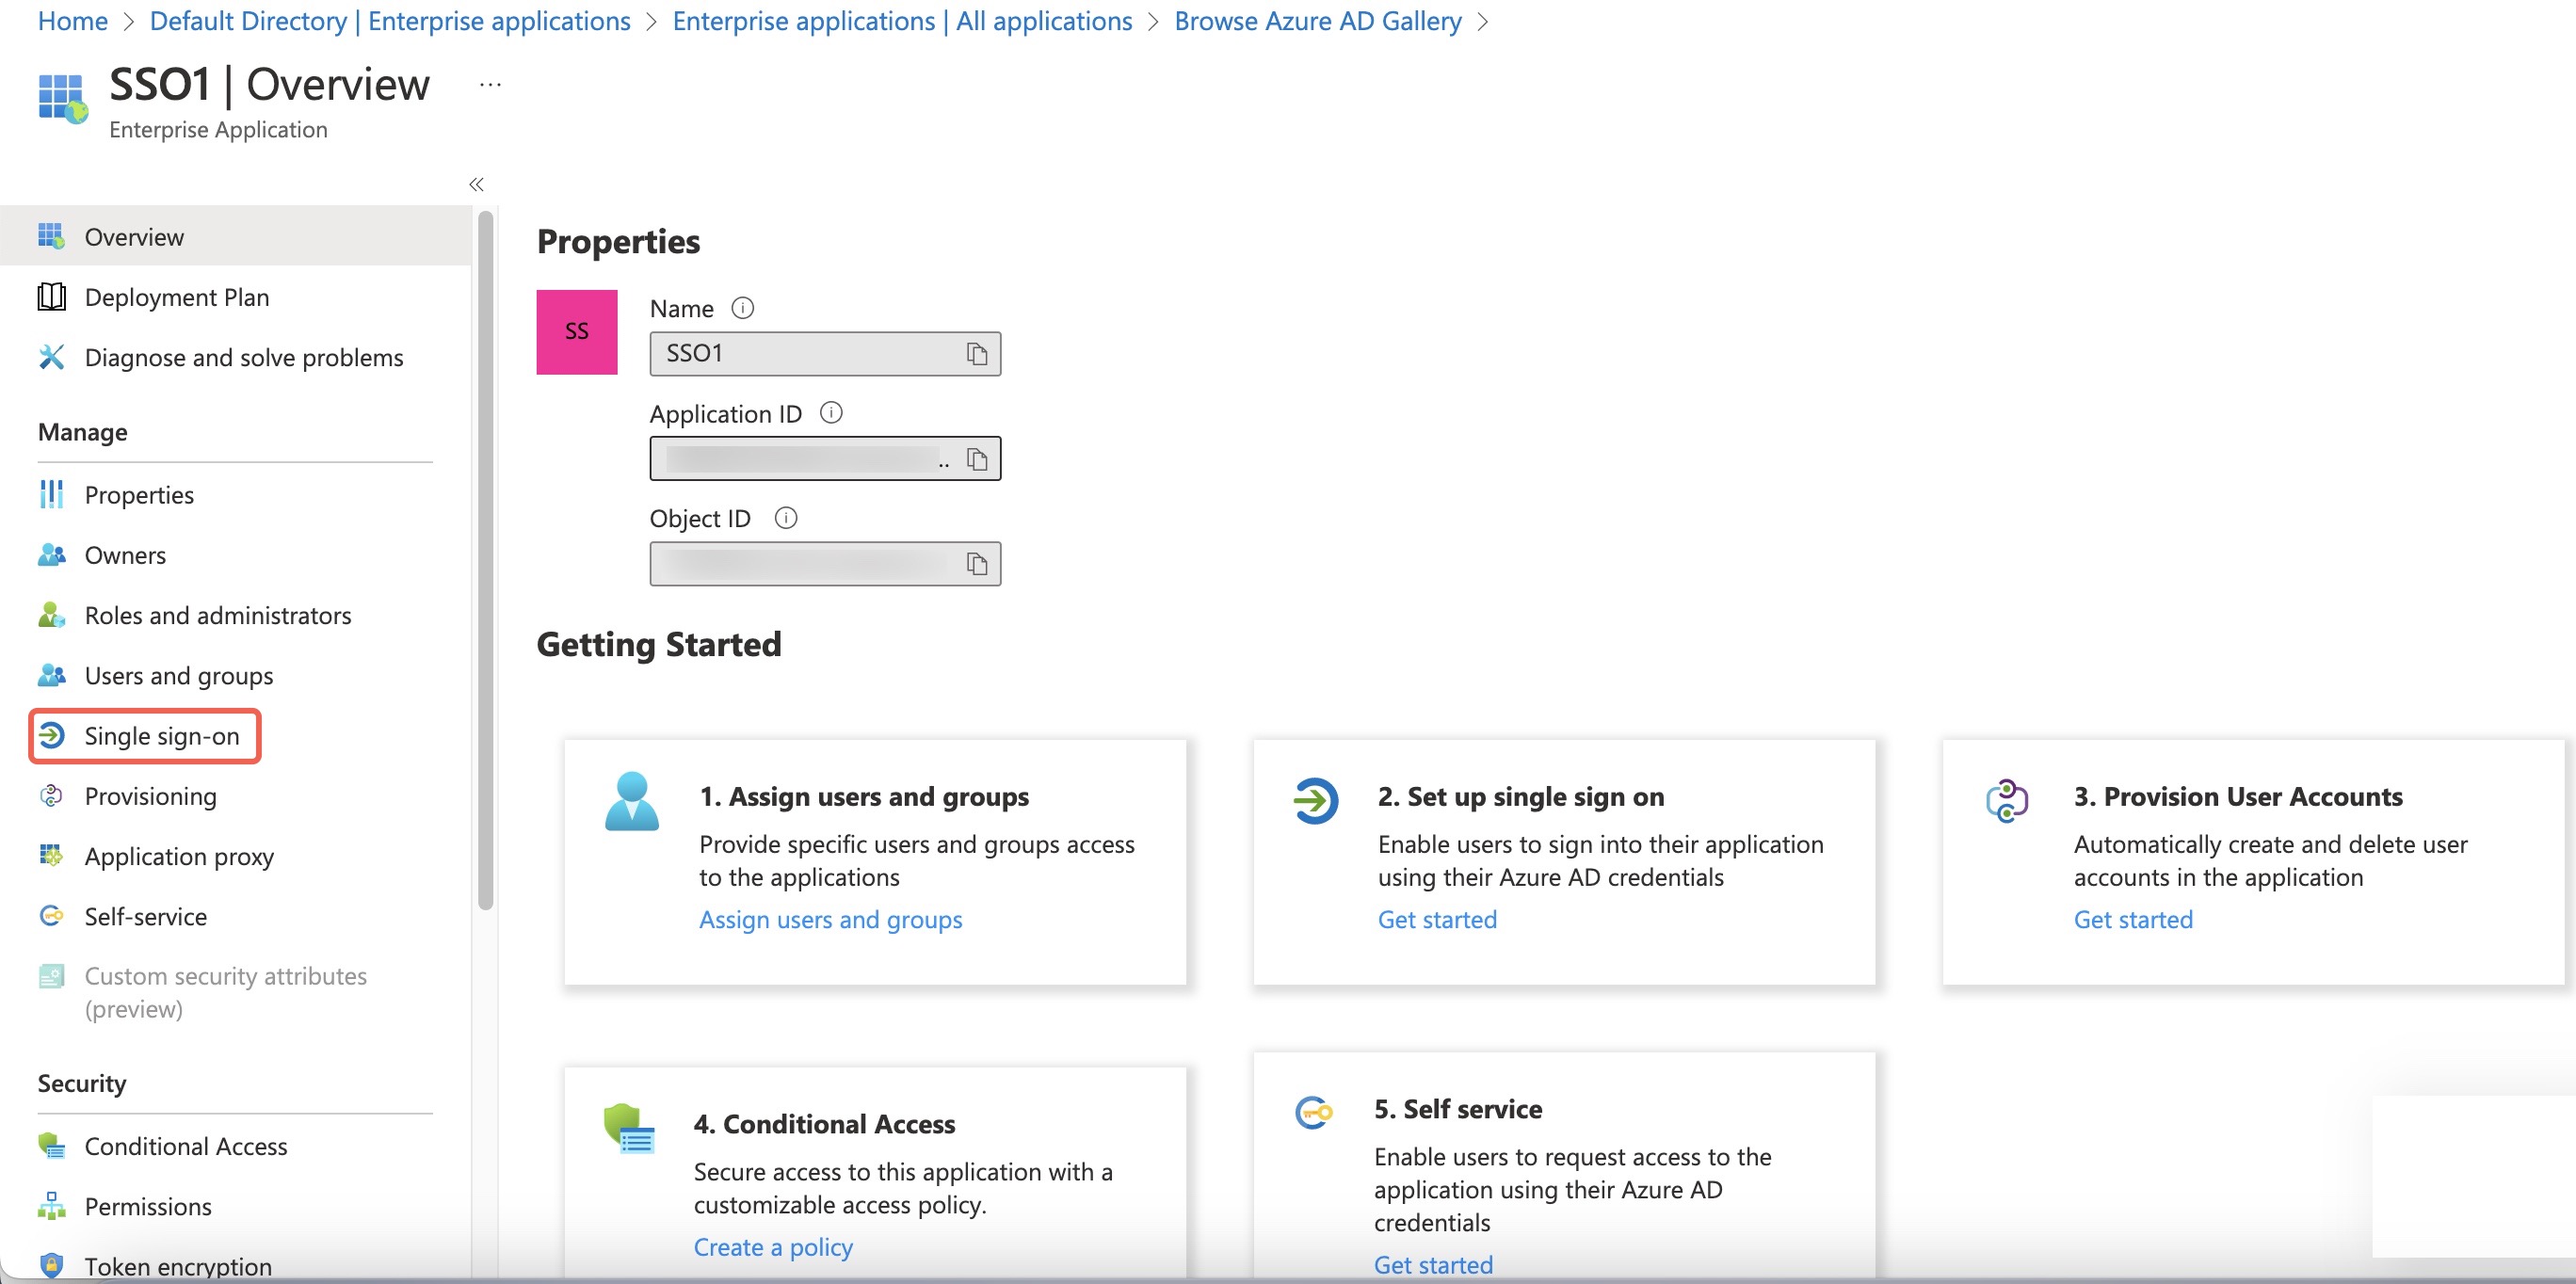
Screenshot displaying the option to select Single Sign-on
- On the left pane, click Single sign-on and then click SAML.
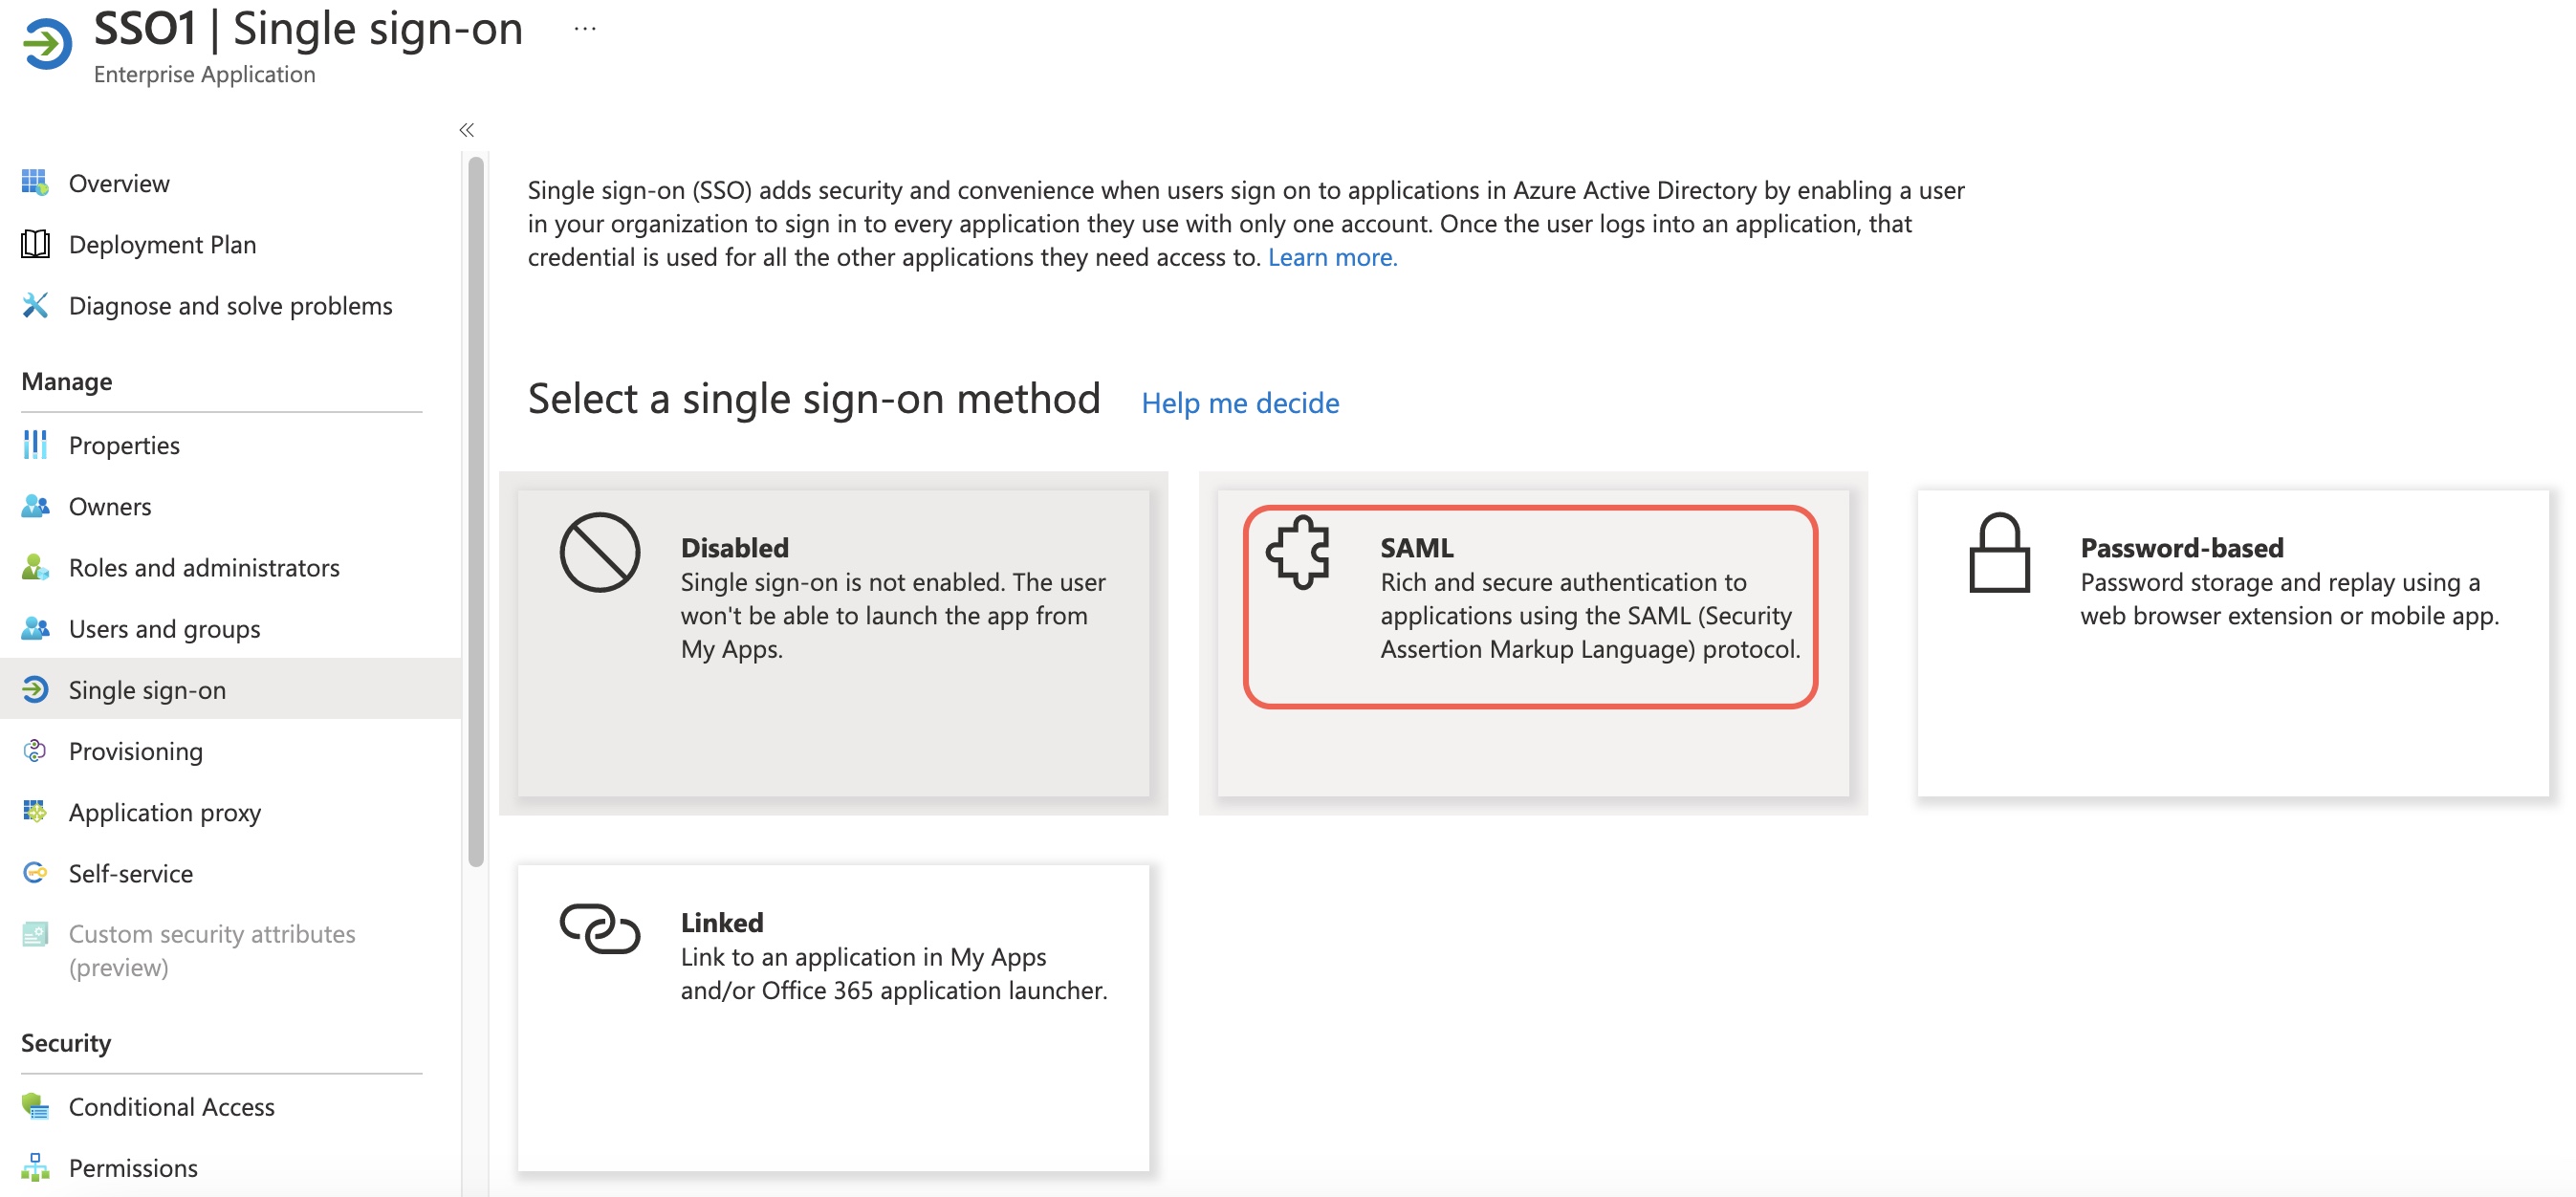
Screenshot instructing to select the SAML option
- Click Edit in Basic SAML Configuration and enter/update the details.

Screenshot displaying the Basic SAML Configuration details
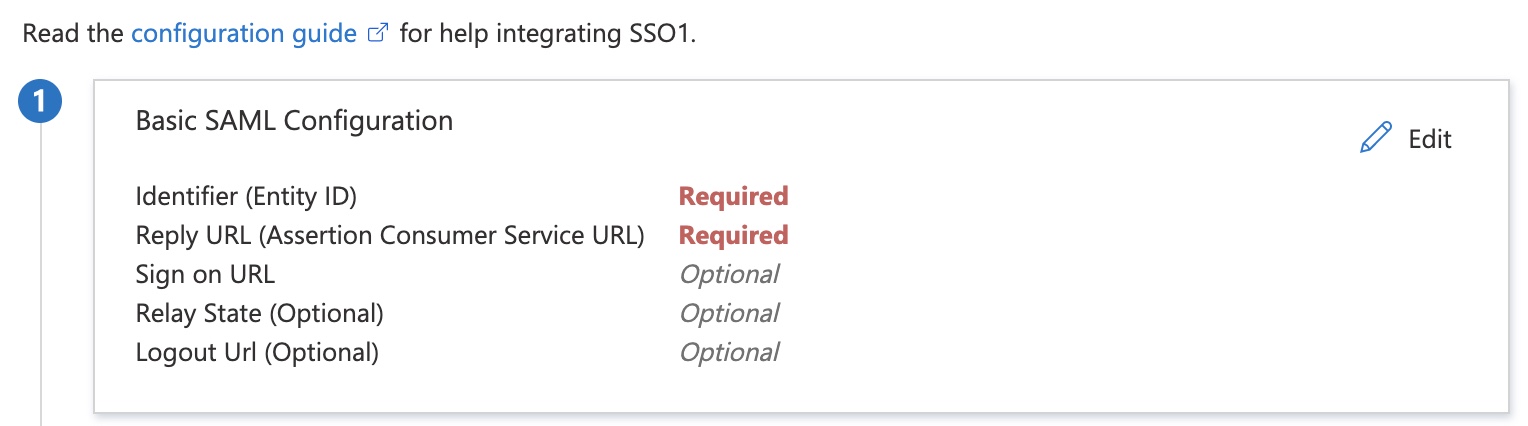
Note
Entity ID, Assertions Consumer Service URL are available on Webex Connect. It is available under Single Sign-On Settings.
Setting up SAML Configuration
- Log in to your Webex tenant and click Single Sign-On Settings.
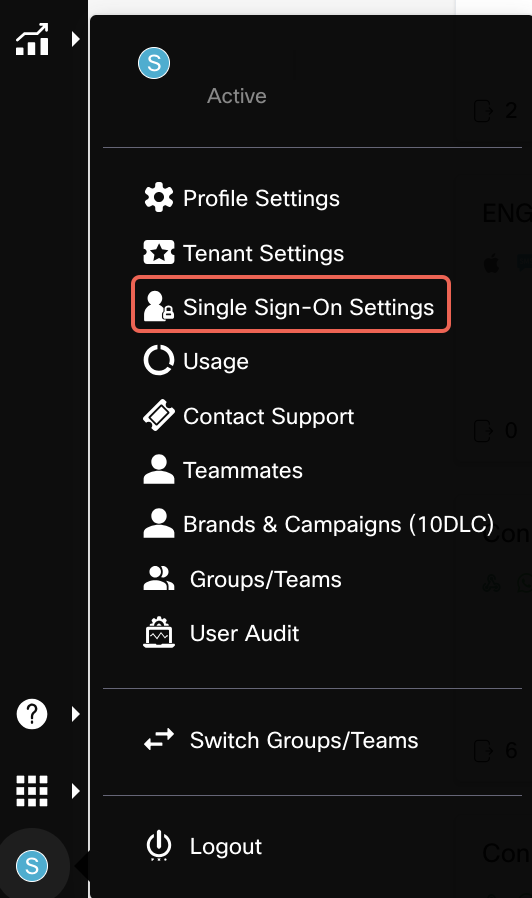
Screenshot displaying the Single Sign-On Settings in Webex Connect
- In the Single Sign-On Settings page enter the Identifier (Entity ID).
Note
Please make sure the same Entity ID is configured in Azure and Webex Connect. We recommend using the Entity ID available in Connect.
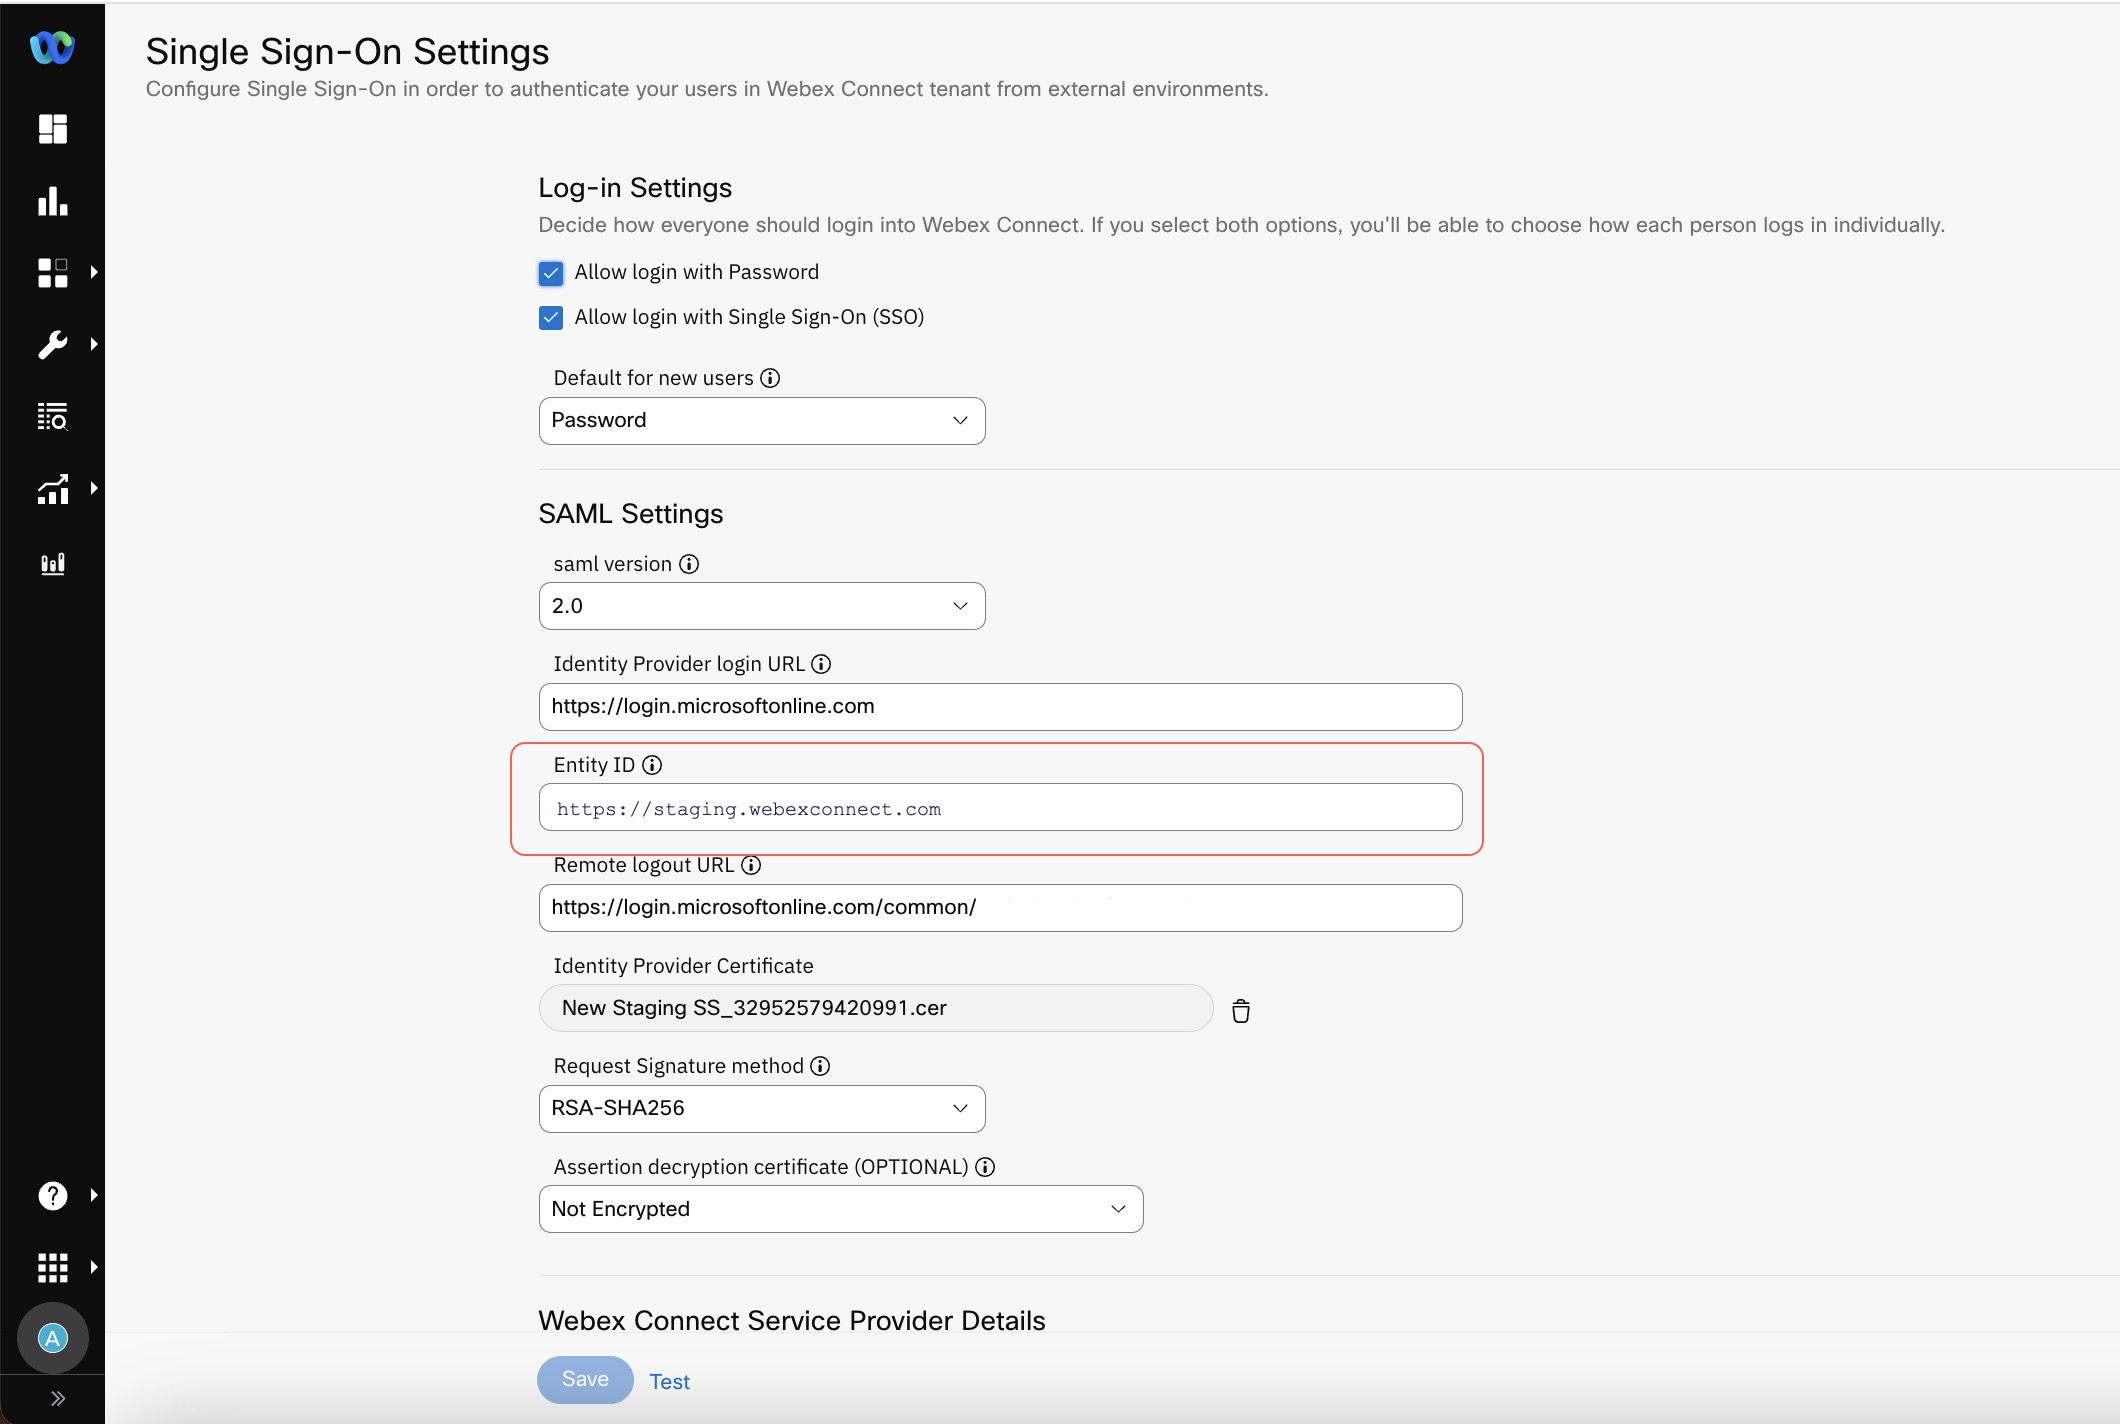
Screenshot of Single Sign-on Settings Page
- Copy the Identifier value from Webex Connect Service Provider Details.

Screenshot of Configuring the Identifier value
- Click Add Identifier and paste the value.
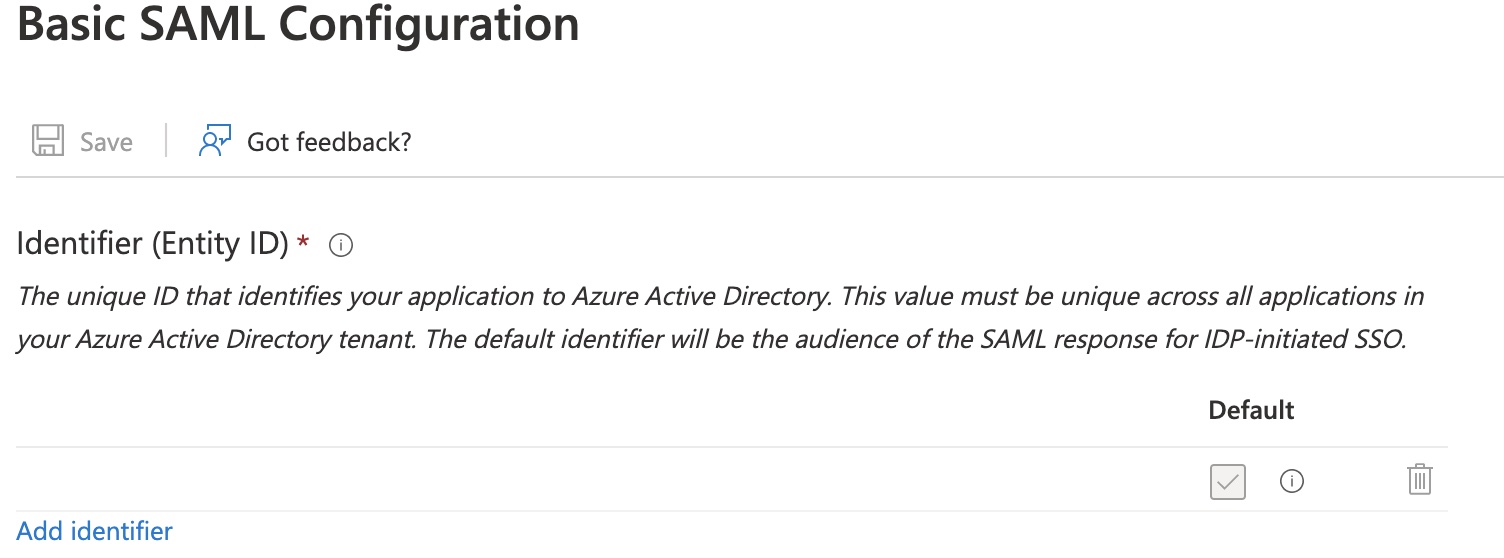
Screenshot of Identifier (Entity ID)
- Enter the Reply URL (Assertion Consumer Service URL). To get this value, login to your Webex Connect and navigate Single Sign-On Settings.
- Copy the Reply URL (Assertion Consumer Service URL) value from Webex Connect Service Provider Details.

Screenshot of ACS URL
- Click Add reply URL and paste the value.
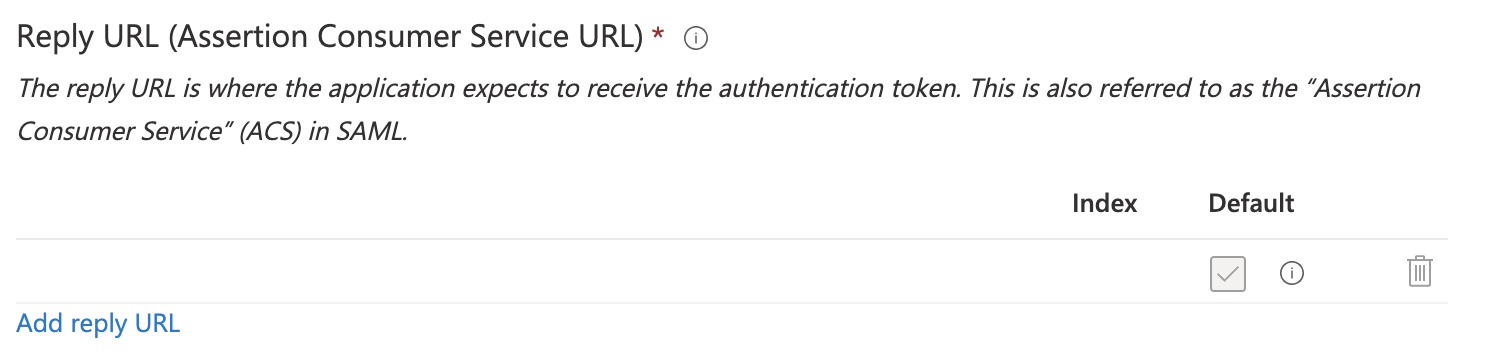
Screenshot of Adding Reply URL
- Click Save.
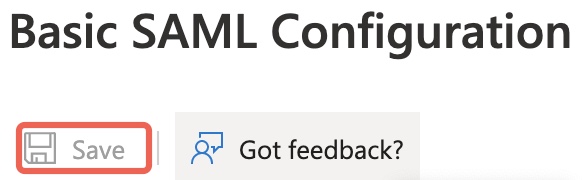
Screenshot of Saving the Basic SAML Configuration
-
Click Edit in Attributes & Claims and enter/update the details.
Attributes Values Description mobileno user.telephonenumber The telephone number of the user loginid user.mail The email ID of the user firstname user.displayname The first name of the user Unique User Identifier user.mail The email ID of the user Attributes in assertion data
The attributes are case-sensitive and should be entered in the displayed cases above.
- Steps to add an Attribute Enter Name, Namespace in Manage Claim.
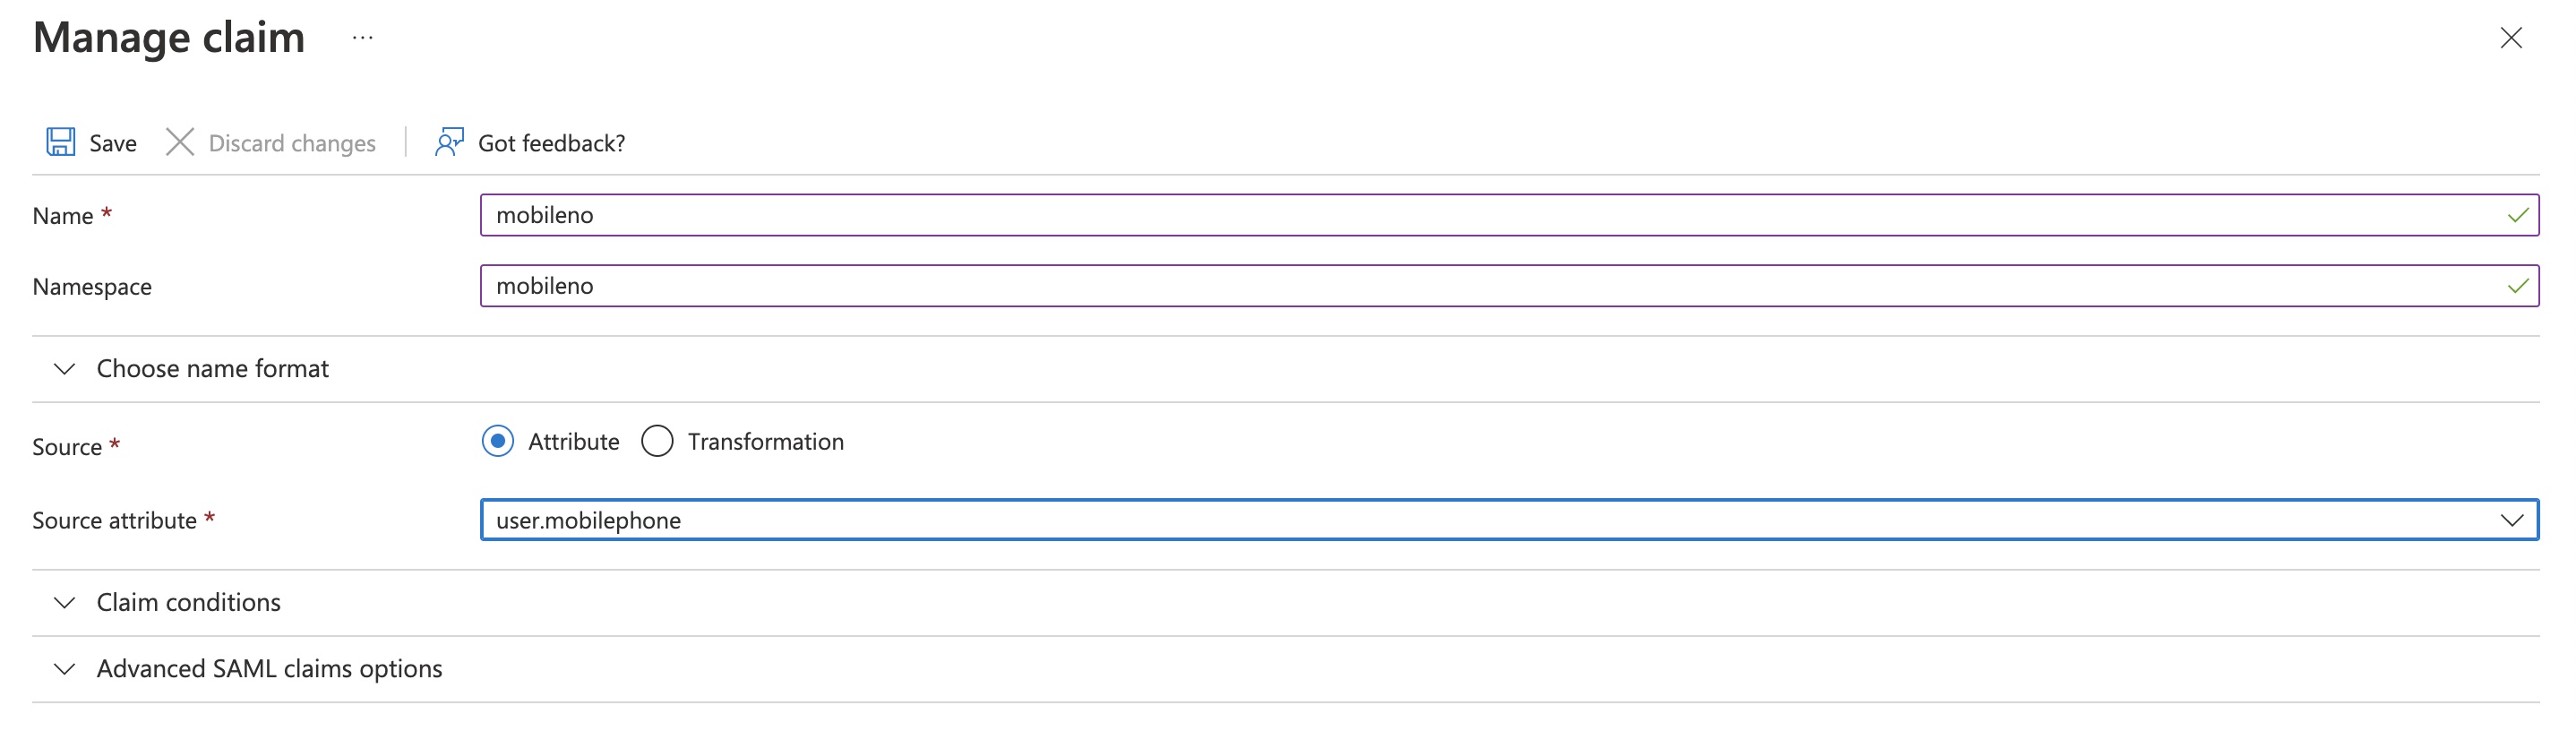
Screenshot of Managing claim page
- Select the required Source.
- Select the required Source attribute from the drop-down.
- Click Save.
- To download the SAML Certificates, click Certificate (Base64 ) Download.
Configuring SSO on Webex Connect
- Login to your Webex Connect and navigate to Single Sign-On Settings.
- Enter the Identity Provider Login URL copied from the Azure portal.
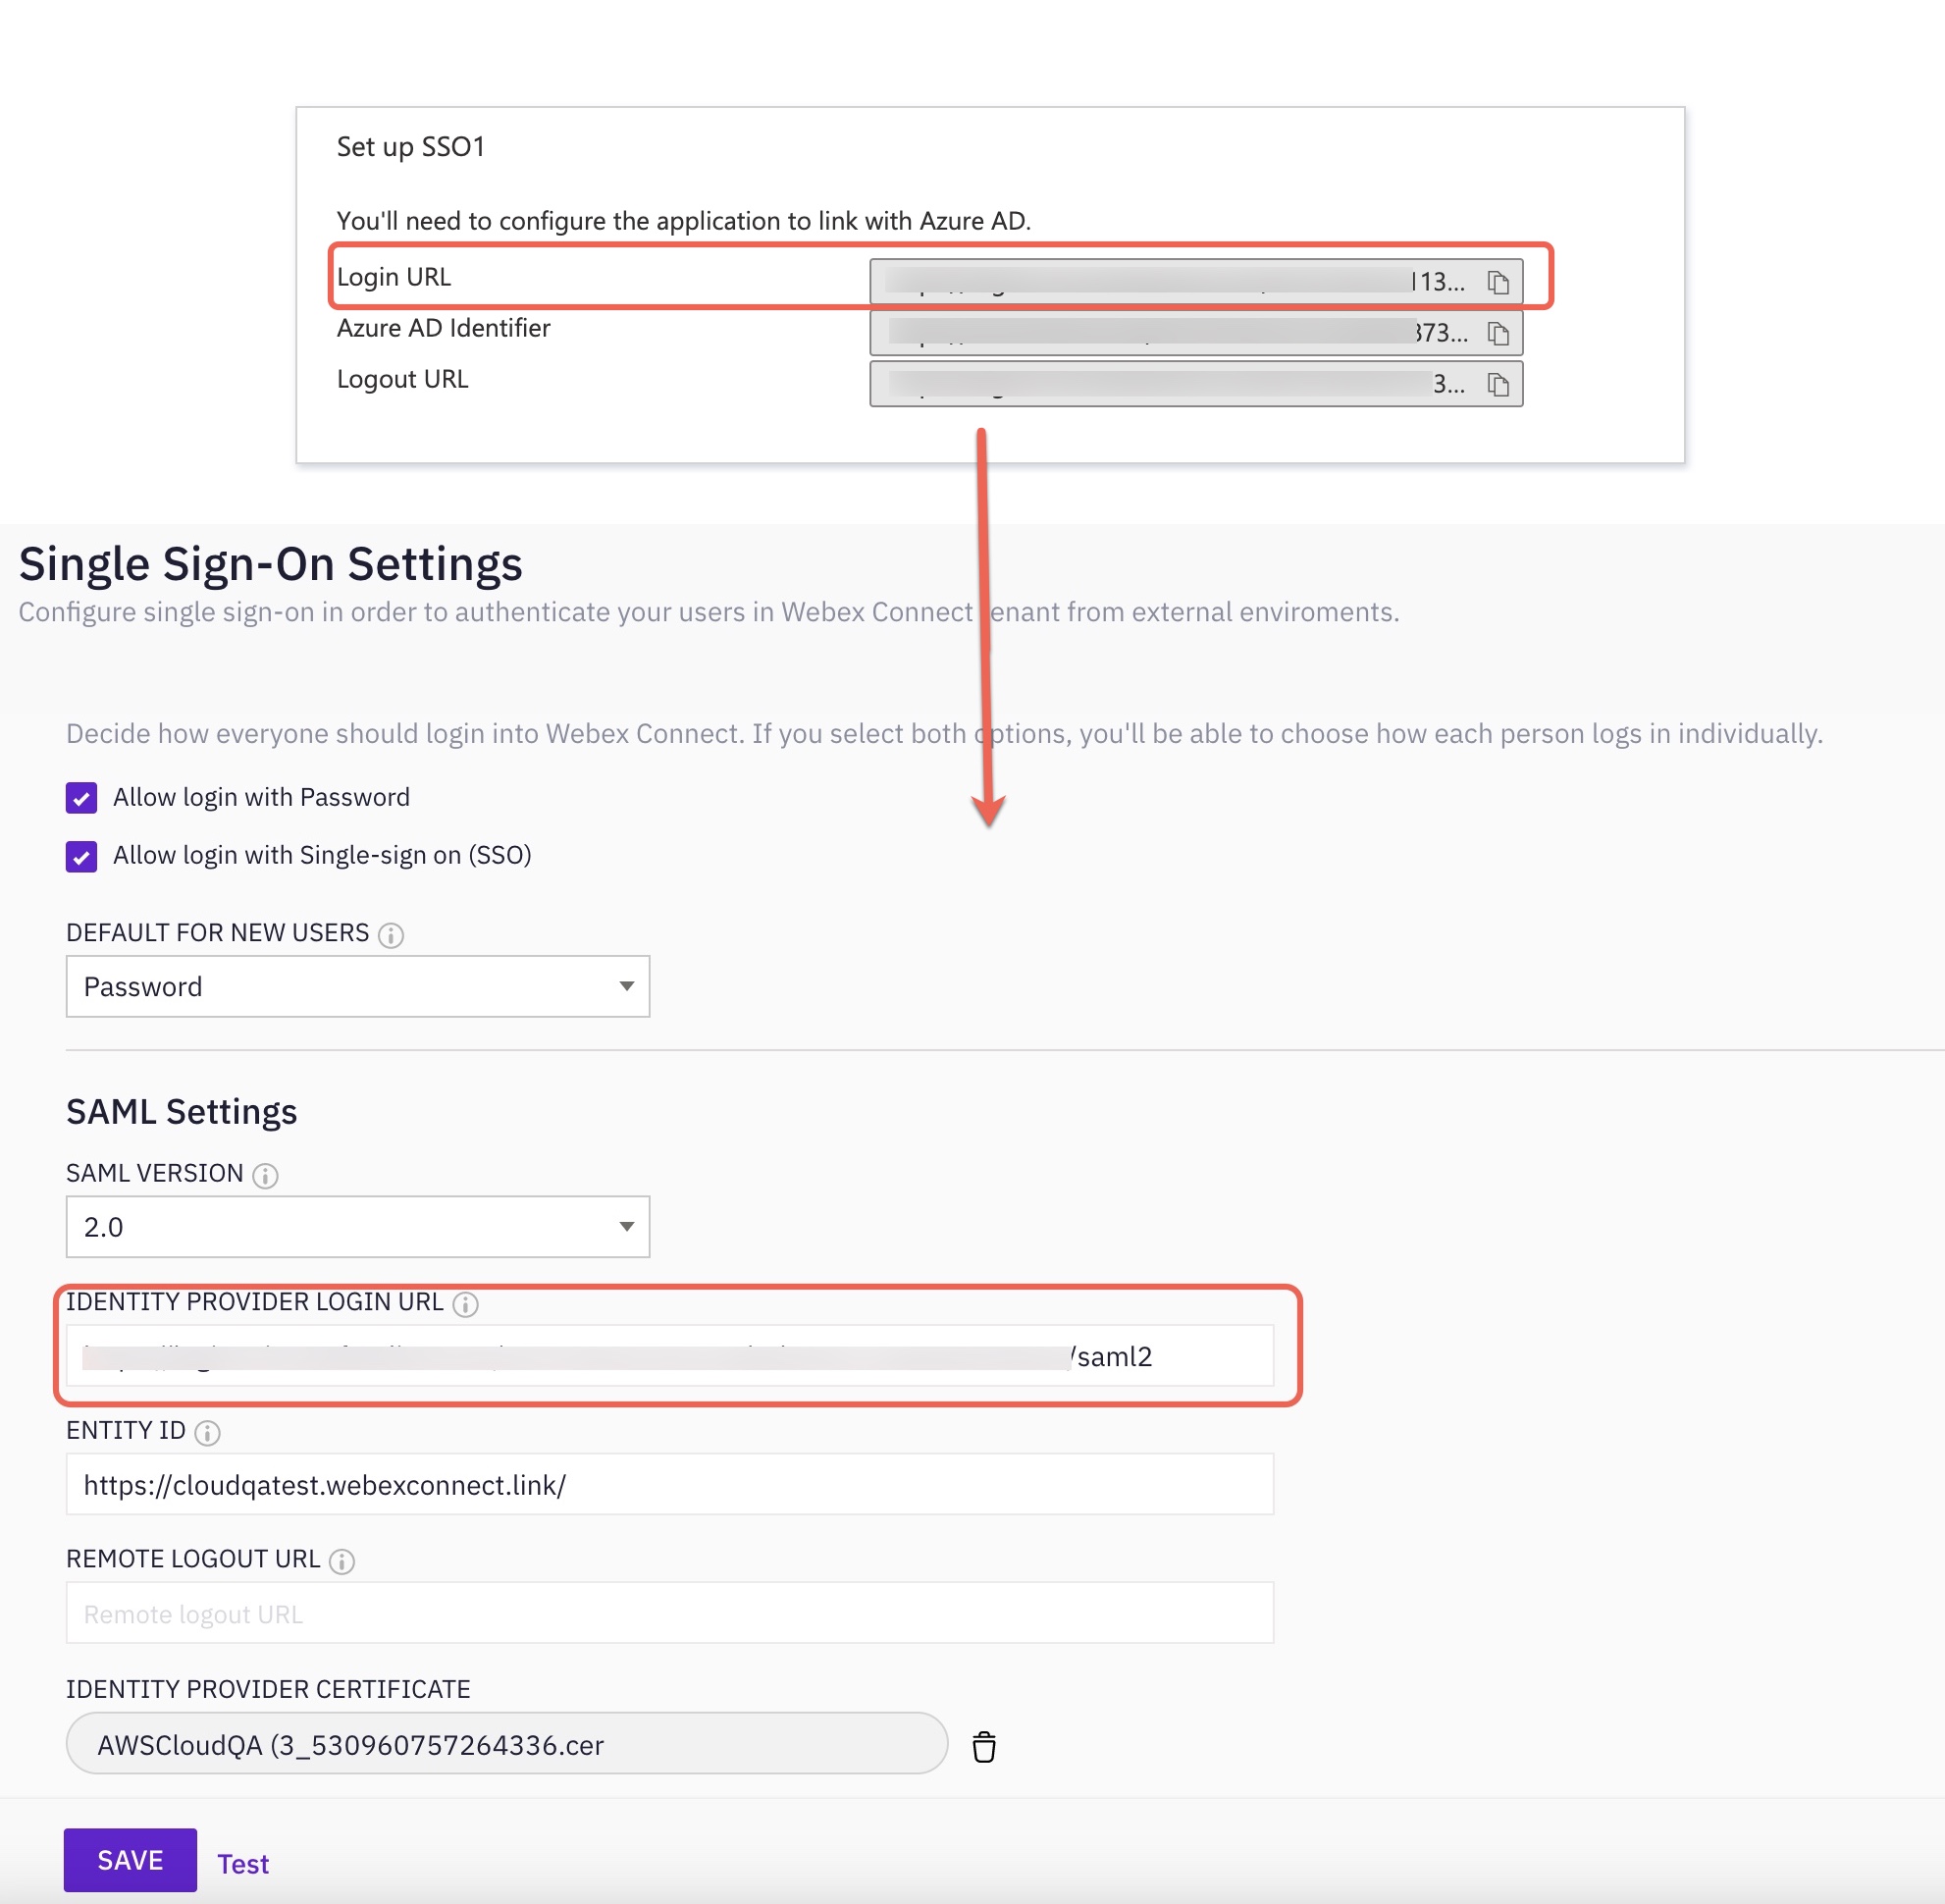
Screenshot of Configuring SSO in Webex Connect
- Enter the Entity ID. Copy and Paste the Entity ID from Connect Single Sign-On page or Azure Single Sign-On page.
Note:
The Entity ID must be same in both the Webex Connect and Azure portals. We recommend using the Entity ID
- Enter the Remote Logout URL copied from Azure Portal.
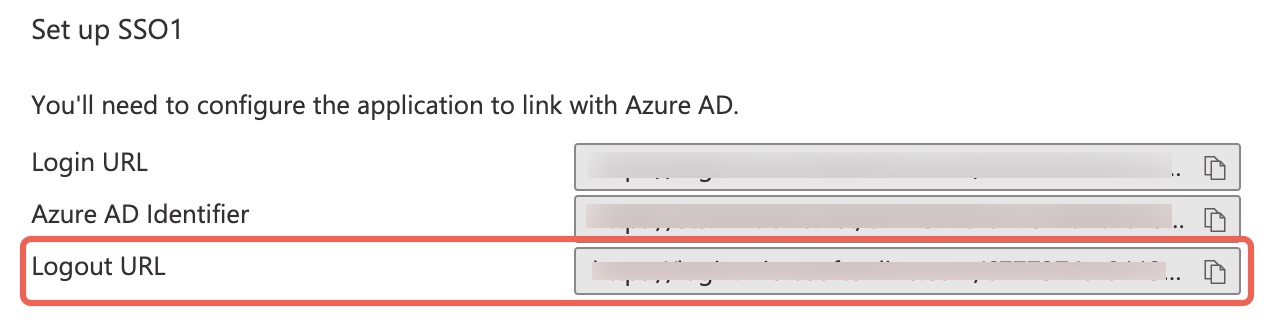
Screenshot of Configuring the Logout URL.
- Upload the Base 64 Certificate (which is downloaded from the Azure) in the Identity Provider Certificate.
- Select the Request Signature Method as RSA-SHA256 from the drop-down.
- Click Save.
- Click Confirm on the pop-up.
Testing the SSO Connection
- On Single Sign-On Settings page click Test.
- Enter the Email Id.
NOTE
Please make sure the email address used for testing is registered on Azure with SSO app, created during the configuration on SSO.
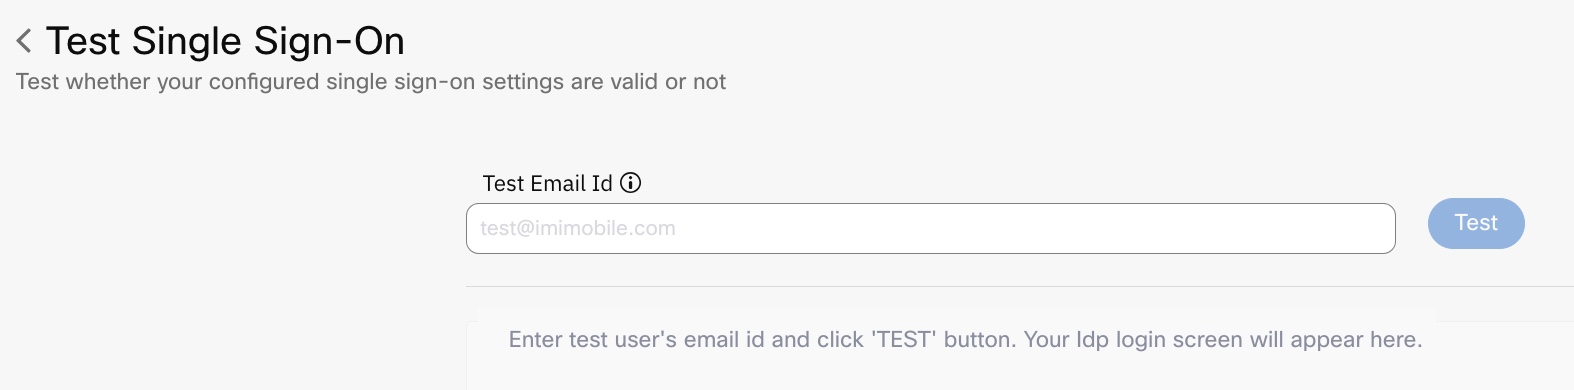
Screenshot of Testing the SSO Connection
- Click Test.
Updated over 1 year ago