Collect Input Node
Understand what a Collect Input node is and how to configure it
The Collect Input node is used to receive and capture input from a user on an ongoing-call. You can choose to play an audio prompt before asking the user to enter an input. For example, you can use this node to capture the account number or date of birth of the user.
The Collect Input node can exist only within the Voice Node Group.
Node Configuration
Drag-and-drop the node within the voice node group on to the visual flow builder and double-click it to open the configuration window. The input can either be DTMF or speech from the user.
Configuring DTMF Input

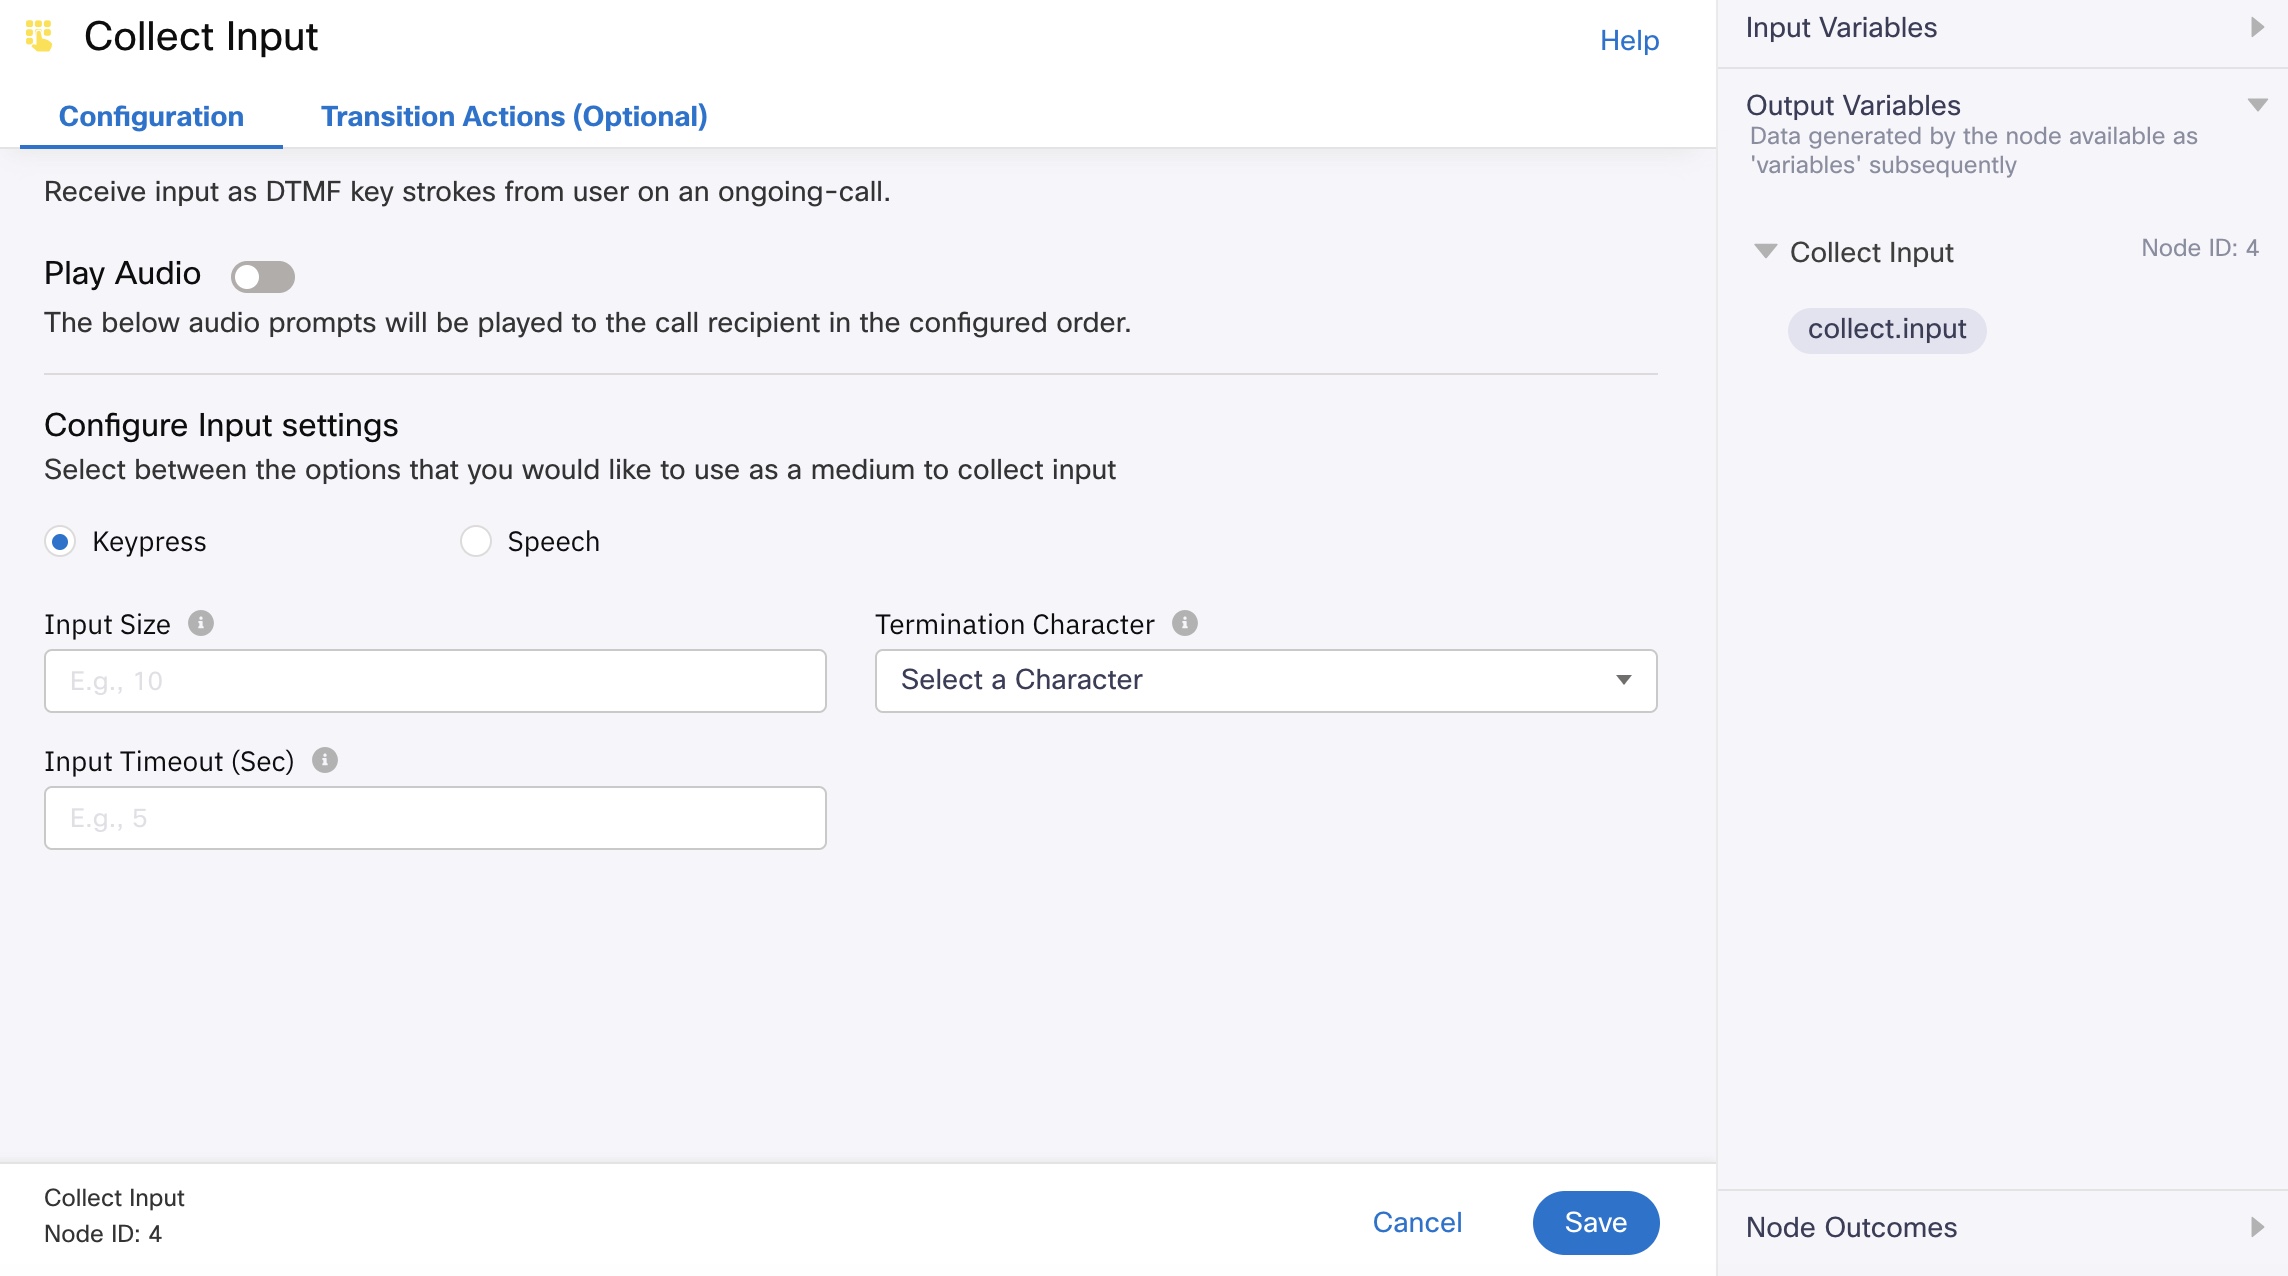
Collect Input Node Configuration - Keypress
- Toggle the Play Audio button if you want to play a message to the user during an on-going call before asking for the user's input. This is an optional step.
See Node Configuration steps to know about configuring the play audio message. - Select the Keypress option.
- Configure the Input Settings.
(i) Provide the Input Size. This is the maximum number of characters expected from the user input.
(II) Select a Termination Character from the available list of options. This character when selected and pressed on the call terminates the call. There is an option to select None as well, which indicates that you do not want to terminate the call. Any character implies that the call gets terminated when you press any character.
(iii) Enter the Input Timeout in seconds. This is the duration for which user input is awaited. If not, the flow exists through the onTimeout edge.
(iv) Select Interrupt audio on user input if you want to provide the user with an ability to enter user input without having to wait until the audio prompt completes playing. - Click Save to complete the configuration.
Input Variables
You can see a list of all the flow variables available for use within this node under the Input Variables pane. You can also search for a variable using the Search field.
You can see the list of variables that you explicitly create and configure for this node under the Custom Variables pane. You can also add a custom variable to the flow using the Add New Custom Variable button. For more information, see Custom Variables.
Configuring Speech Recognition:

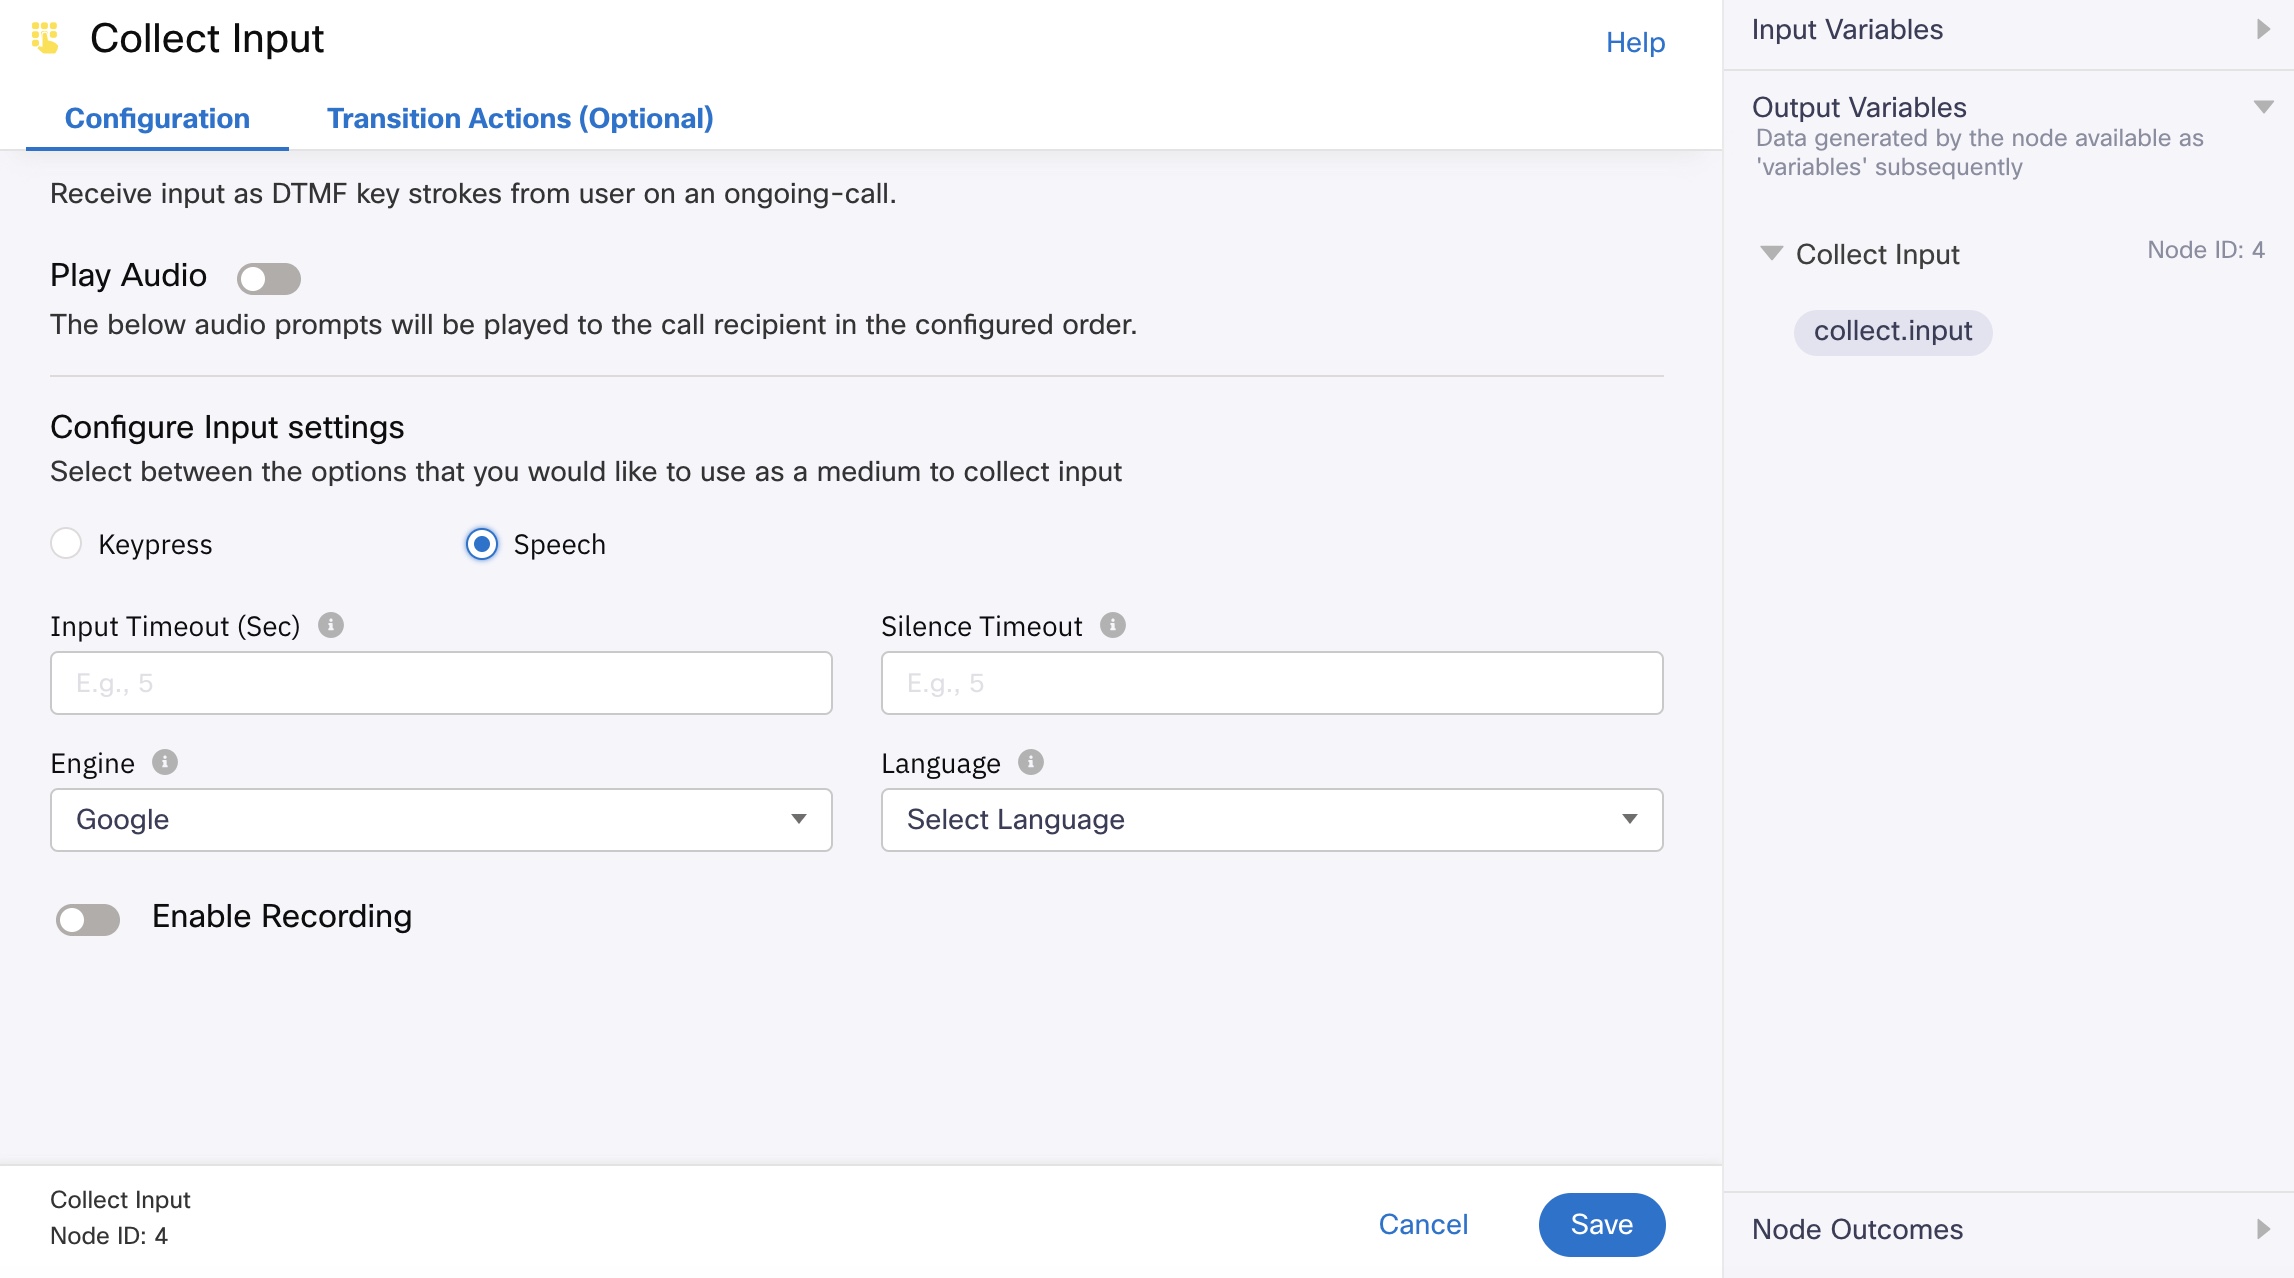
Collect Input Node Configuration - Speech
- Select the Speech option.
- Configure the Input Settings.
(i) Enter the Input Timeout in seconds. This is the duration for which user input is awaited. If not, the flow exists through the onTimeout edge.
(II) Enter the value in seconds for the Silence Timeout.
The silence detection feature of the platform detects silence after the user starts speaking, and once detected, the node exits from the success edge. Example, if the configured value is 2 seconds, the the system waits for the user’s speech and looks for continuous silence of 2 seconds. Once detected, it stops speech collection and exits from the appropriate success edge.
(iii) Select the option for Engine from the drop-down menu.
(iv) Select an option for Language. - Click Enable Recording if you want to record the speech for debugging purposes.
- Enter a value for the Audio File Name Prefix.
This option is displayed only when Enable Recording option is turned on. - Click Save to complete the configuration.
Note
The speech feature in Collect Input Node will have pricing implications. Please reach out to your account manager to discuss commercials and enable this feature for your tenant.
Output Variables
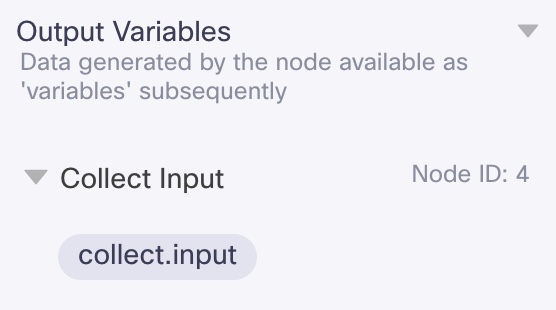
You can see the data that this node generates as output variables. These variables are available for use in subsequent nodes. The following are the standard output variables for the Collect Input node:
- collect.input - stores the user input the DTMFs pressed for onSuccess, onFailure, and onError outcomes.

Output Variables
Node Outcomes
You can see the list of possible node outcomes for this node under this pane. You can customize the node labels using the Edit (pencil) icon. The node exits through one of the node edges corresponding to the outcome of the node.
| Node Edge | Node Event/Outcome |
|---|---|
| Success (green) | > - onSuccess - the flow exits through this node when the user input is captured successully |
| Timeout (yellow/amber) | > - oninputTimeout - the flow exits through this node when the user has not entered within the specified timeout duration |
| Error (red) | > - onError - the flow exits through this node outcome when the user input is invalid |
Transition Actions
Use this tab to configure the transition actions for On-enter/On-leave events. However, configuring transition actions is optional. For detailed instructions about configuring the transition actions, see Node Transition Actions.
Updated 5 months ago
