
Configure Fulfillment Flows for AI Agent Actions
This document outlines the procedure for configuring fulfilment flows for AI Agent actions on Webex Connect.
Introduction
This document details the procedure for configuring fulfillment flows for AI Agent actions on Webex Connect and the steps for selecting these AI Agent-triggered fulfillment flows within the Webex AI Agent Studio. Execution of an AI Agent action in Webex AI Agent Studio triggers the corresponding selected flow in Webex Connect. By default, Webex Connect automatically notifies flows initiated by AI Agent as the Start node. Upon completion of the flow execution, the system communicates the outcome and any associated payload (defined in the flow outcome settings) back to the AI Agent.
Configure AI Agent Fulfillment Flow
Steps to create an AI Agent fulfillment flow:
-
Click on the preferred Service from the Services dashboard.
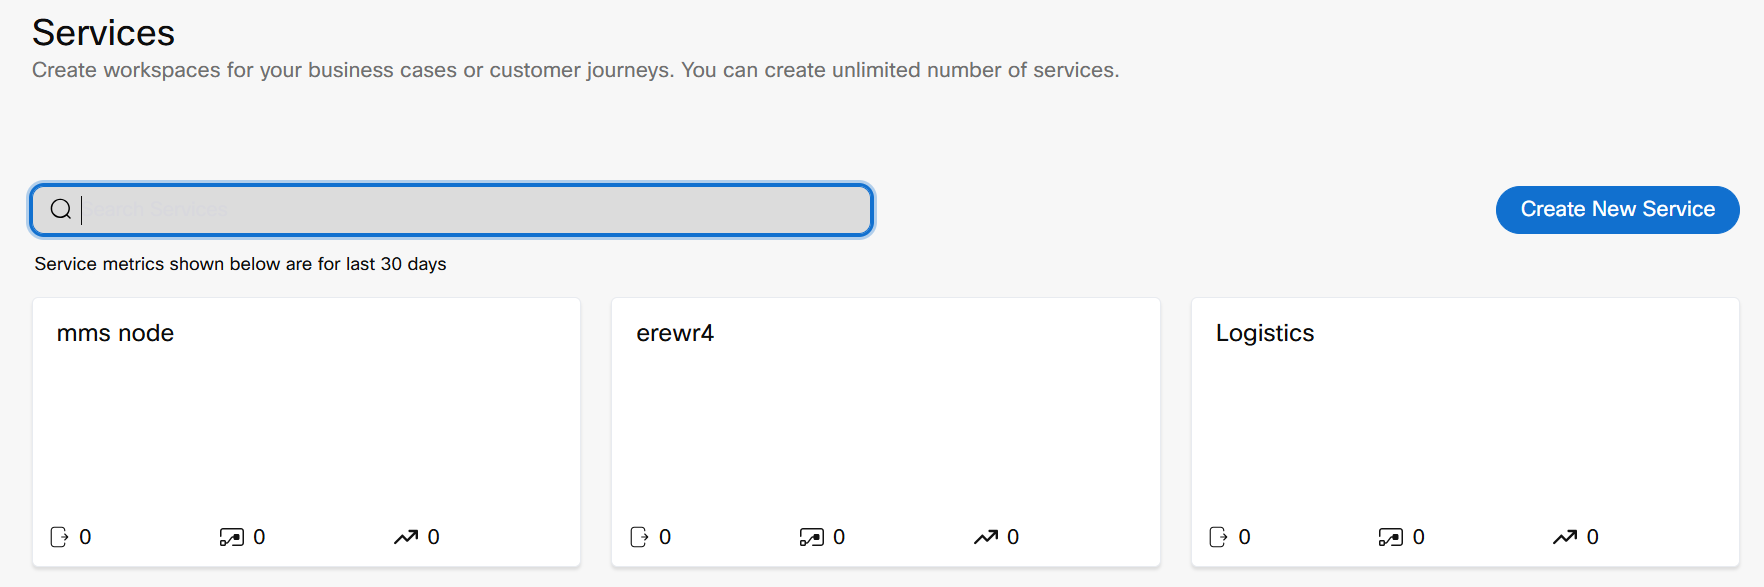
Select Service
-
Click the Create Flow button from the Services page.
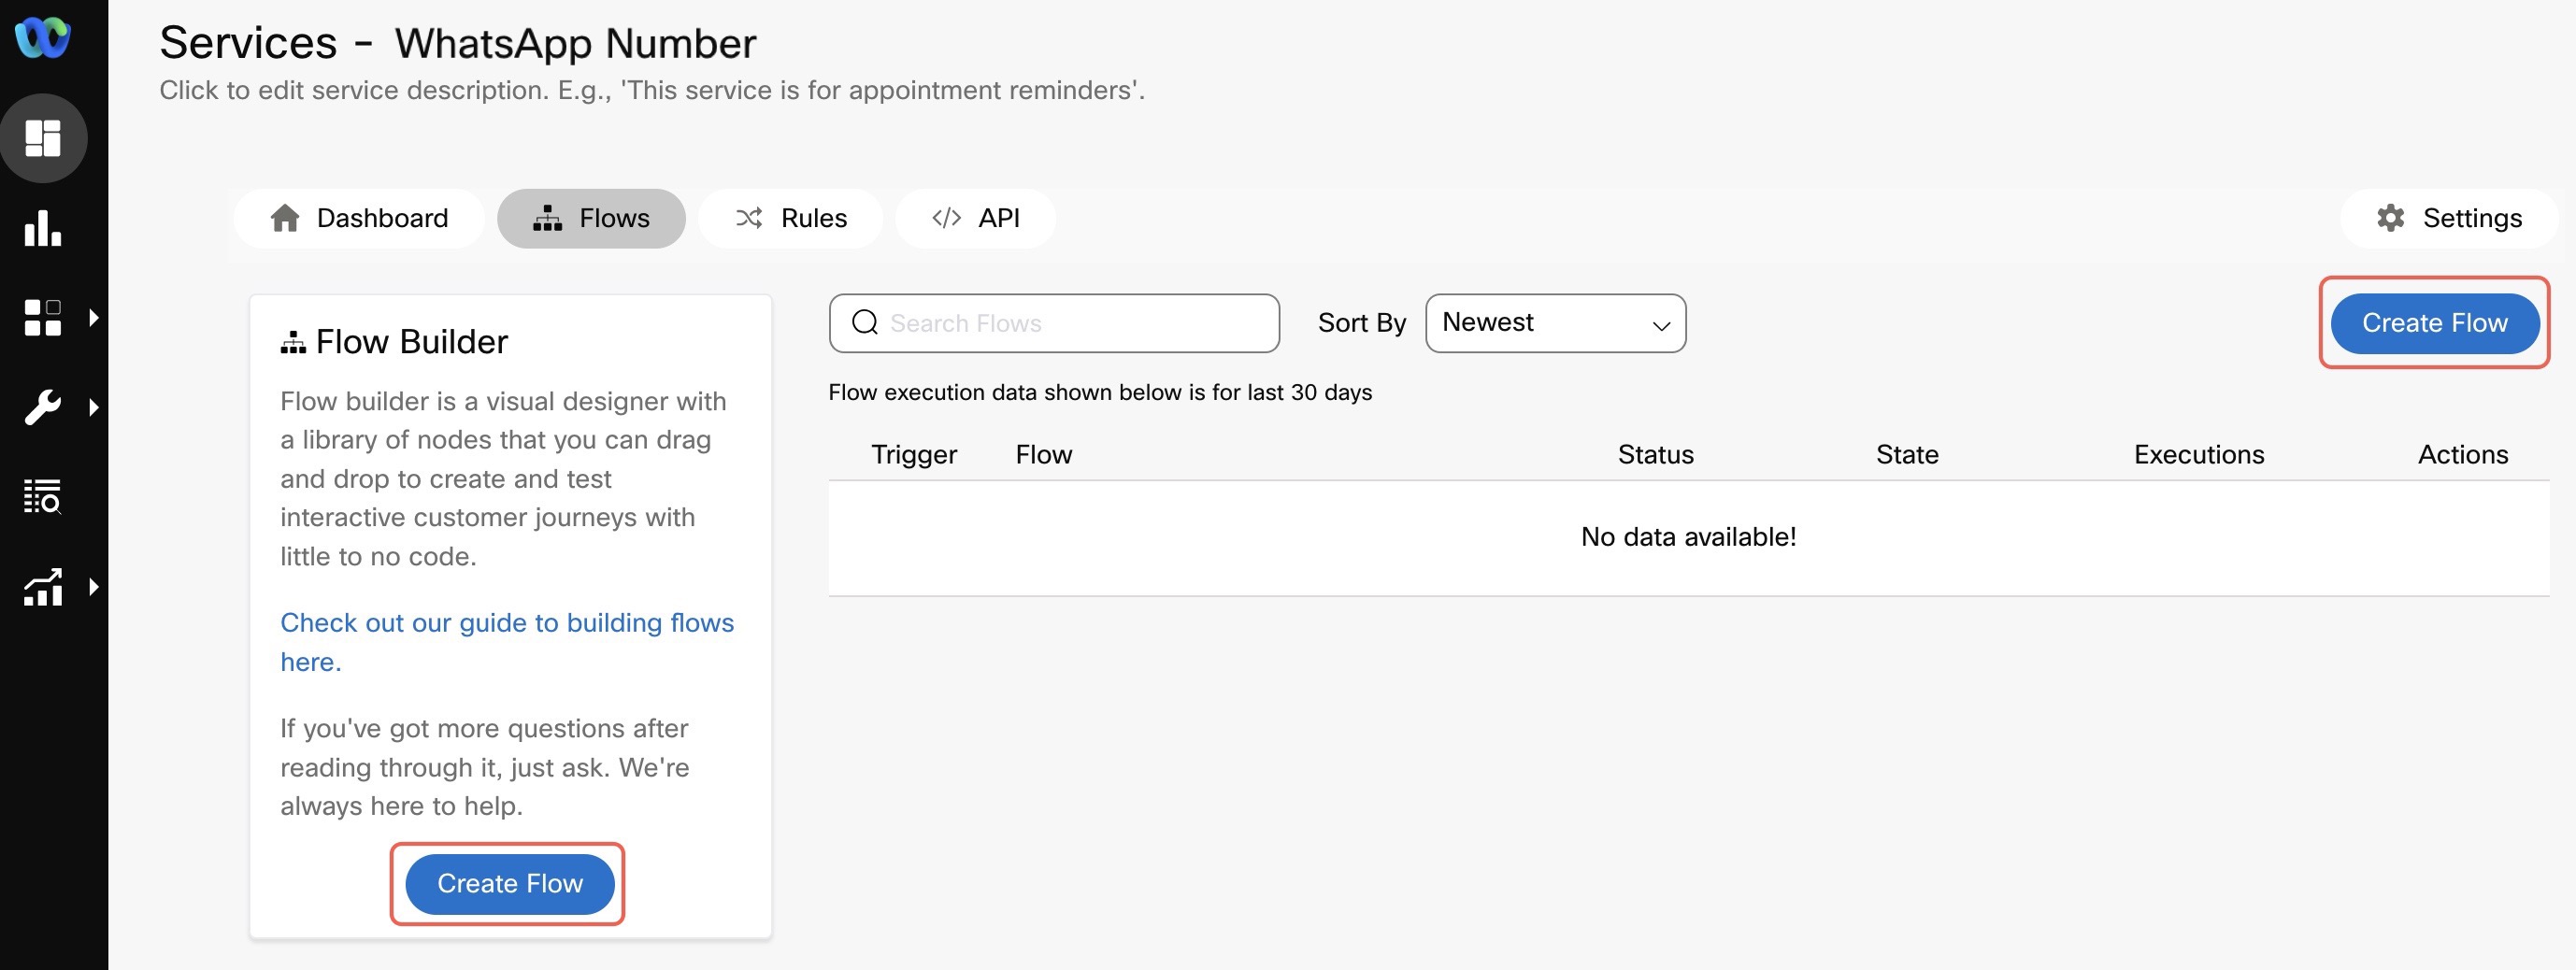
Click Create Flow
-
Enter the Flow Name.
- Under Method, select New Flow as the Flow option. You can also Copy from existing or Upload a new flow.
When constructing an AI Agent fulfillment flow, ensure that whether you are copying from an existing flow or uploading a new one, the AI Agent should be set as the start node. - If you are building a new flow, select the Start from Scratch option to create a flow from the beginning and click on Create to proceed.
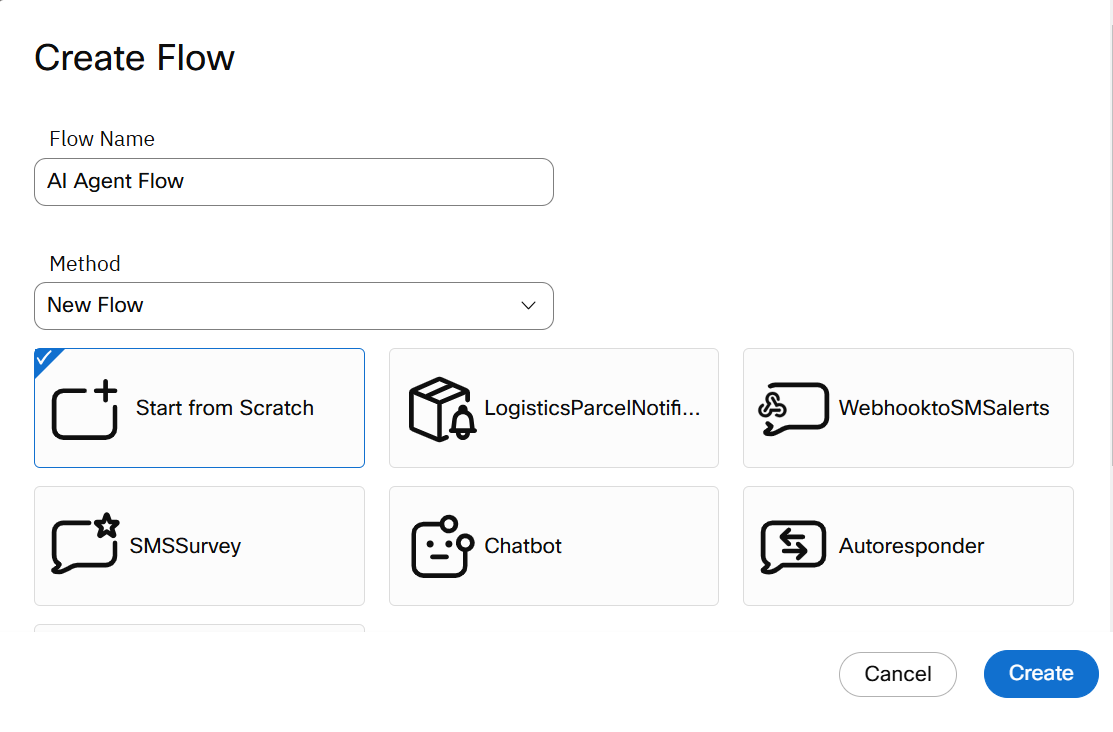
Add Flow Name on Create Flow
- Under Method, select New Flow as the Flow option. You can also Copy from existing or Upload a new flow.
-
Select AI Agent Trigger category as the Start node.
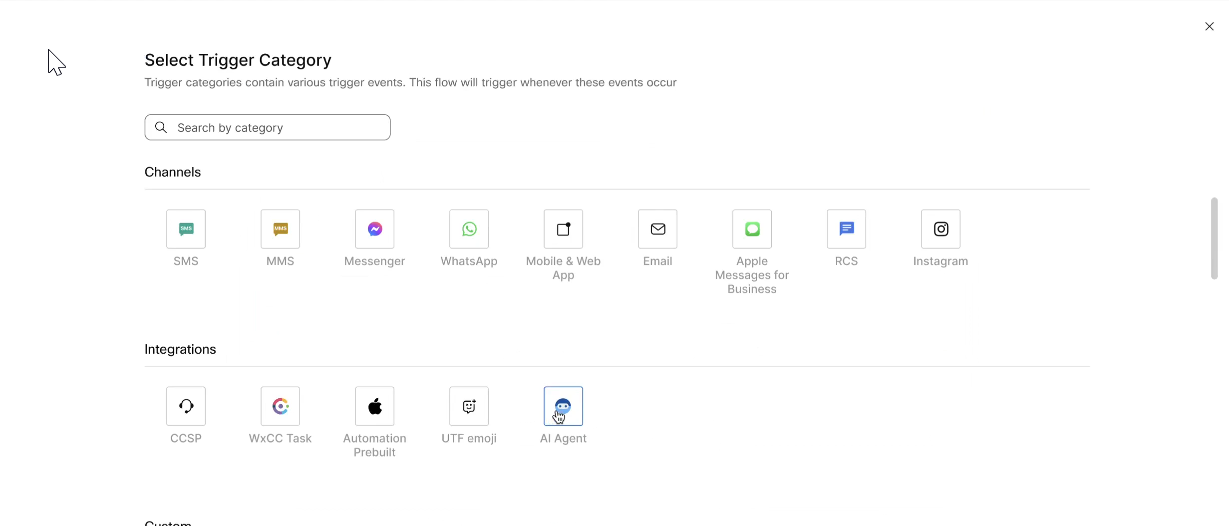
Select AI Agent Trigger Category
Note
If you change the Start Node, the notification set from the flow outcome is disabled and the configured payload in the Start node is automatically deleted. A warning message is displayed as shown below:
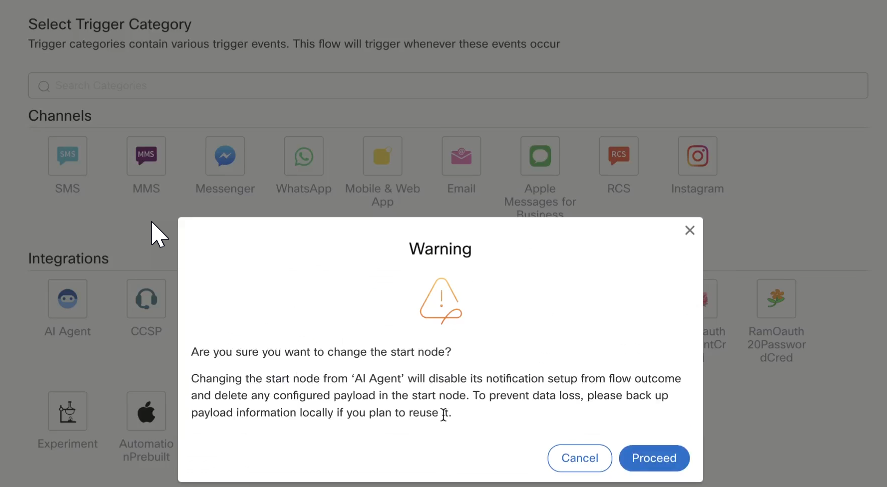
Warning Message received when changed the Start Node
-
Once you choose AI Agent as the Start node, you will find the event auto-populated as “Trigger from AI Agent to initiate flow“.
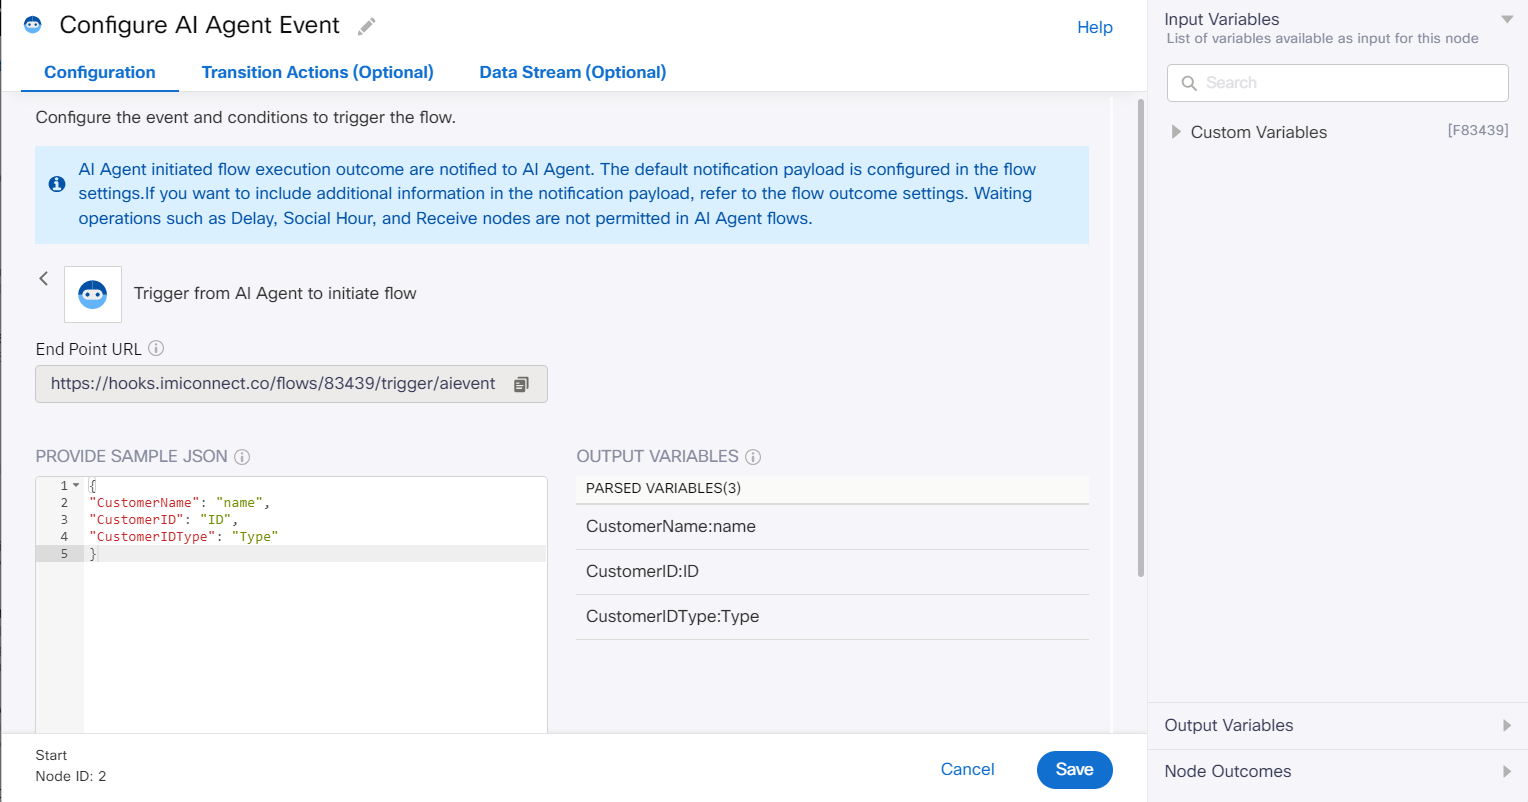
Configure AI Agent Event
The configuration popup displays an endpoint URL used by Webex AI Agent Studio to trigger the Webex Connect fulfillment flow. This URL is secured by Webex CI authentication.
A sample input JSON is provided by default in the Provide sample JSON which you can modify within the Webex AI Agent Studio. For more information, refer to Configure Fulfillment Flows for AI Agent Actions and click Parse to view the sample payload's parameters as output variables. You can also configure conditional triggering based on the payload. This ensures flows are invoked only when the specified conditions are met.Note
AI Agent flows have a 30-second execution time limit. Using Waiting Nodes such as Delay, Social Hour, Receive Node, and Call Workflow is restricted, as these nodes can cause flow execution to exceed this limit. Exceeding the 30-second limit prevents the AI Agent from receiving the journey fulfillment response, leading to unexpected issues in AI Agent Action fulfillment.
-
Build your flow by dragging and dropping the nodes.
-
The AI Agent is notified of flow completion. By default, the notification for AI Agent is enabled under the flow setting with the default payload. On flow completion, you can update the payload shared with the AI Agent.
Under Flow Settings, click on Flow Outcomes.In the Flow Outcomes, open the ‘Last Execution Status’ Outcome. The ‘Notify AI Agent’ radio button is enabled by default for the start node with 'AI Agent’ as the trigger.
You can send a simple JSON payload using key-value pairs or a more complex payload (including arrays) using the "Paste JSON" option. The system provides default key-value pairs for TransactionID, service name, status code, and flow name. You can add more or delete the previous one as required. For the key, you can provide the key name, and either a static value, or select a variable from the Input Variables panel for dynamic population. This payload would be sent to the AI Agent after the execution of the flow.
The maximum length of payload can be 16000 characters.
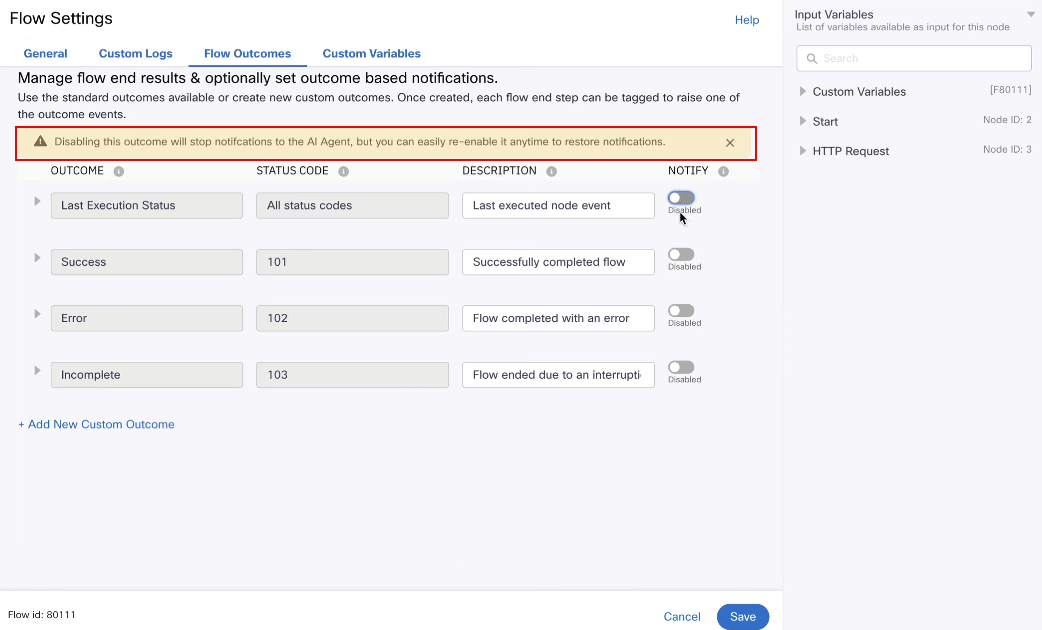
Flow Settings
Note
- Last Execution Status captures the final node outcome and doesn’t require a mapping between node event and flow outcome in the End pop up screen. Last Execution Status automatically captures the last node event and sends a notification to AI Agent (given the AI Agent notification is not disabled).
- Disabling the outcome prevents the AI Agent from receiving notifications, the same is explained in a toast message appearing on the screen as illustrated below. It is essential to enable notifications for the AI Agent; disabling them prevents the AI Agent from receiving the fulfillment outcome. Understand the implications before disabling notifications.
You may toggle on notify to restore the notification. This action restores your last configured payload or key-value information.
-
Click Make Live to publish the flow live. Before going live, make a few settings.
- Select the asset that is used in the flow.
- Enter the Comments for the flow.
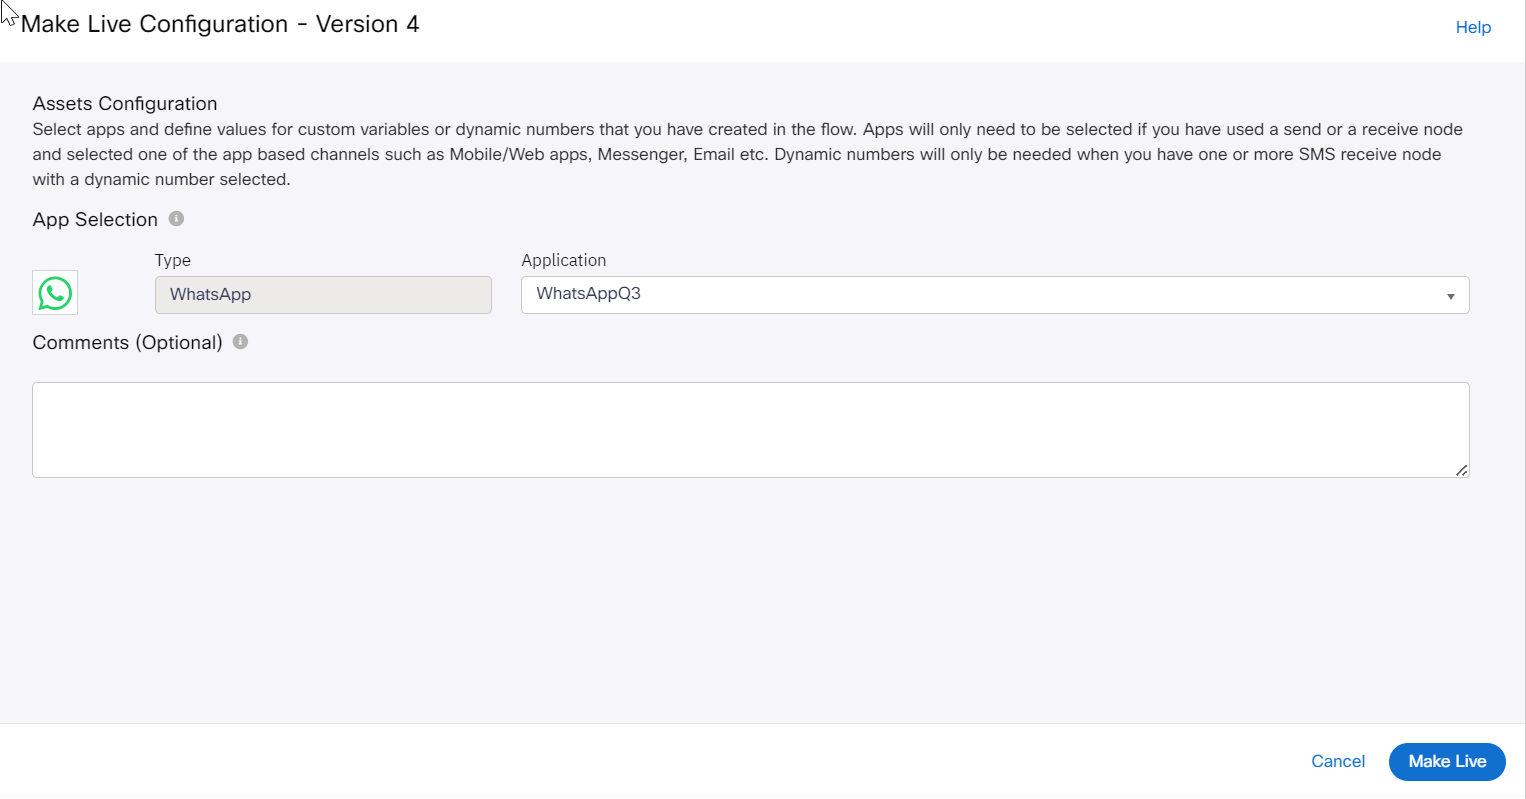
Make Live Configuration
-
Click Make Live.
Upon completion of flow execution, the AI Agent is notified of the flow outcome. The payload configured in the flow settings screen is used for the notification. For more information, refer to the notification section.
Fulfillment Flow Selection in Webex AI Agent Studio
Steps to select a flow in Webex AI Agent Studio:
-
Log in to Webex AI Agent Studio by crosslaunching from Control Hub.
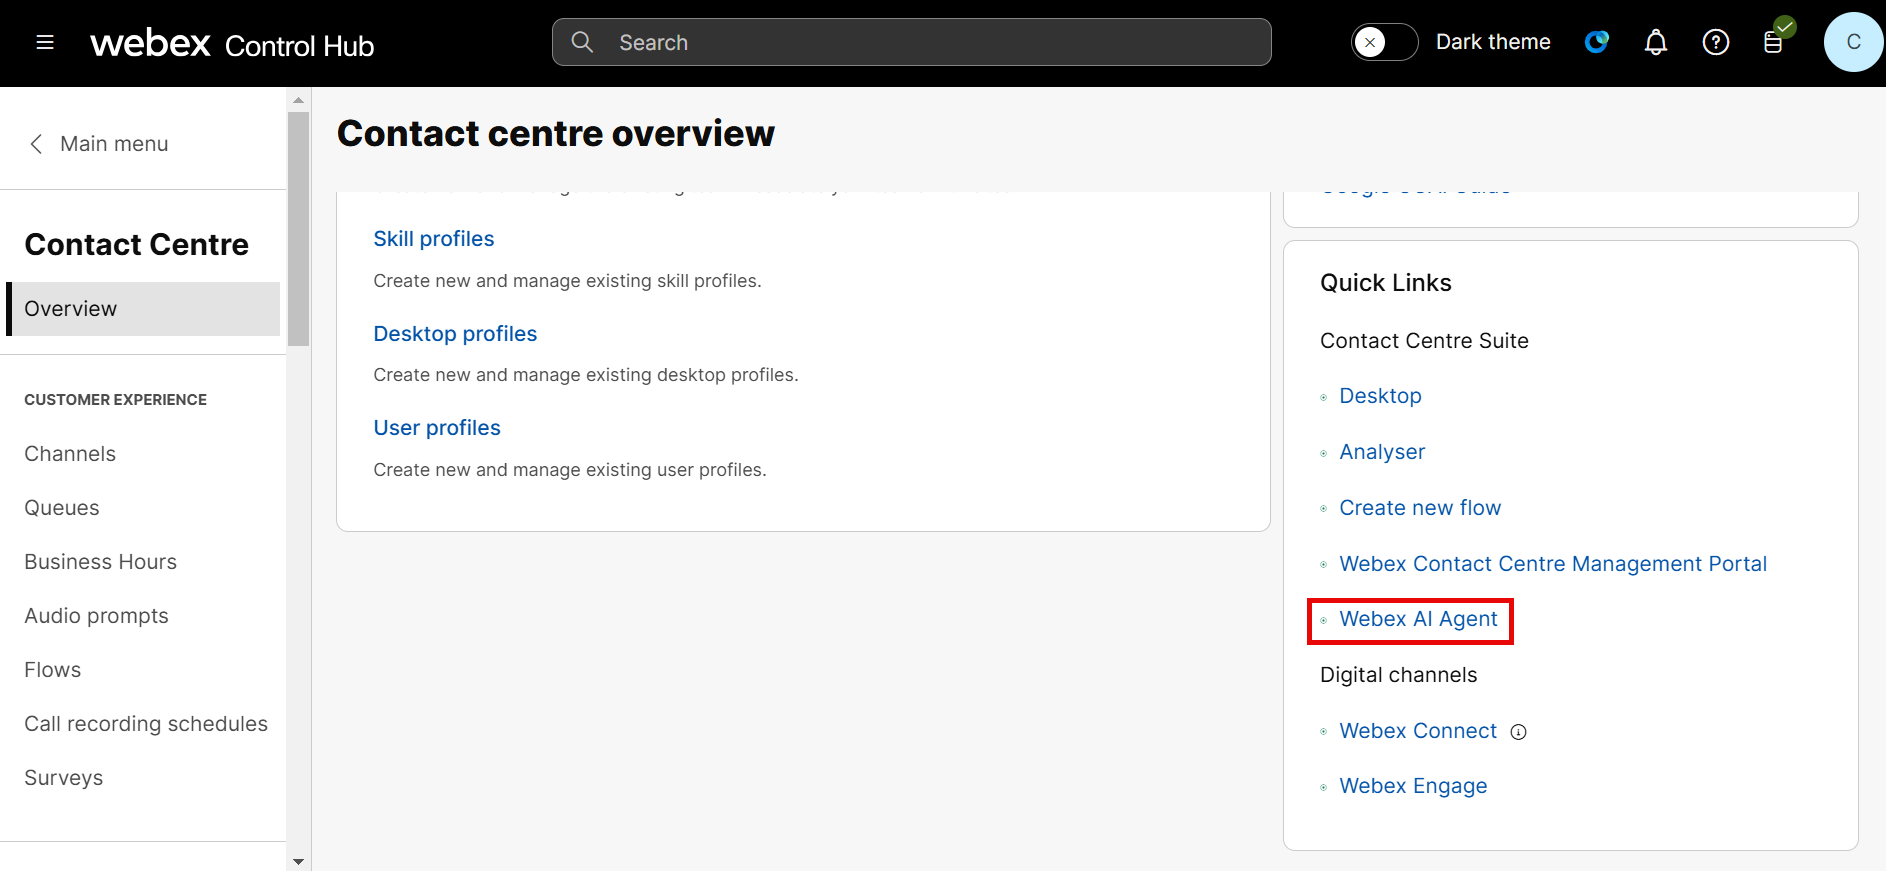
Webex AI Agent

AI Agents
-
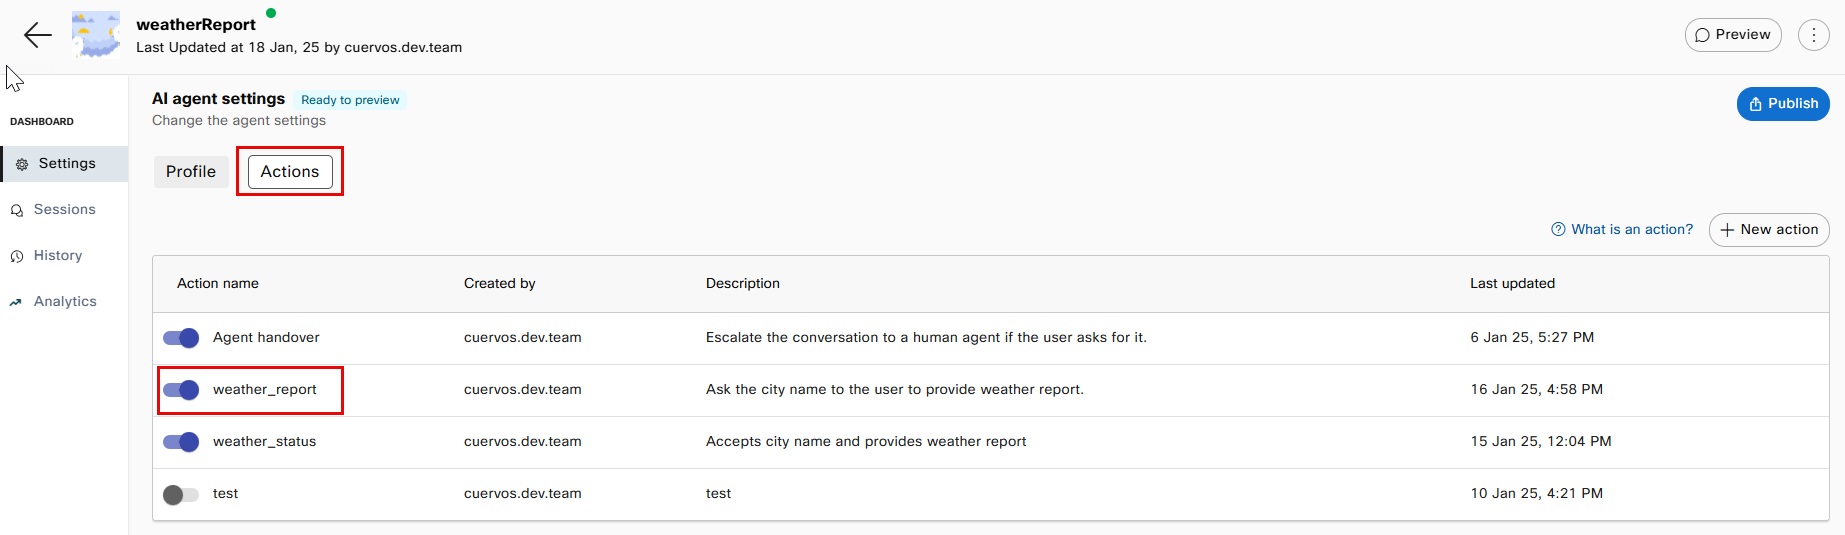
Launch the agent. Go to Actions. Select the Action for which you want to configure the fulfillment flow.
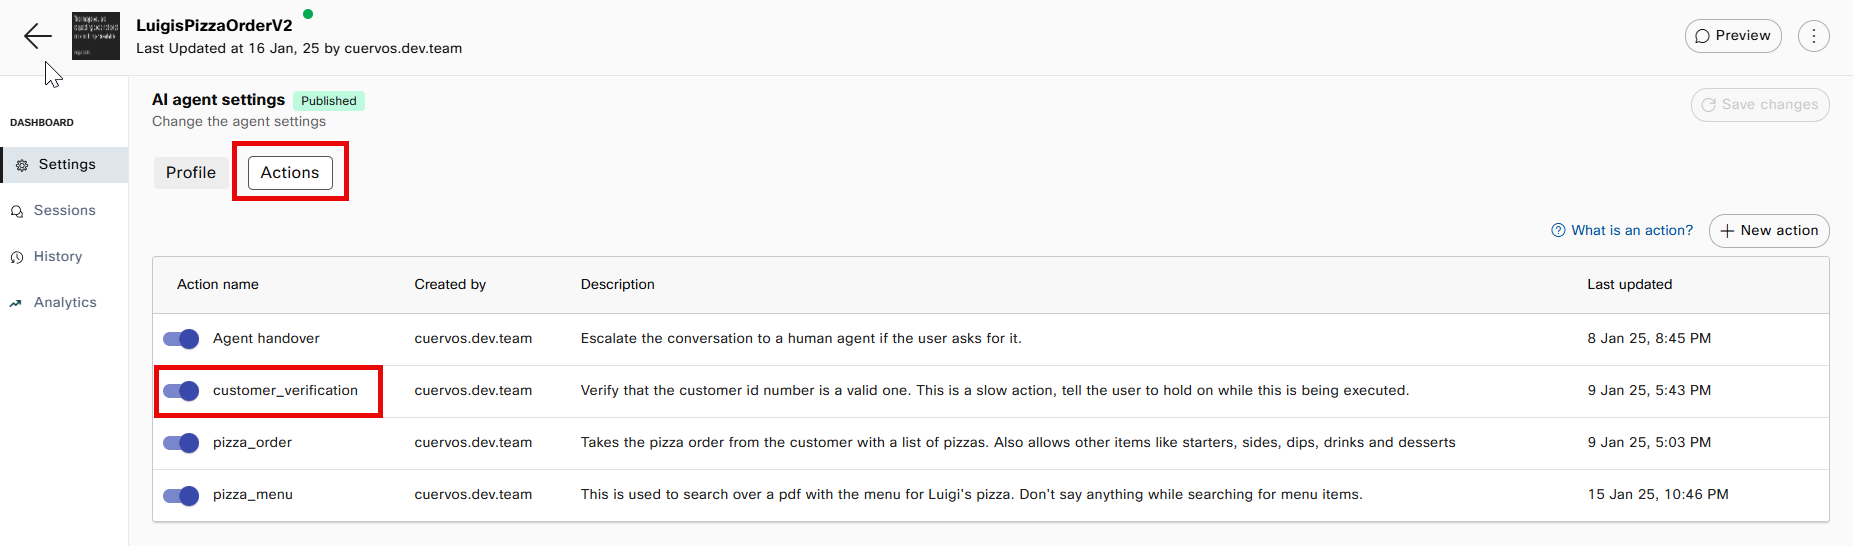
AI agent settings—Actions Tab
-
Scroll down to Webex Connect Flow Builder Fulfillment section on the Actions page.
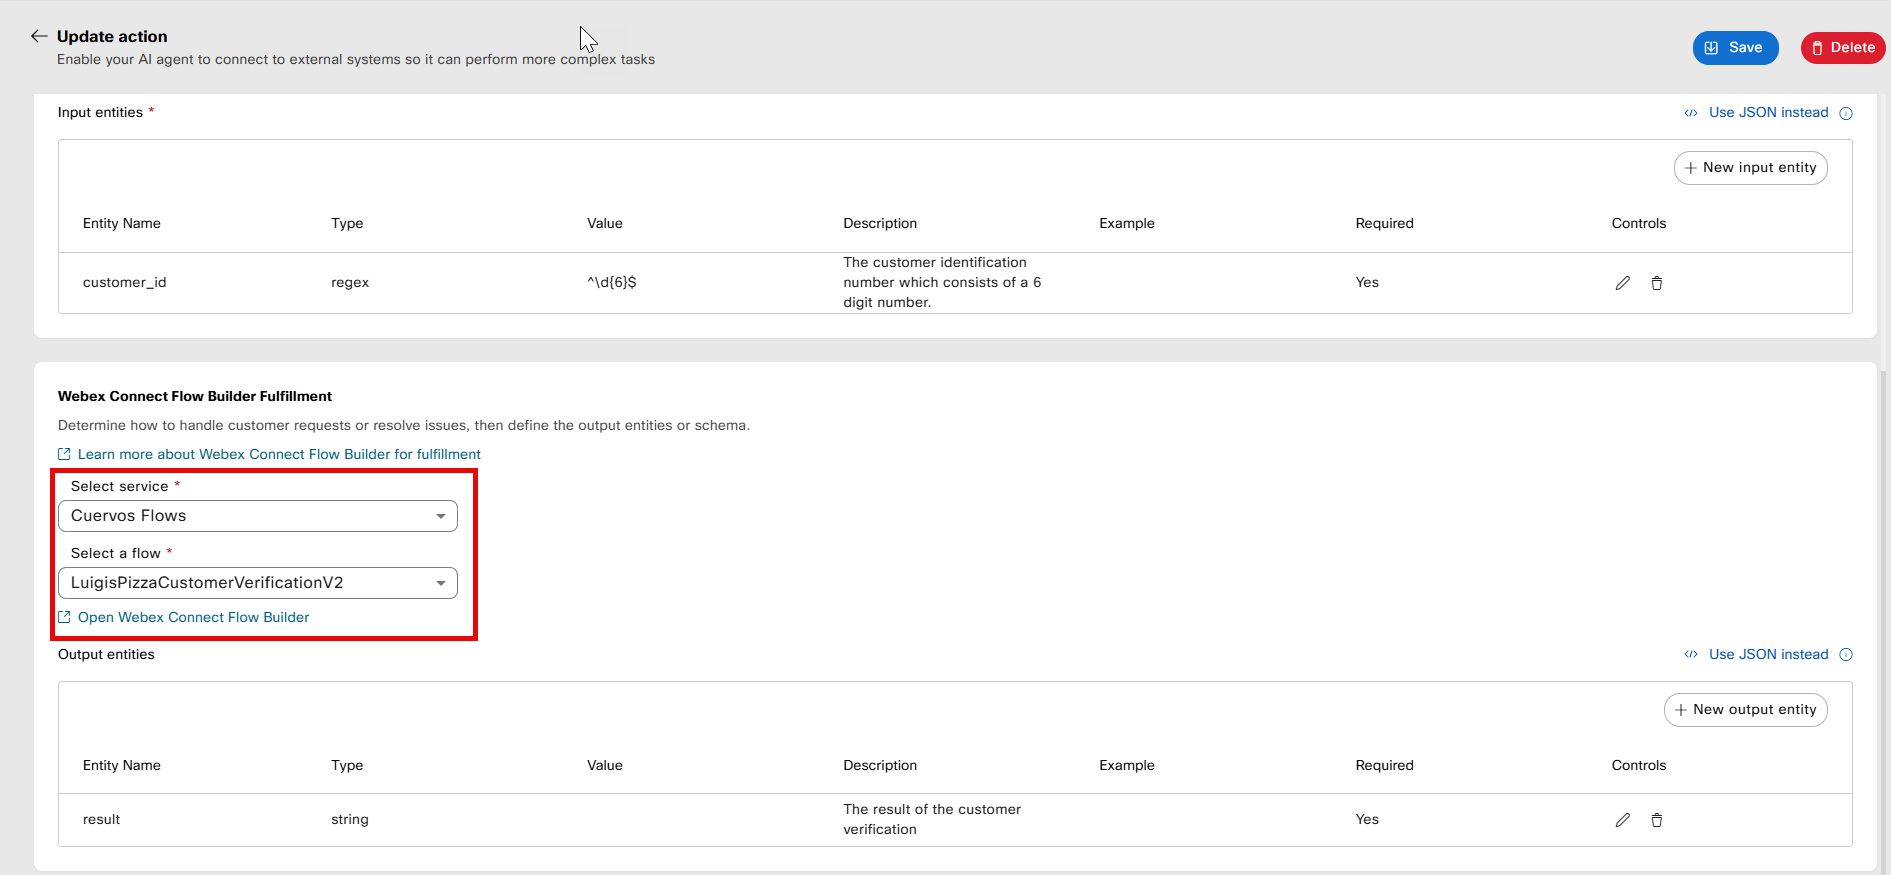
Webex Connect Flow Builder Fulfillment
-
Select a service that is configured in the Webex Connect client workspace. This will enable you to view a list of the selected service's flows, where the start node is the AI Agent.
Note
The Webex AI Agent Studio can only access service and flows configured within the Client-level workspace.
-
Select a flow from the dropdown. When the action executes the selected flow in Webex Connect, the outcomes will be notified to the AI Agent.
For more information on AI agent configuration set up and add actions to AI Agent, refer to our help.webex.com guide
Configure the Flow Outcomes for AI Agent in Webex Connect
-
Click on Flow Settings on the Flow Builder page.
-
Click Flow Outcomes to configure the outcomes of a flow.
The AI Agent notification is enabled by default with a default-configured payload. -
Select Enter key and value or Enter JSON to use the nested payloads. You can modify the default outcomes as required.

Flow Outcomes
Note
- Variables can be added with a '$' prefixed. Variable names are case-sensitive.
- Sending flow outcomes is mandatory for AI Agent flow with the ‘AI Agent’ as the Start node.
-
Within a flow, the Transaction Action assigns each node a variable and a corresponding value. This ensures the AI Agent receives the most current variable value during flow execution. When the flow reaches its endpoint, the latest value of the variable at that stage is sent to notify the AI Agent.
For instance, consider a flow that begins with a start node and progresses through two HTTP nodes. Each HTTP node is configured with a variable namedphonebut assigned different values—1for the first HTTP node and2for the second. If the flow concludes at the first HTTP node, the value sent to the AI Agent is1. Conversely, if the flow ends at the second HTTP node, the value sent is2.
How to get the payload on Webex AI Agent Studio
- Log in to Webex AI Agent Studio by crosslaunching from Control Hub.
Webex AI Agent
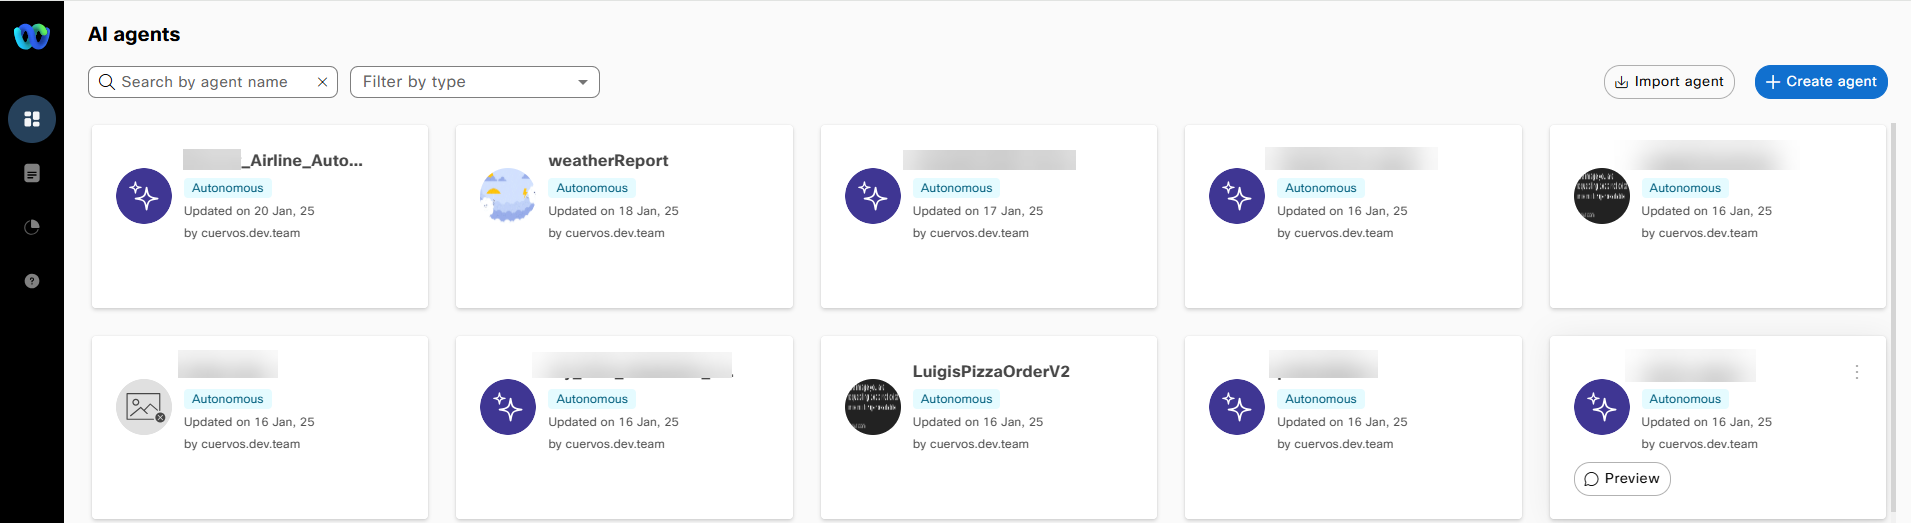
AI Agents
-
Launch the agent. Click on Actions tab. Select the Action for which you want to configure the fulfillment flow.
Actions Tab in Webex AI Agent Studio
-
Scroll down to Slot filling on the Update Action page.
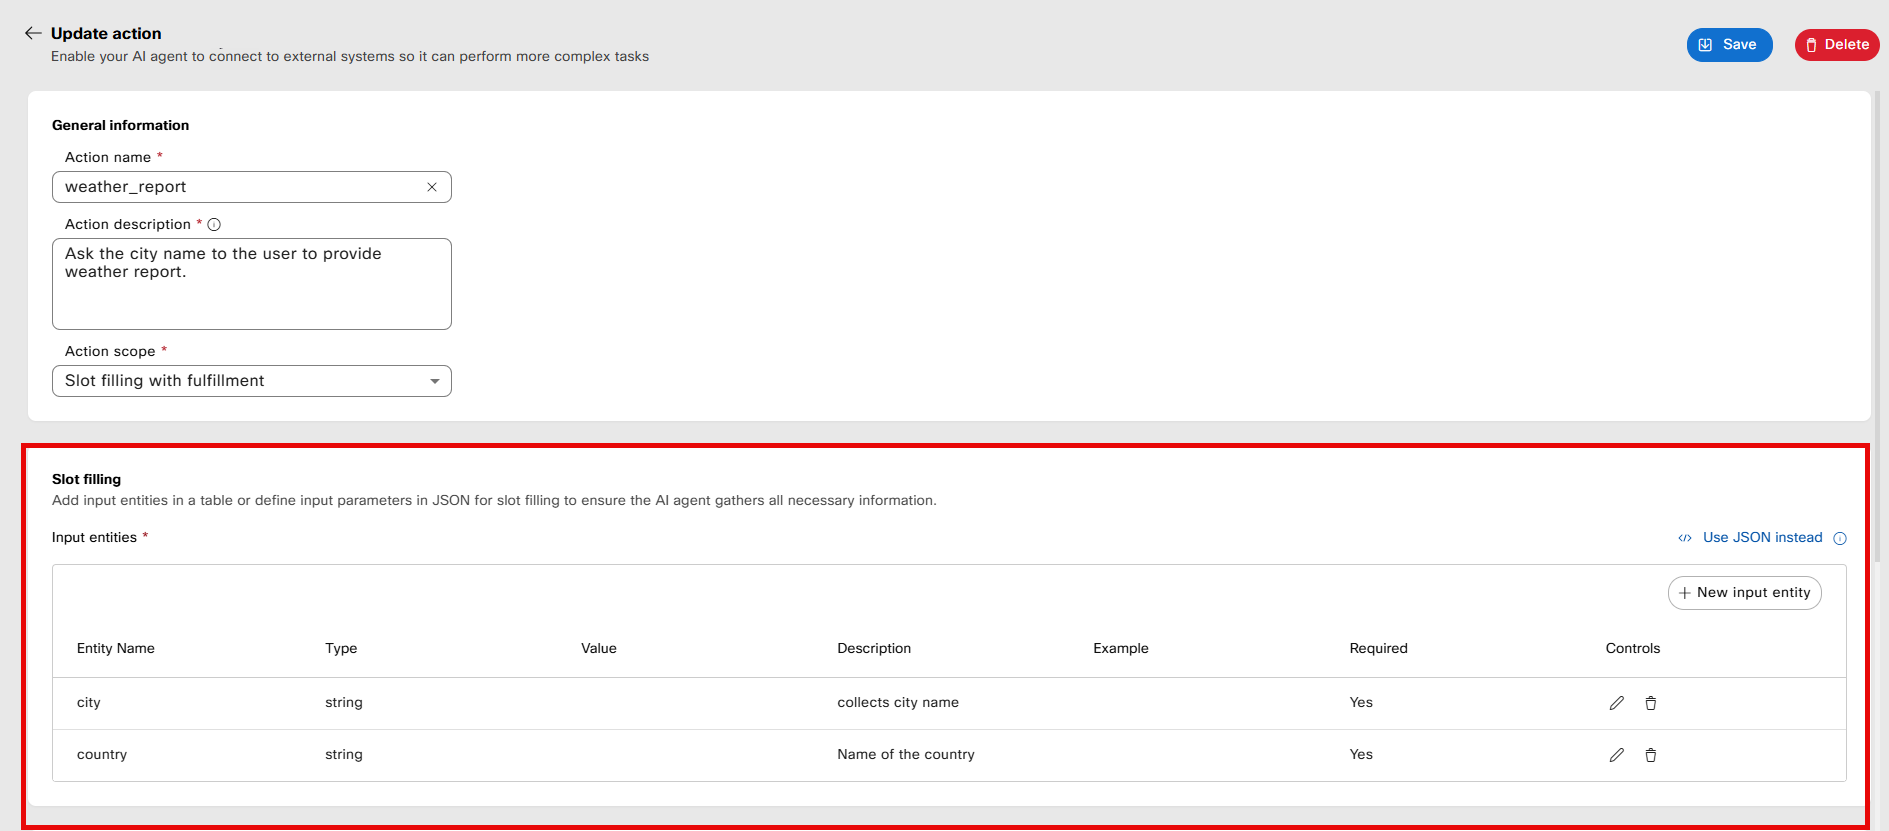
Slot Filling on the Update Action
-
Under Input entities, you would see the list of entities added to the flow. The input entities have to be converted into a JSON.
For example, for the above screenshot, the JSON example for the input entities is below:
{"city": "city_value", "country": "country_value"}
Updated 6 months ago