Mobile Wallet
Learn about creating and updating mobile wallet passes and objects using the application.
End of Sale Announcement
Please note that we've announced End of Sale for Mobile Wallet capability in Webex Connect and any new Webex Connect license sale will not include the Mobile Wallet capability. For existing customers who’ve contracted for Mobile Wallet previously, support for the Mobile Wallet will continue to be provided through the end of the current term of the agreement, but in no case beyond January 31, 2026.
A mobile wallet is a virtual wallet on your Android or Apple phone where you can save offers, passes, and loyalty cards.
The imimobile Wallet provides you the ability to create and update mobile wallet passes/objects for Apple iOS and Google Android Pay.
To navigate to the imimobile Wallet:
- Log in to Webex Connect.
- From the left pane, hover over App Tray and click Mobile Wallet.
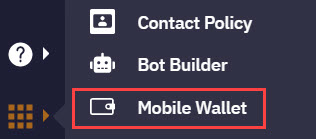
The Wallet Builder opens in a new tab.
You can create mobile wallet templates, which enable you to generate passes for your customers.
To create a new template:
- On the Mobile Wallet Templates page, click New Template.
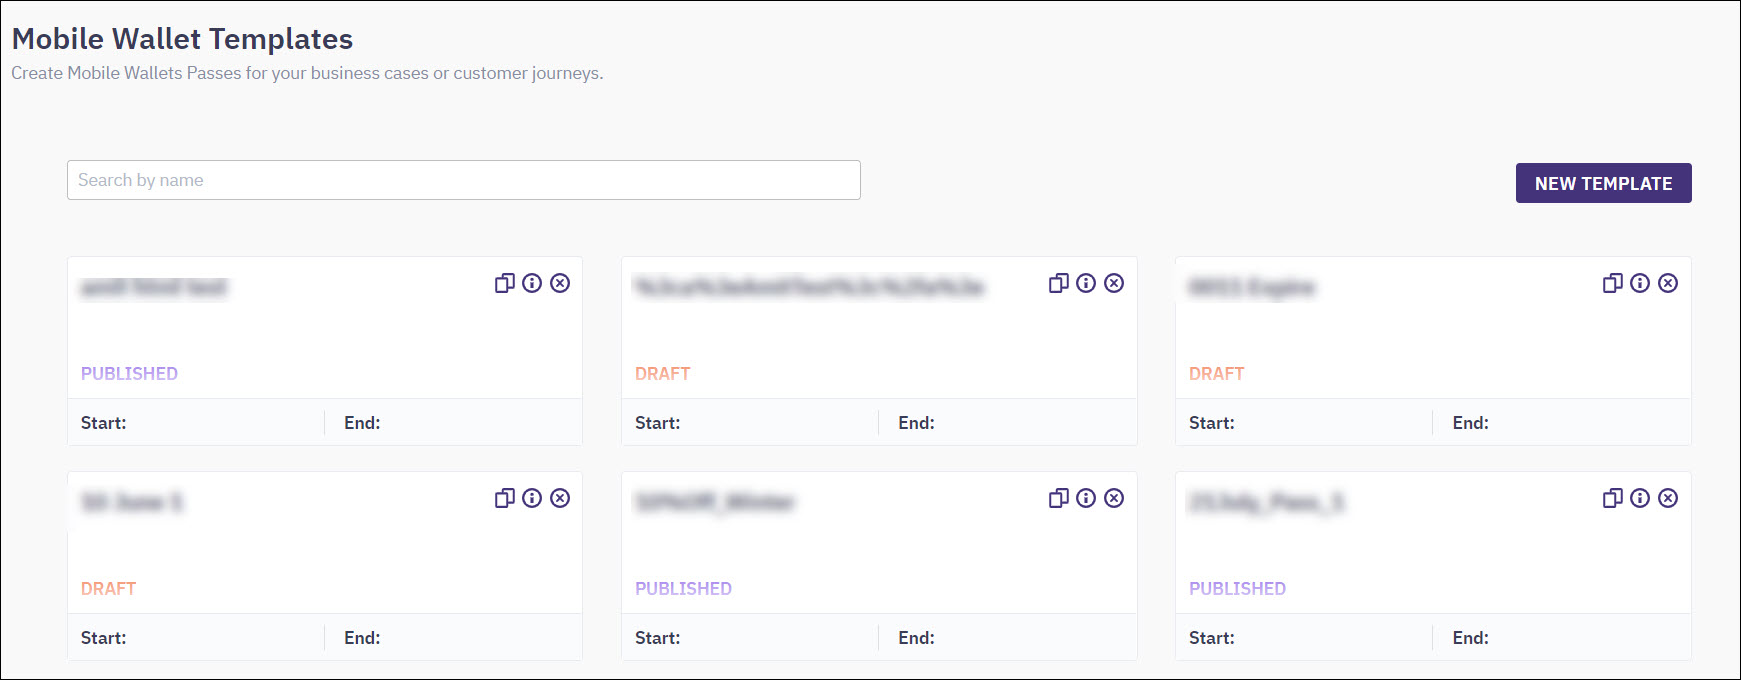
- Enter the following information:
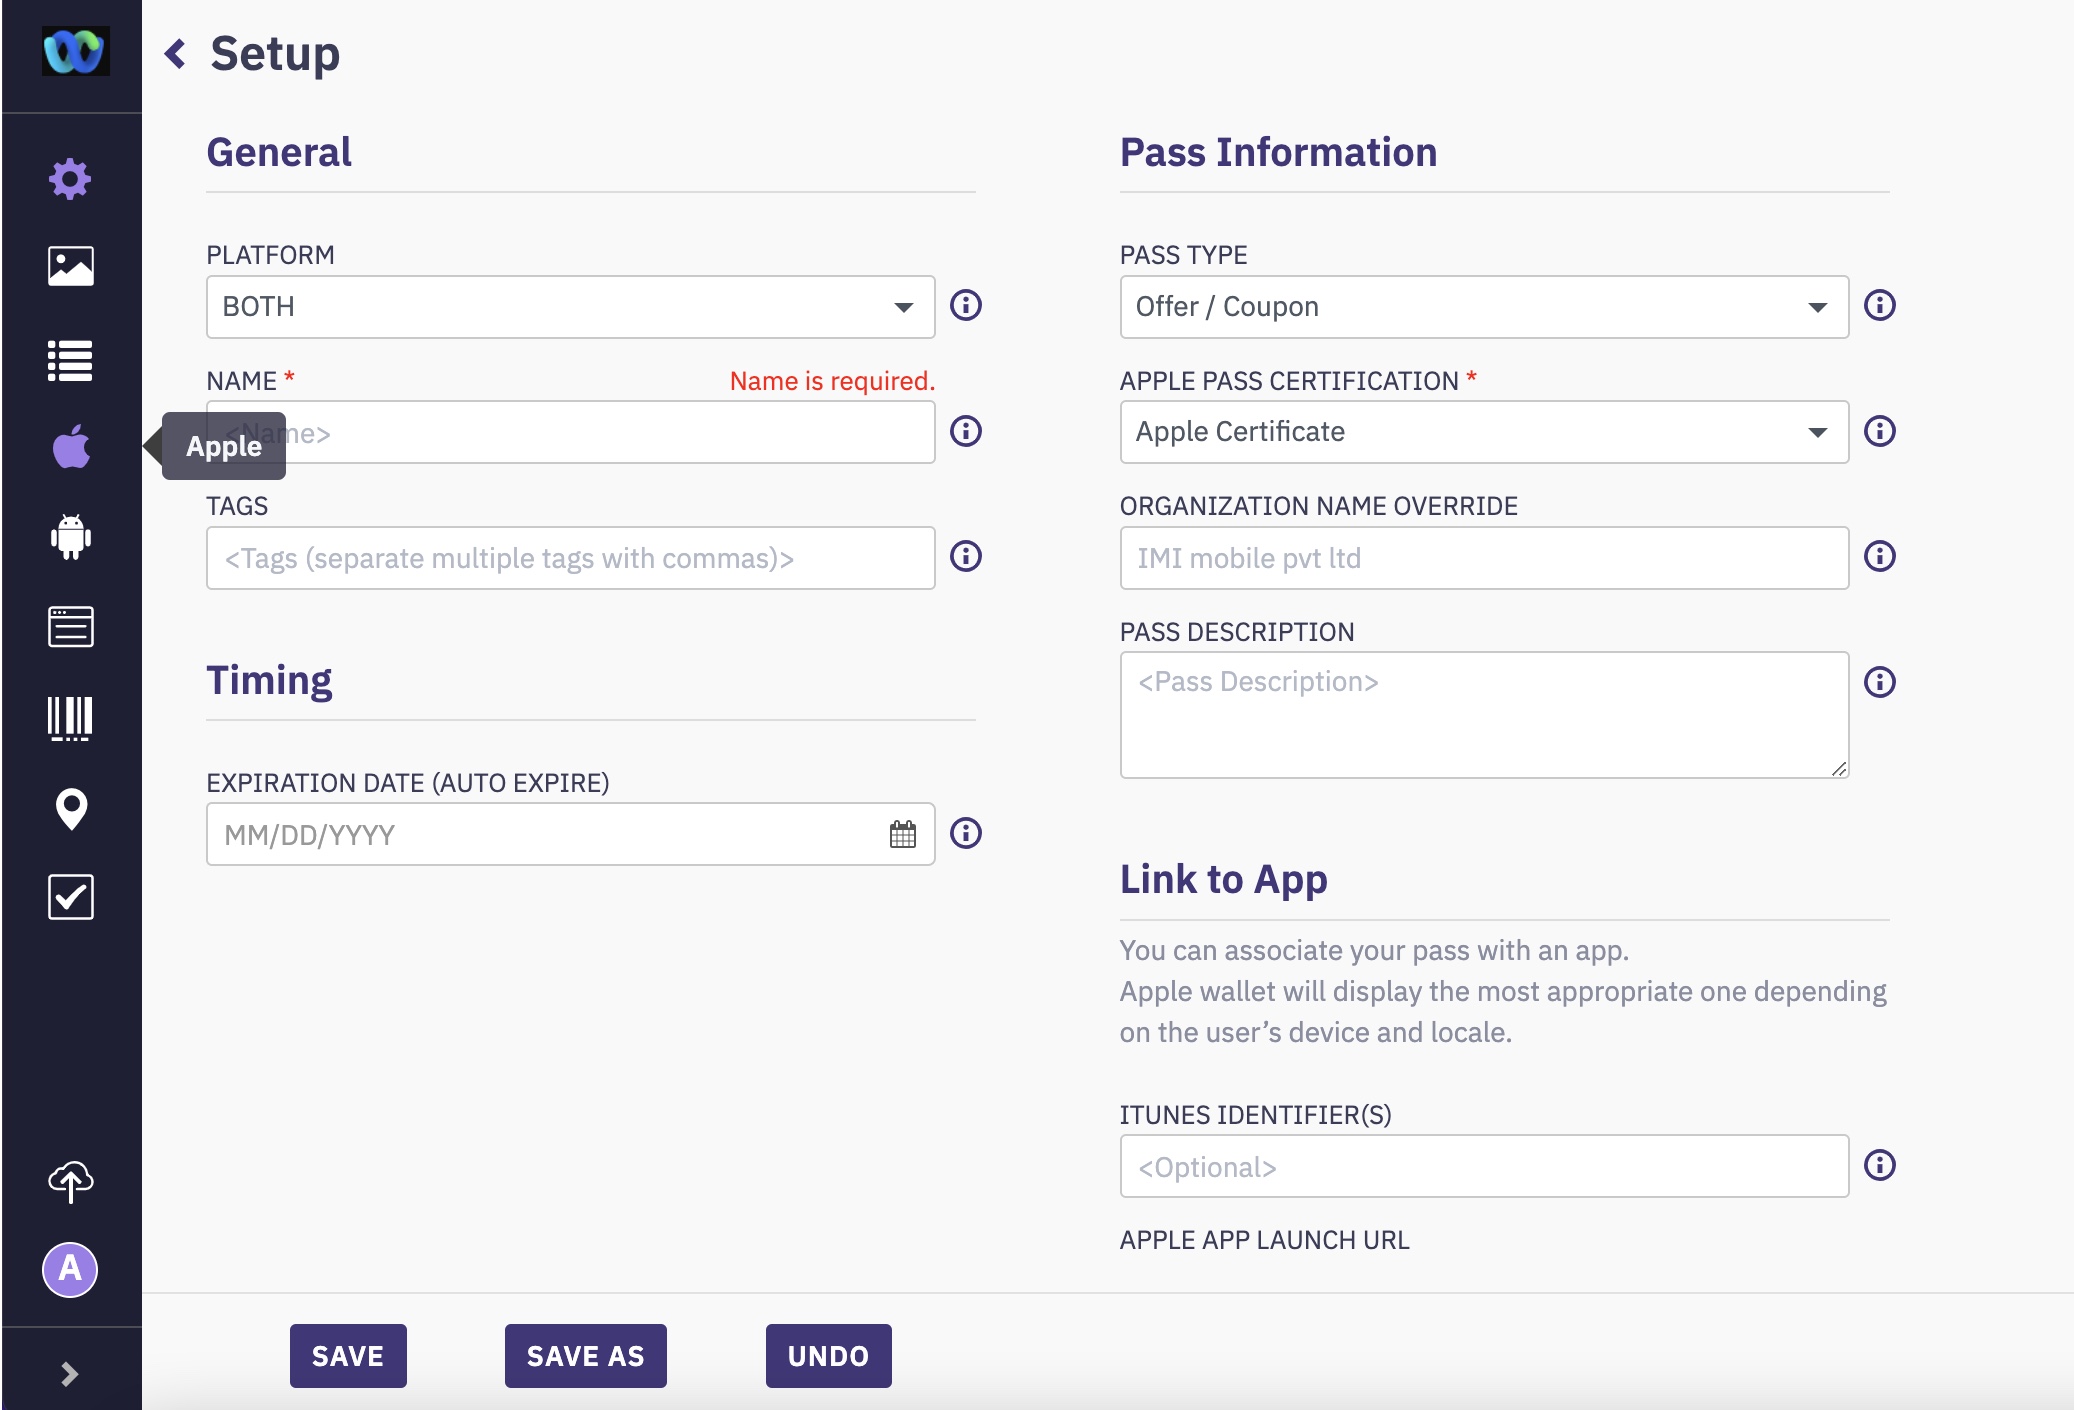
Setup:
a. Platform: OS platform on which you want the pass to be applicable – Apple, Android, or Both
b. Name: Name for the template
c. Tags: Tags to identify the wallet. You can enter multiple tags separated by commas
d. Expiration Date: Date and time when the pass expires
e. Pass Type: Type of the pass – Offer / Coupon, Loyalty, Gift Card, Boarding Pass, or Event
f. [Apple Only] Apple Pass Certification: Apple certificate to sign the pass with
g. [Apple Only] Organization Name Override: Organization name used for Apple pass sharing. If this field is left blank, organization name in the certificate will be used
h. Pass Description: A brief description about the pass. This field is used internally
i. [Apple Only] iTunes Identifier(s): Information about the app associated with the pass
j. [Apple Only] Apple App Launch URL: URL associated with the app when launching it
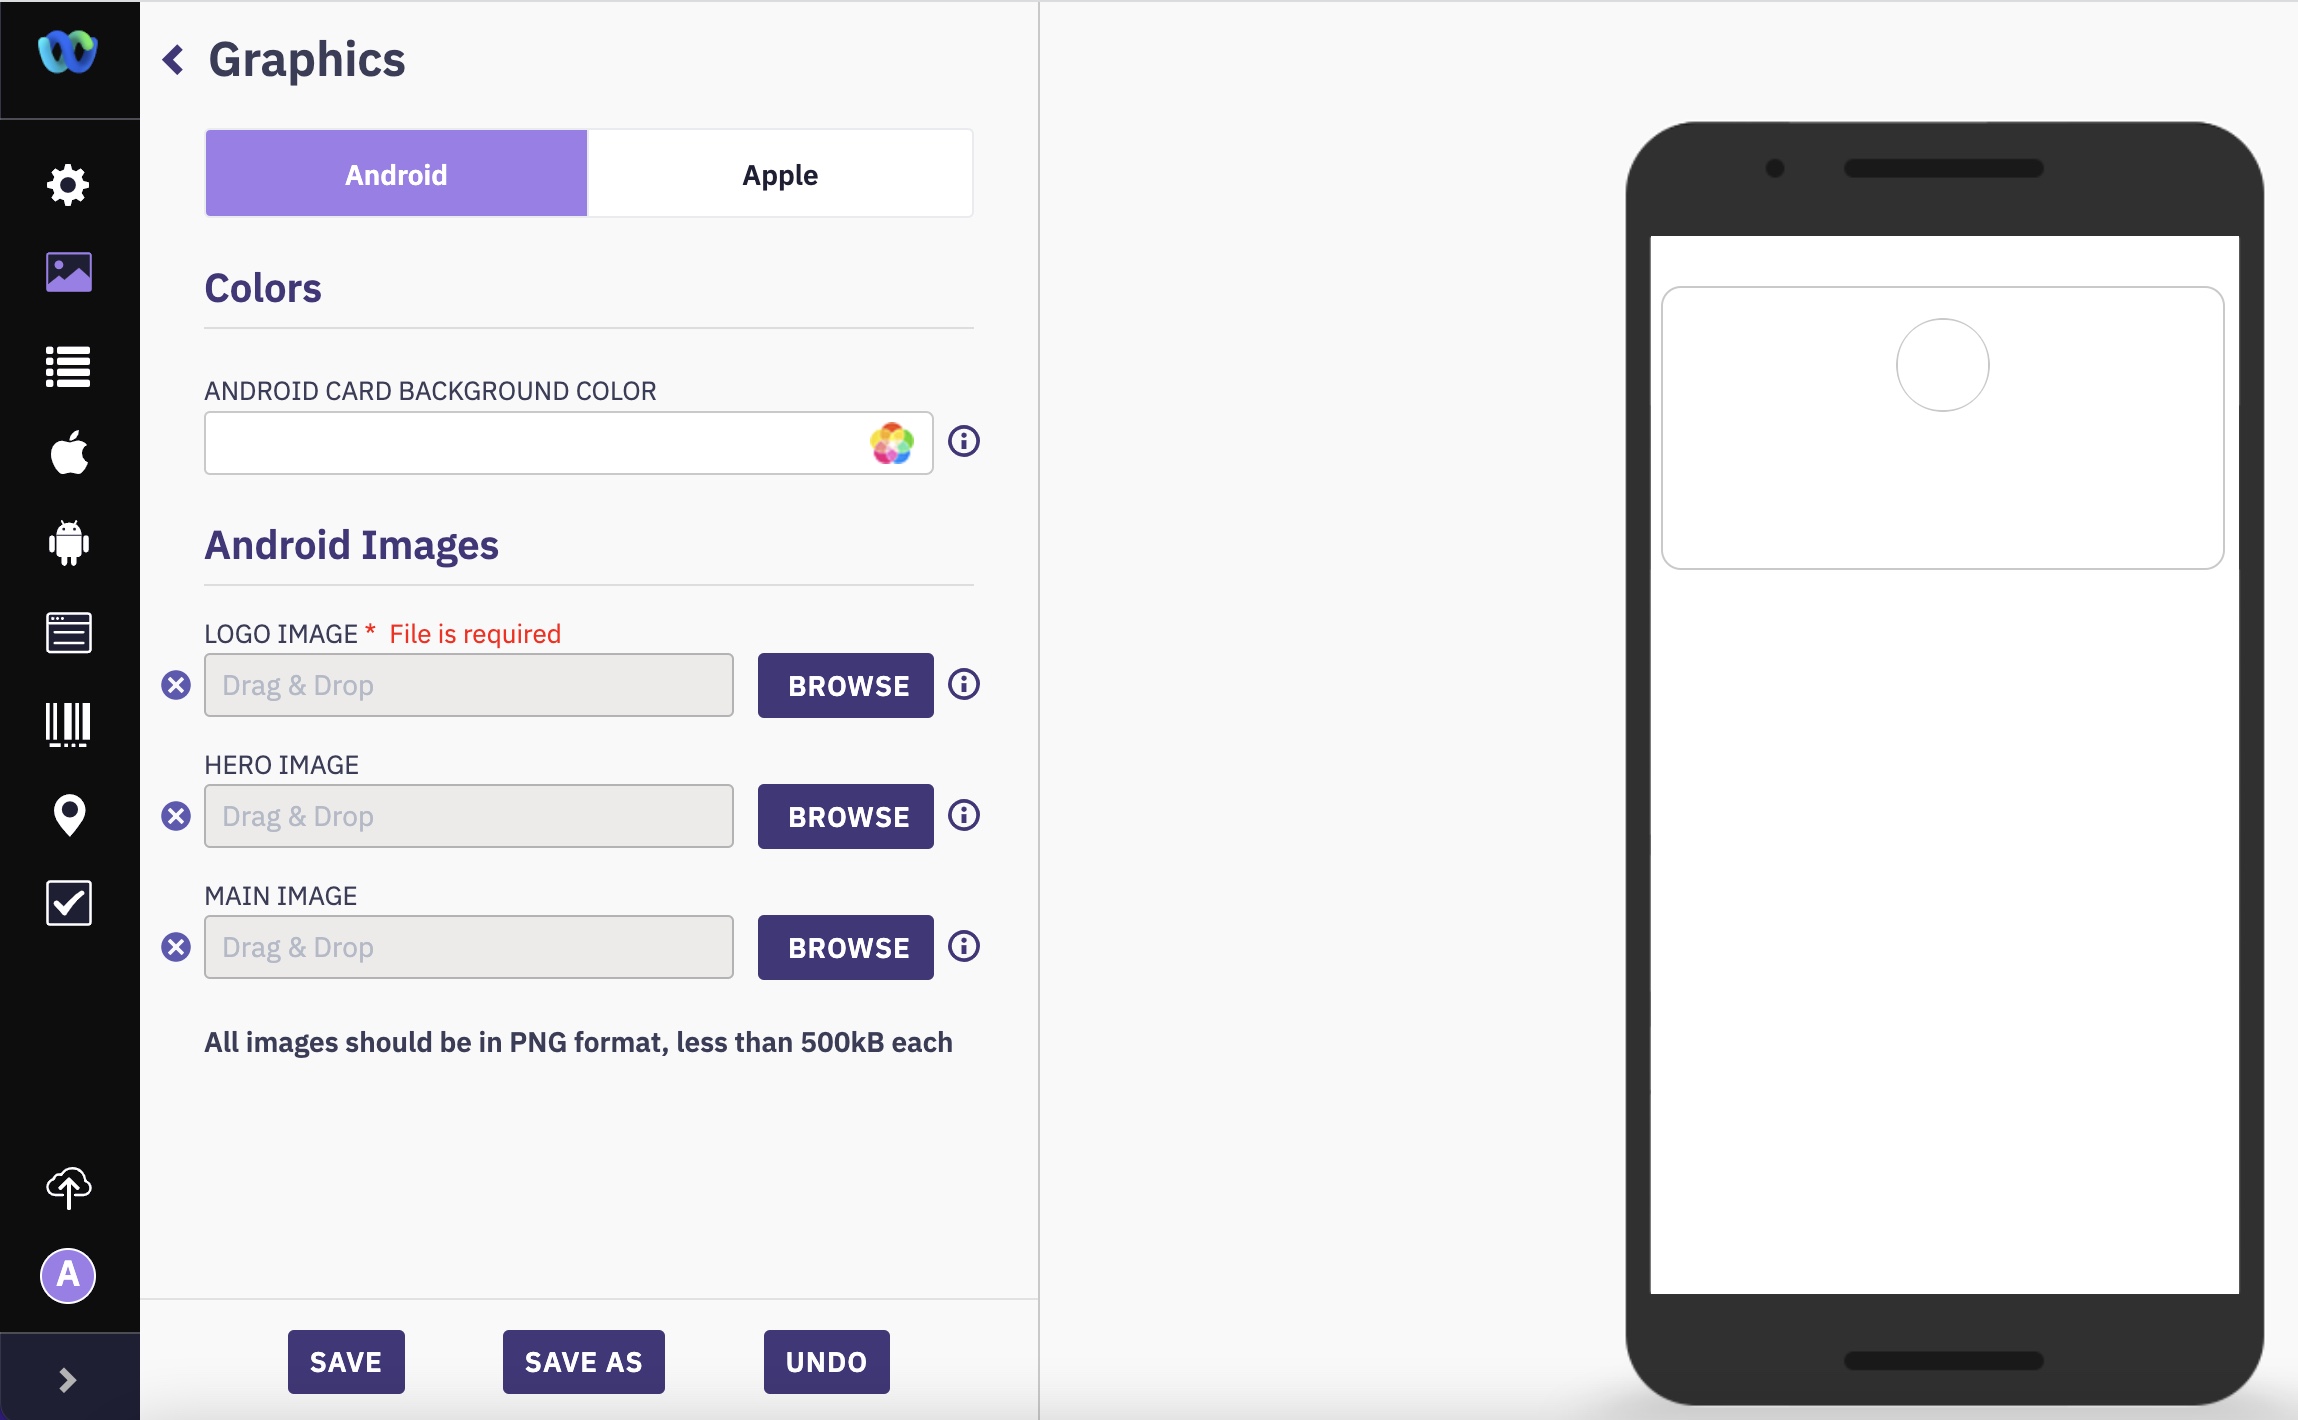
- Graphics: Select the background and label colors and images for Android and Apple, as applicable.
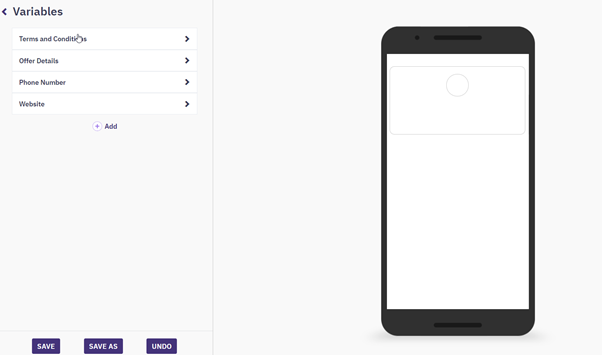
- Variables: You can add variables on this tab for easy reuse. Default variables are Terms and Conditions, Offer Details, Phone Number, and Website. Click Add to add new variables and their values.
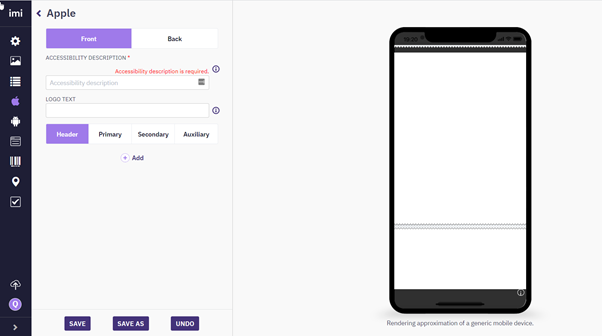
- Apple: Enter items to display on the Front and Back of the pass.
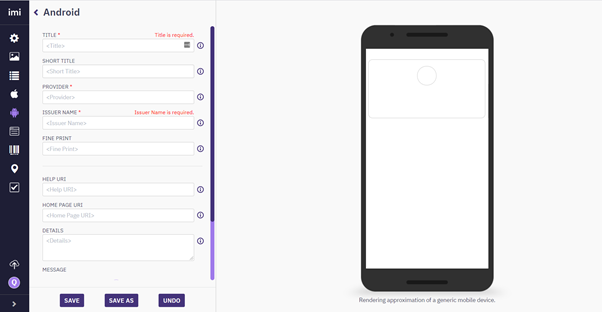
- Android: Enter Title, Short Title, Provider, Issuer Name, Fine Print, Help URI, Home Page URI, and Details. Click Add if you want to additional details like Message, Text Modules, or URLs.
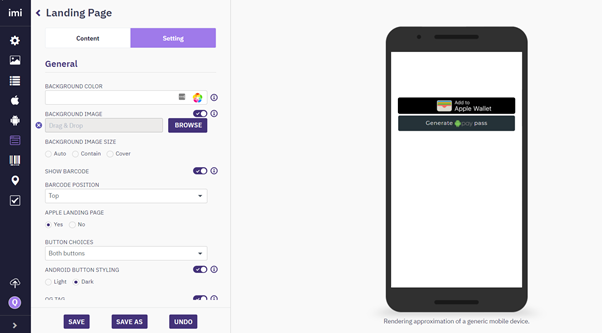
- Landing Page: On the Content tab, browse and select the images and enter the text that appears on the landing page. On the Setting tab, select or enter the settings for background, barcode, buttons, OG tag, page title, and start and end dates.
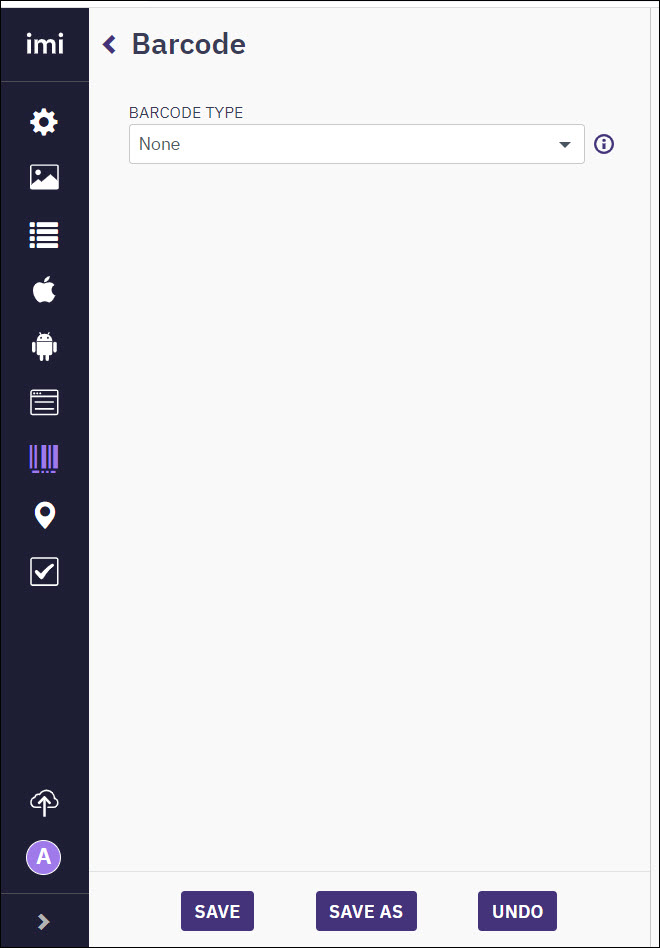
- Barcode: Select the Barcode Type – None, Text, Aztec, PDF417, QR, or Code 128.
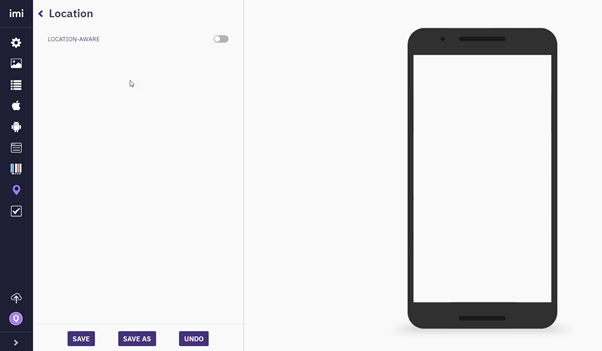
- Location: Toggle the Location-Aware button to turn on or off the location services for the pass. If the location service is turned on, select or enter the following information:
a. Namespace: Select the location namespace applicable to the pass
b. Label for Update Location Link: Enter a label which you want to display on the pass to enable the customer to update the locations
c. Search Radius: Enter or select the search radius
d. Search Radius Unit: Select Mile or Kilometer
e. Image: Browse and select the location image
f. Background Color: Select or enter the background color for the screen
g. Initial Text: Enter the text you want to display for the pass on the Locations screen
h. Location Text: Enter the text you want to display for the pass on the Locations screen along with the locations list
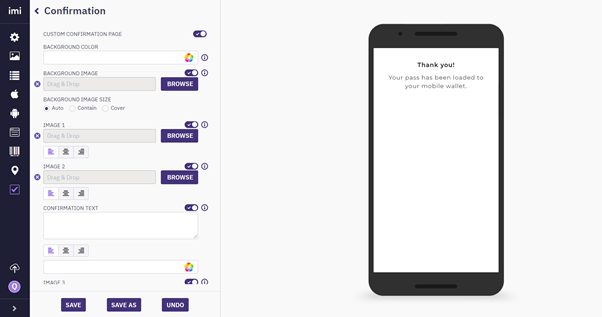
- Confirmation: Toggle the Custom Confirmation Page to turn on or off the custom confirmation page when the pass is added to the mobile wallet. If the custom confirmation page Is turned on, select or enter background color, images, custom confirmation text and any supporting text.
- Click Save on each tab to save the details you entered.
- Once all the information is entered and the template is ready to be published, click the Publish icon at the bottom of the left pane.
Updated over 1 year ago
