CCE Integration Nodes and Node Authorizations
Understand the various integration nodes and node authorizations on Webex Connect.
Webex Connect offers the following Task nodes for Contact Center Enterprise (CCE) integration. The node authorization configuration details are available in the next section.
Node and Methods
| Node Name | Description | Methods | Recommended Node Version |
|---|---|---|---|
| Create Task | Calls Contact Center Enterprise (CCE) Task API to Create a new Task at Contact Center Enterprise using a unique identifier | Create Task | v1.2 |
| Get Task Details (Task Node) ] | |||
| End Task | Calls Contact Center Enterprise (CCE) Task API to close task directly on Contact Center Enterprise | Closed Task on Contact Center Enterprise | v1.0 |
| Calls Contact Center Enterprise Task API to notify Contact Center Enterprise on close task accept | Close Task Accept | v1.0 | |
| Calls Contact Center Enterprise Task API to notify Contact Center Enterprise on close task reject | Close Task Reject | v1.0 |
Node Authorization
Client applications (in this case Webex Connect) are required to provide a valid access token for using various Cisco Contact Center Enterprise and Webex Engage APIs. The access token is generated using the authorization details configured within the ‘Node Runtime Authorization’ field that Cisco Contact Center Enterprise users are required to provide during flow configuration.
Node Authorization for Cisco Contact Center Enterprise Task nodes
For Cisco Contact Center Enterprise Task nodes (Task nodes are Create Task, End Task, and Get Task Details).
To authorize a pre-built integration:
- Go to Assets > Integrations.
- Select Pre-built Integrations under Integration Type, to display the list of all pre-built integrations.
The integrations which are not yet authorized show the status as Pending Authorization.
Viewing pre-built integrations pending authorization.
Viewing pre-built integrations pending authorization.
- Click Actions → Manage associated with the integration you want to authorize.
- On the Manage Integrations page, scroll down to the Node Authorizations section. This section lists all the authorizations mapped to this integration.
Viewing node authorizations for the integration.
Note
If the integration nodes have no auth required, then it is not shown in the list.
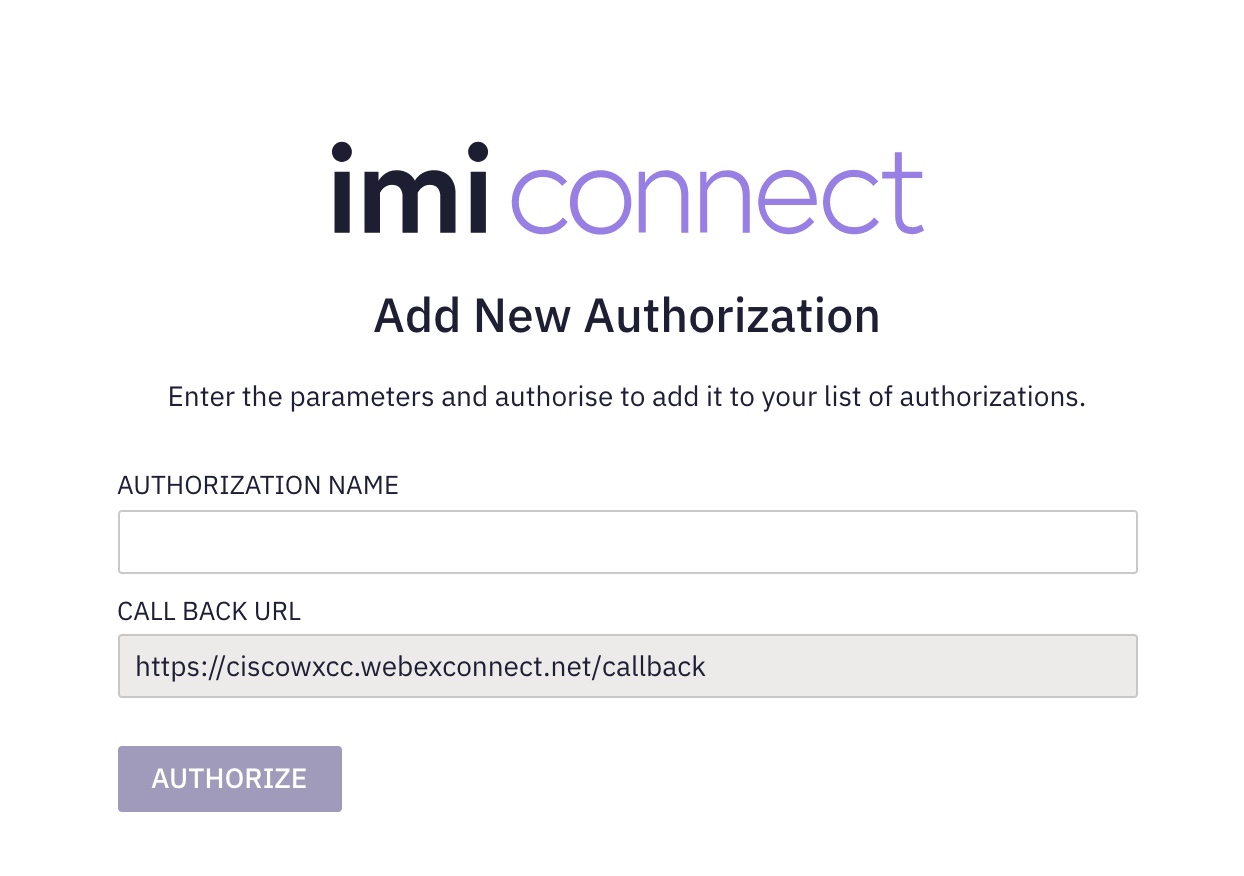
- Click Action → Add Authorization associated with the authorization, where Auth Type is oauth2 and Status is Authorization Pending.

Adding OAuth2 authorization.
- Enter the Authorization Name
- Click Authorize.
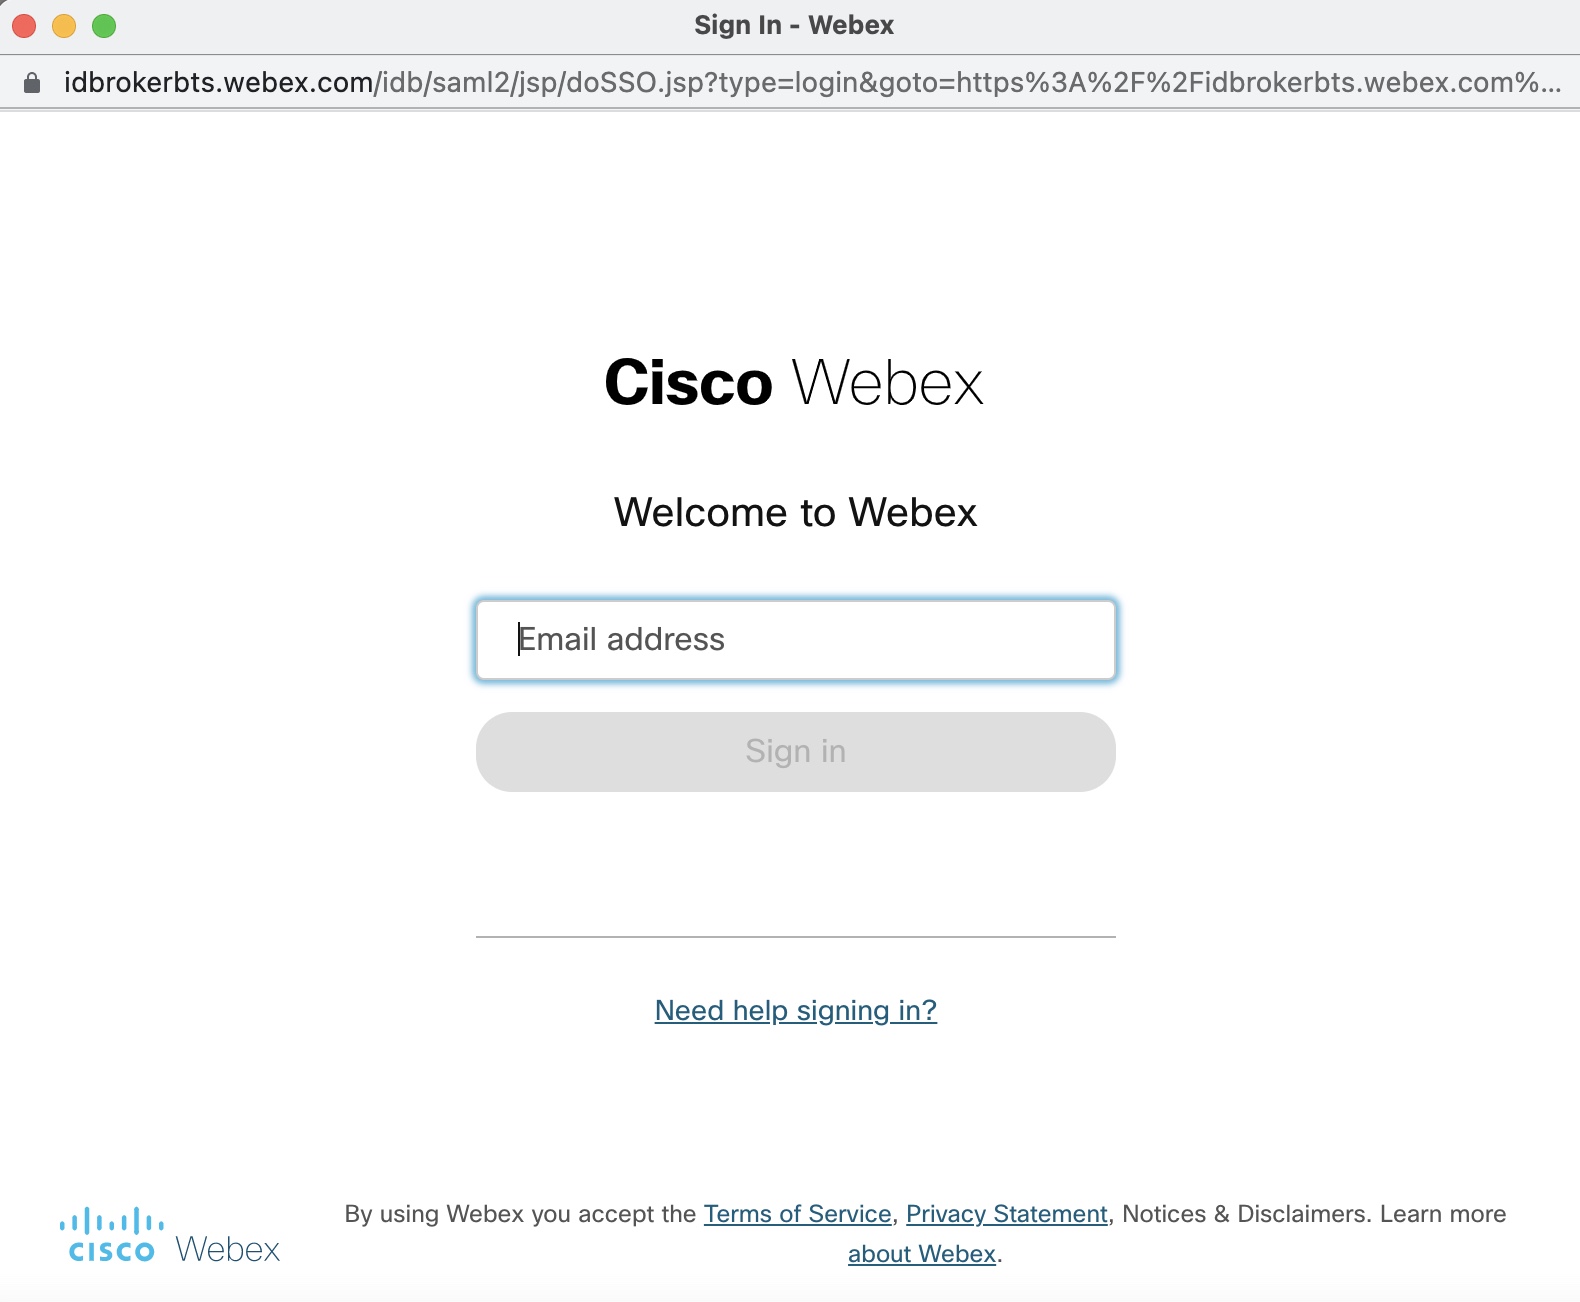
A pop-up appears. - Enter your Cisco email address and click Sign in.

Authorizing integration with Cisco account.
The status of the authorization will change to Authorized and all the nodes under this authorization are authorized and ready for use.
Once authorized, you can perform the following actions on the authorization.
- View - allows you to view the authorization.
- Update - allows you to update the authorization details.
- Make it as default - allows you to make a particular authorization default for that node.
- Remove - allows you to delete the authorization.
Note
If an OAuth 2.0 type authorization is edited in the Admin portal, you will be prompted to re-authorize the authorization.
You are not allowed to delete the authorization if it is mapped/used in flow assets.
Updated 11 months ago
