Voice Node Group
Understand what an Voice node is and how to configure it to make and receive calls
The Voice Node Group is a collection of voice nodes, which cannot exist individually. This node is used to create and manage custom interactive voice response flow. The nodes placed within the group behave as a single node collectively. The Wait for and Delay options are not supported in the voice node group. Each voice node group in the flow corresponds to a call. If your requirement is to process multiple calls in a single flow, use multiple voice node groups. The maximum number of voice node groups that you can use is 1000.
The node group allows a branch of the flow to have an active call in the background and also execute the other nodes in the flow simultaneously. When any node inside the voice group is connected to any of the voice node group edges, the call gets terminated.
- For an inbound call, the voice node group is automatically populated on the canvas.
- For an outbound call, when you drag-and-drop the Call User node onto the visual flow builder, its onAnswer node event gets connected to the voice node group container automatically.
You cannot delete a voice node group.
The voice node group allows you to enable answering machine detection (AMD) and configure machine detection settings from the node group. This node group can contain the following voice nodes:

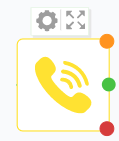
Voice Node Group
The following is a list of other nodes that you can use in the voice node group:
- Evaluate
- Branch
- HTTP Request
- Data Parser
- Data Transform
- Profile
- Generate OTP
- Validate OTP
- Decryption
- Encryption
- SMS
- Messenger
- Apple Messages for Business
- Email.
These nodes will not have the Wait for event.
Node Configuration
When you drag-and-drop the Call User node onto the visual flow builder, its onAnswer node event gets connected to the voice node group container automatically. Based on your use case you can decide which nodes exist in the node voice group. The voice node group container appears in an expanded form by default.
- Click the Settings icon of the voice node group.
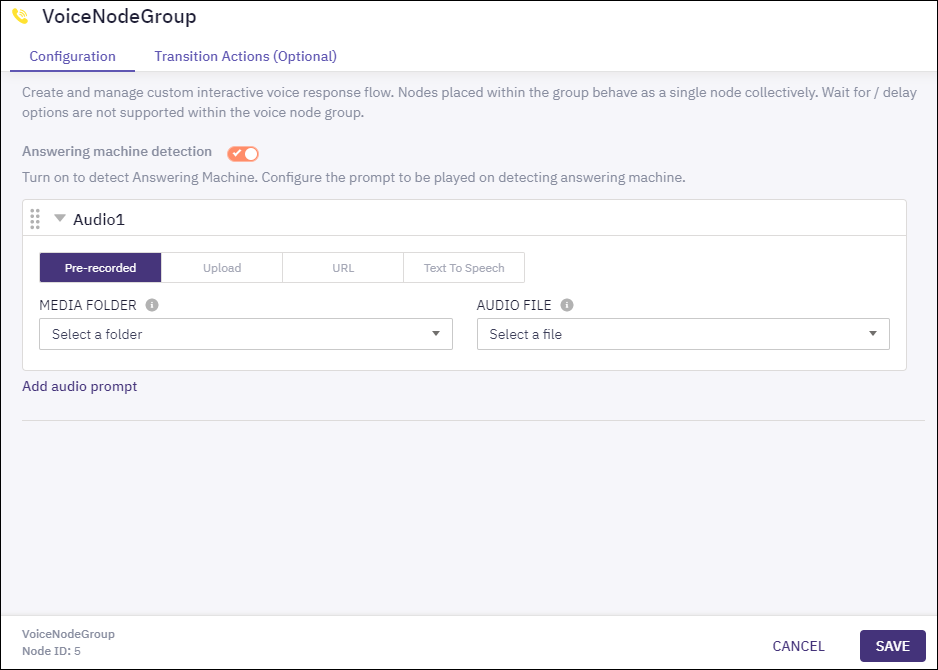
- Enable Answering machine detection to turn-on detection of answering machine. This button is disabled by default. This is an optional step.
When you enable the answering machine detection, you need to configure the prompt to be played on during the detection. Please refer FAQs on Answering Machine Detection to know more about the availability and limitations of this feature.

Voice Node Group Settings
- Click the suitable way you like to use for the audio prompt. Supported ways for configuring audio for the audio prompt are:
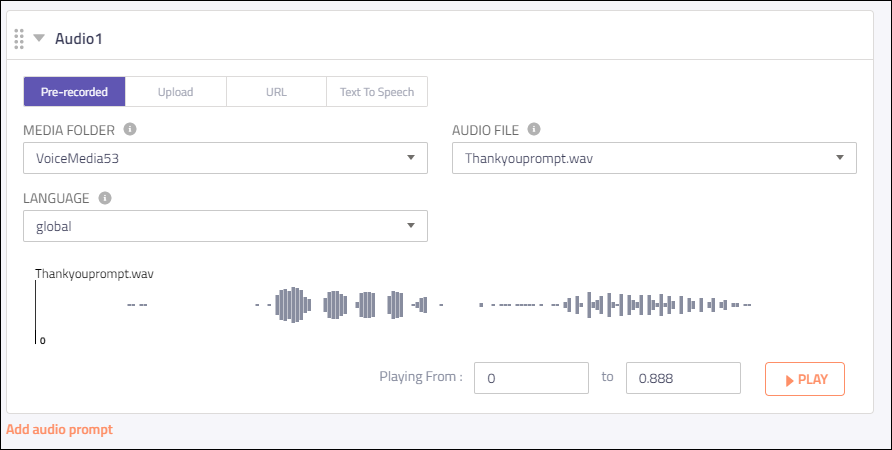
(i) Pre-recorded - select the Media Folder and then the Audio File. If the selected audio prompt is available in multiple languages, then you also need to select the required Language. The values in these drop-down lists are pre-populated based on the data available in the Media Manager. You can also select an offset value and click Play to listen to the selected audio prompt.

Screenshot displaying Pre-recorded File.
(ii) Upload File - drag and drop an audio file or click Browse to select an audio file from your local system. The supported file types are: .wav and .mp3. The maximum allowed size of the audio file is 10 MB.

Screenshot displaying to Upload Audio File.
(iii) URL - enter a URL that contains the audio file and click Fetch to fetch the audio file onto the platform.

Screenshot displaying to enter Audio URL.
(iv) Text To Speech - enter the Text Message that needs to be converted to speech. The maximum number of characters you can enter is 2000. Select the following values:
- TTS Processor - the text to speech processing engine; currently Azure is the supported processor.
- Voice Type - the suitable voice type: neural. Azure offers neural voices. Neural voices have human-like natural prosody and clear articulation of words.
- Language - the list of available languages. Select Dynamic if you want to pass the language at run-time. Ensure that the language code you pass at run-time is of the ISO 639 format. See the supported languages section for a complete list.
- Voice - the required voice. You can also select the voice dynamically at run-time.
Click Fetch to fetch the audio in the selected language. Click Play to listen to the audio prompt.
- Click Add New Audio and repeat step 3 if you want to add more audios.
- Click Save.
Input Variables
You can see a list of all the flow variables available for use within this node under the Input Variables pane. You can also search for a variable using the Search field.
You can see the list of variables that you explicitly create and configure for this node under the Custom Variables pane. You can also add a custom variable to the flow using the Add New Custom Variable button. For more information, see Custom Variables.
Output Variables
You can see the data that this node generates as output variables. These variables are available for use in subsequent nodes. The voice node group does not have any output variables at the group level. However, each of the nodes in the node group has a set of output variables.
Group Outcomes
You can see the list of possible node outcomes for this node under this pane. You can customize the node labels using the Edit (pencil) icon. The node exits through one of the node edges corresponding to the outcome of the node.
| Node Edge | Node Event/Outcome |
|---|---|
| Success (green) | > * onAnsweringMachine - this is the default node outcome under this node edge.You can see a list of all the edges of all the nodes that are connected to the Success node edge of the voice node group. |
| Timeout (yellow/amber) | You can a list of all the edges of all the nodes that are see connected to the Timeout node edge of the voice node group. |
| Error (red) | > * onCallDrop - the flow exits through this outcome when the call is dropped. This is the default node outcome under this node edge.You can see a list of all the edges of all the nodes that are connected to the Error node edge of the voice node group. |
You can add custom groups to the group outcomes and move around the outcomes to group them under the custom groups. For example, you can trigger an SMS to the users for all the node outcomes that are grouped under the "Failed" custom group.
Transition Actions
Use this tab to configure the transition actions for On-enter/On-leave events. However, configuring transition actions is optional. For detailed instructions about configuring the transition actions, see Node Transition Actions.
Updated 11 months ago
